Yes, the axle seal is what controls the fluid retention. There's no need for RTV (other than peace of mind). The flat surface isn't hyper critical, just good sense.Originally Posted by Marlin


 Super VXer
Yes, the axle seal is what controls the fluid retention. There's no need for RTV (other than peace of mind). The flat surface isn't hyper critical, just good sense.
[SIGPIC][/SIGPIC]
Put a smiley after you say that Bub.
Super VXer
Gotcha, that is what I was thinking, I think I will RTV it anyway. Its already apart and I have a ton of RTV from the locker install.
I predict future happiness for Americans if they can prevent the government from wasting the labors of the people under the pretense of taking care of them.
Thomas Jefferson
Super VXer
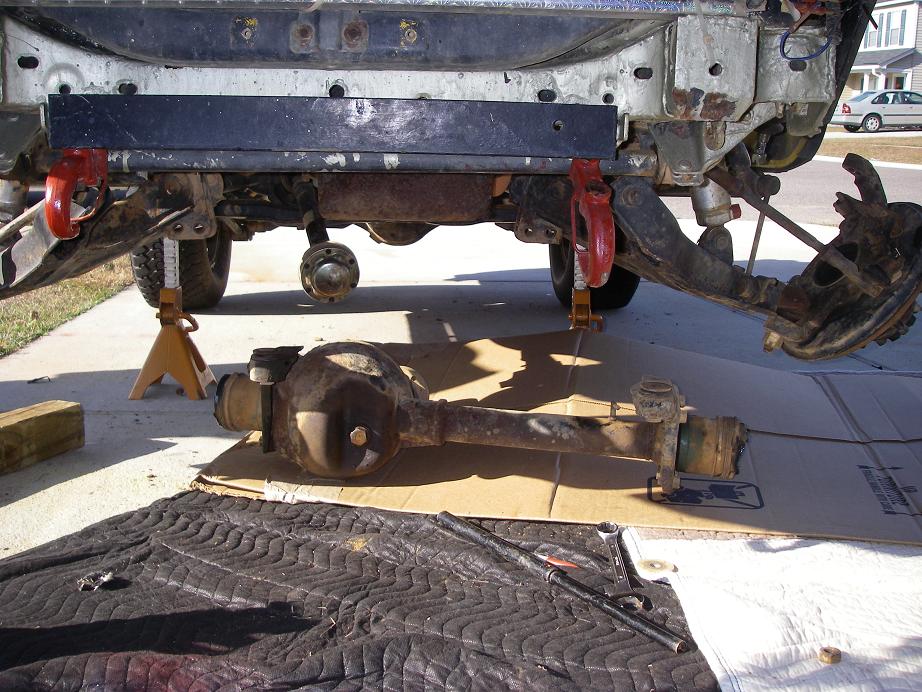
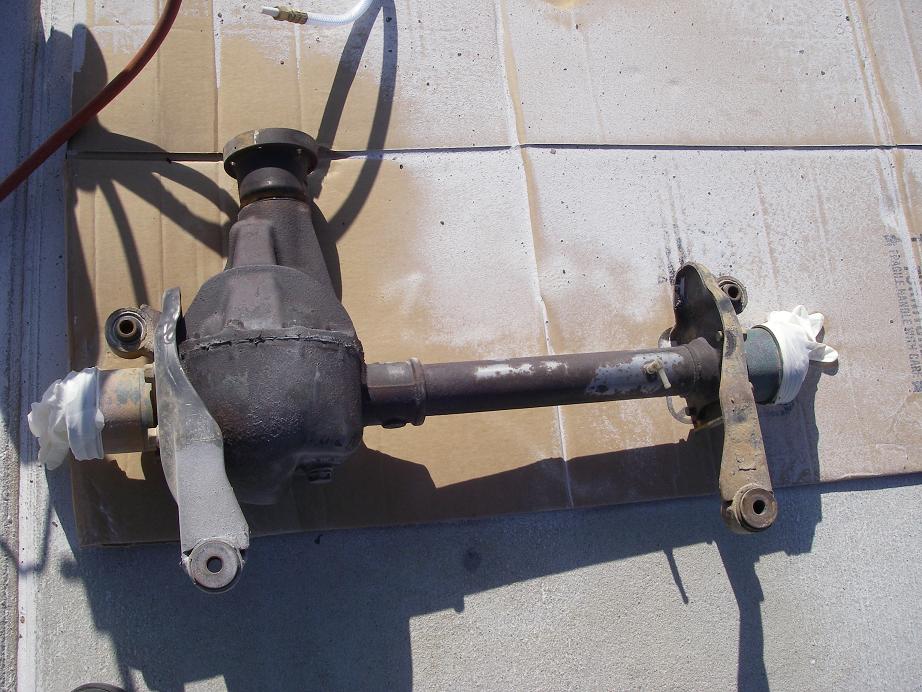
Since Halo reach sucked, which took me 3 hours of playing to figure outI decided to drop the axle this morning. Not so bad, I even got it out without taking the steering linkage apart. Putting it back in, thats a whole new story...
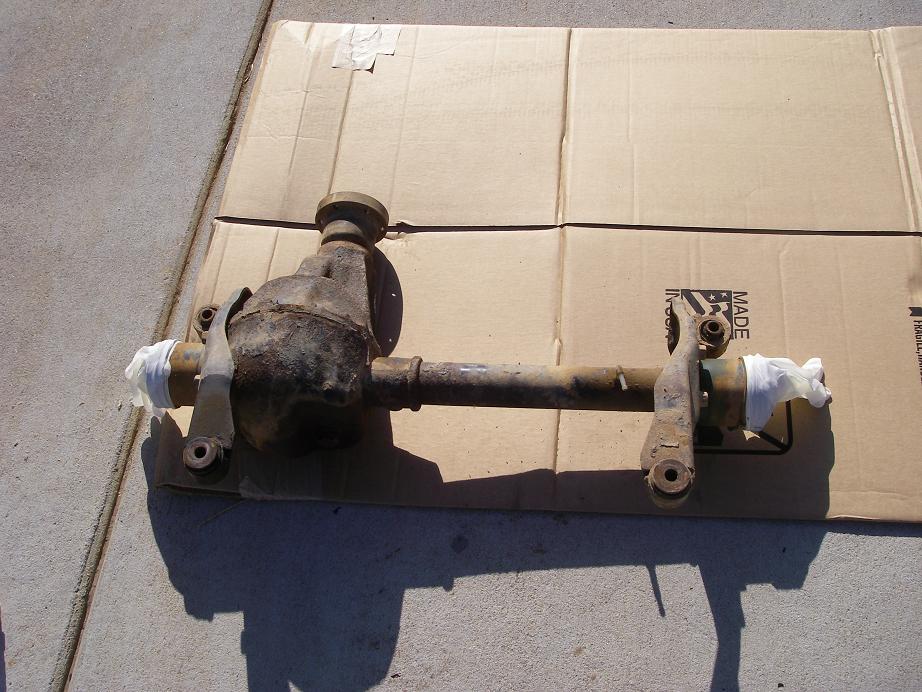
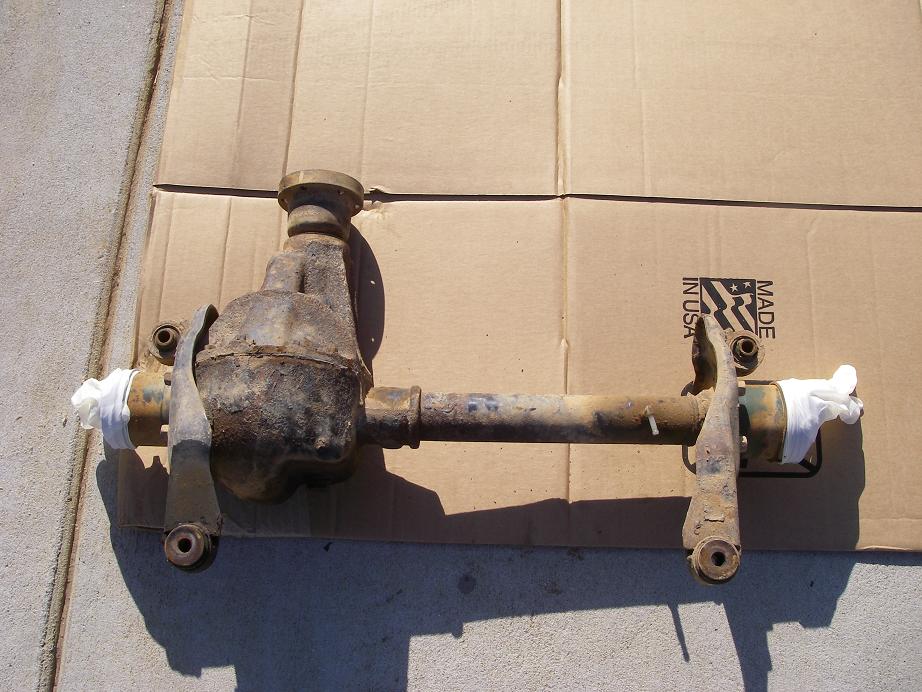
I used the HF soda blaster to blast the whole thing down. Best toy ever!!!! Worked like a champ. Took about 15lbs of baking soda to get it cleaned up. 10 years worth of grime, dirt, grease, rust, gone in about 15 minutes or so. I should be able to start painting in about 20 minutes. I know it still looks rusty, but POR15 has to have rust on it to set properly. I had the blaster set to stun, or rather lowest concentration of mediaI also have the cleanest driveway on the block now. It is 100% environmentally friendly, so I just dragged it down by the curb and went to town.
 Super VXer
It's fun to stay at the...wait for it...
Y - M-- A
Back on topic...
Nice job...
Last edited by Ldub : 11/25/2010 at 10:46 AM
Super VXer
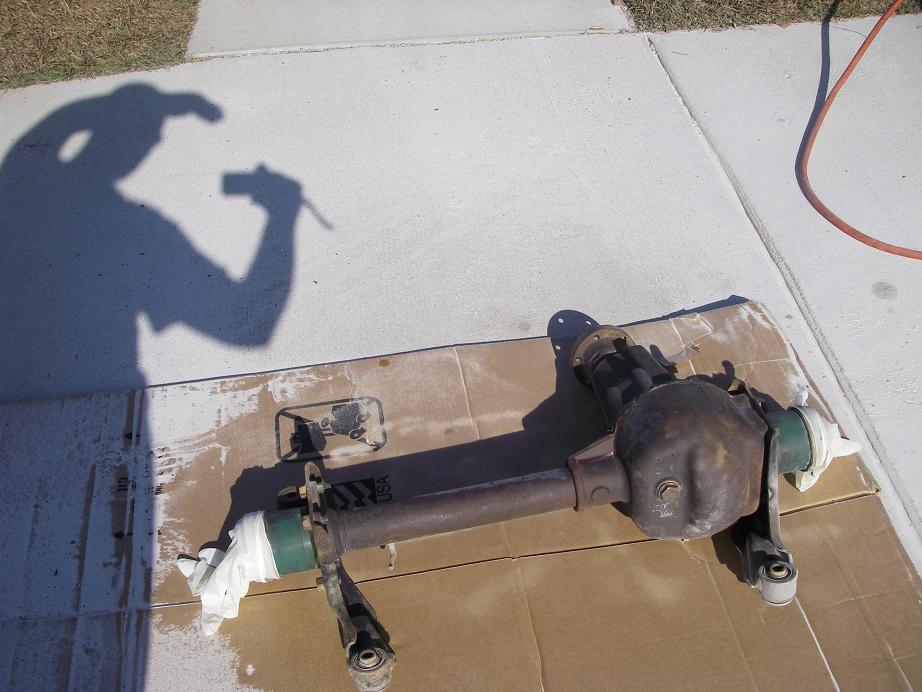
Nice! I spent the better part of the last hour looking for my cans of POR15. The wife had been threatening to throw them away if I didn't put them up for the last several months. She is at work, so I can't ask. I finally gave up and used high temp engine primer to primer the damn thing. While that was drying, I went ahead and removed the passenger side axle and installed the new bracket.
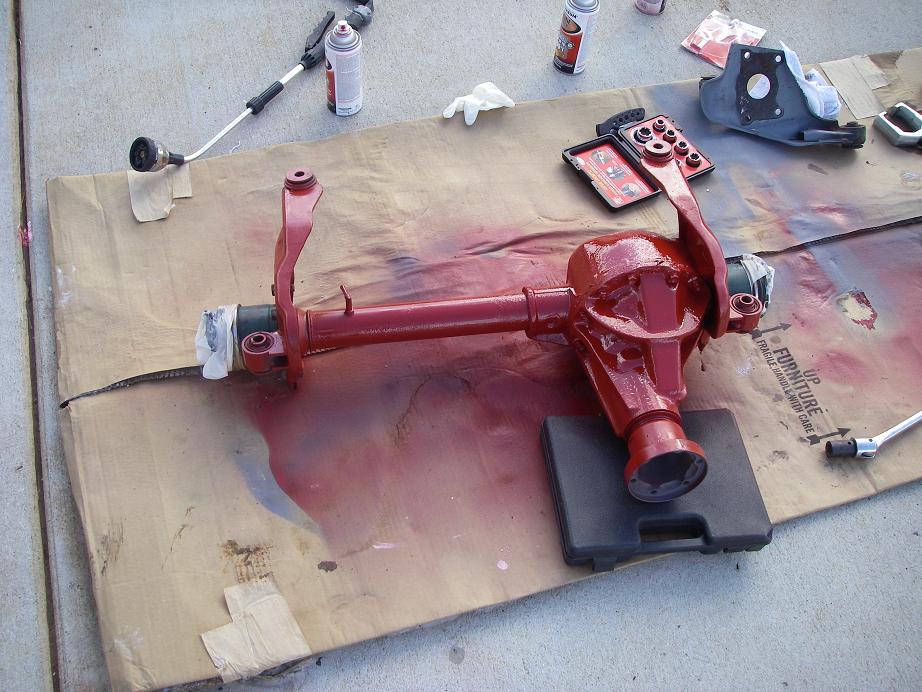
Put the first coat of red on, letting it dry now. Then I will go ahead and mount up the passenger side. While the second coat is drying, I will yank the driver's side out...not the fun one. Its a PITA to get the axle bearing off. I also have to make sure I don't damage the axle seal, those things are like 40 bucks IIRC from replacing em when I did the locker install.
Super VXer
After looking at the pics, I noticed how bad the oil pan looked, so I went ahead and treated that with rust neutralizer, and I will paint it as I go along. My poor old girl looks horrible. most of it is mud, but damn, its pathetic.
Super VXer
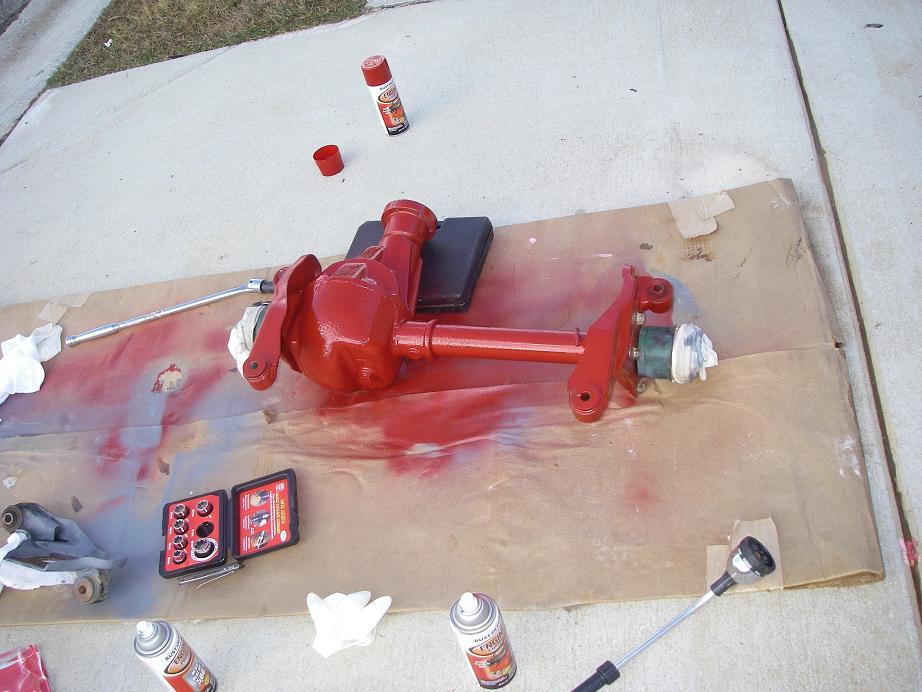
Oil pan is done, and I used rubber undercoating, neat stuff. GOt the brackets mounted up, no problems with the bearings and seals. Will try to put it back in tomorrow, gotta let the paint cure.
Then I get to start on the flexy kit install. I know there are some that are lurking waiting for those pics. I will have some flex pics up hopefully by Sunday.
 Posting Permissions

 Reply With Quote