Thanks a lot for the tip PK. I can definitely try it, and if I still can't line up the marks, then reestablishing timing will be the way to go (I am thinking that might be the most safe thing to do...reestablish timing)
So if we go this route...Here is what I think you guys are saying:
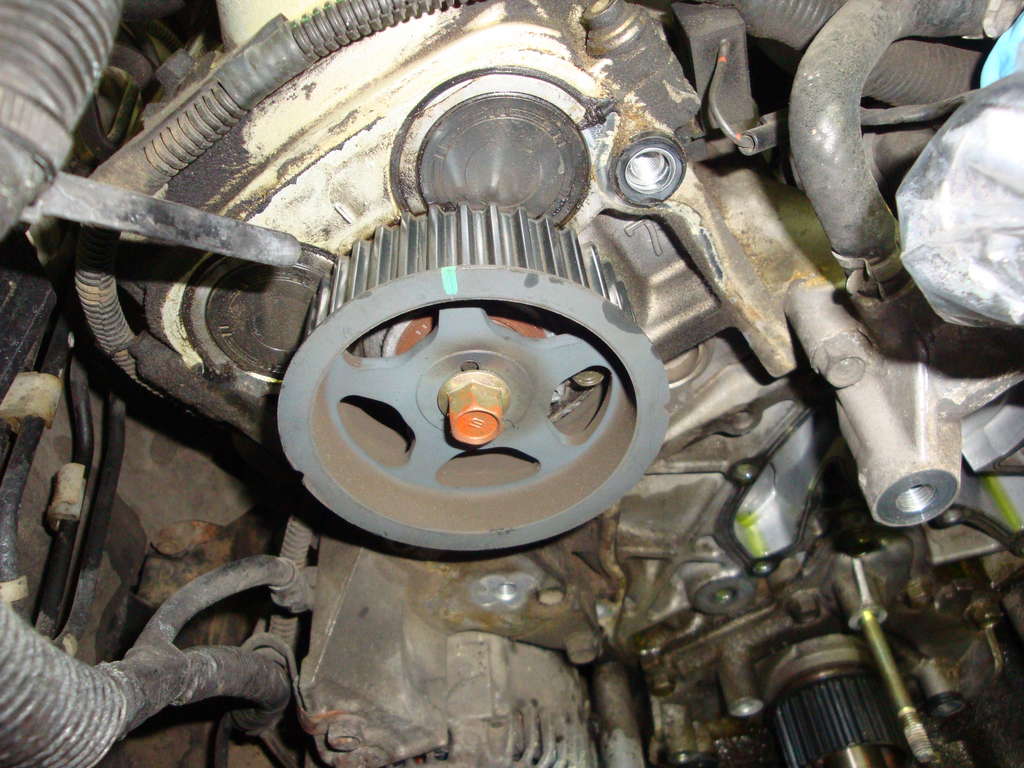
1- Turn the crankshaft sprocket until the timing mark matches the timing mark on the engine at the 3 O'clock position ( I am matching the line marked with the green dot on the sprocket)
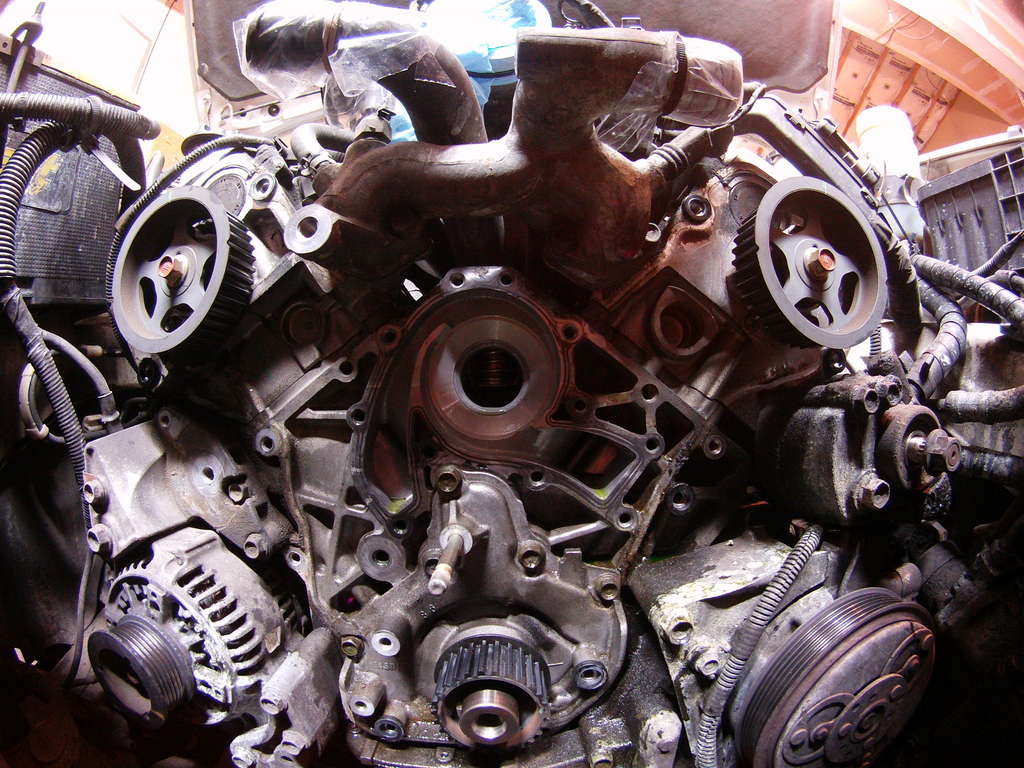
2- Turn the Right hand side cam clockwise until it springs to the 12 O'clock position on its own
3- Turn the left hand side (driver side) cam until the cam pulley springs out to the 9 O'clock position, then turn it 90 degrees more to line up the timing mark with that one on the engine
4- Install the new timing belt by lining up all three marks (line up the dotted line with the notch on the crankshaft sprocket at the 9 O'clock position
Does that sound right? am I missing anything?

 Reply With Quote