First coat of SB using marlin's method done. Looks like crap. But you all said the first coat looks like crap. Right????
RIGHT??????


 Super VXer
First coat of SB using marlin's method done. Looks like crap. But you all said the first coat looks like crap. Right????
RIGHT??????
 VXer
VXer
Mine looked like crap after three coats. I have enough left that we're going to do it to my niece's VX but this time we're going to spray it.
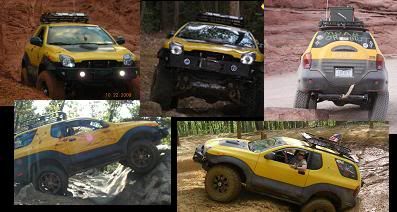
I've got Elvira the VehiCross, For everyone else, there's a Jeep.
Super VXer
Originally Posted by bssage
 There's no shortcut to applying this stuff. Applicator and stroke technique are real important. Also, dry time between coats (NOT the instructions on bottle of 20 minutes).
Did you read this thread with all the detailed application tips? Yes it's long, but there's very detailed info. see post #1, #58 and #63
Don't think anyone else tried Marlin's method because his expectations may have been different than most of us, as his is a real trail rig, "pretty" isn't a high priority to him.
Did you look at my detailed pics?
Do you see any of the horrible streaking?
I had one problem area (front driver bumper) cuz I tried to stretch it as I was running out….and got streaks from the 2" roller brush. Fixed it up with more coats.
Comes out even better when diluted with mineral spirits and sprayed on. Several did it that way.
STREAKS:
NO STREAKS (or very few):
VX KAT
....the adventure BEGINS ANEW! ...2015......
Remember that life is not measured in the breaths you take, but rather in the moments that take your breath away.
Super VXer
I can attest to this. You need to wait about 24 hours between coats, or at least over night.
Super VXer
I take offense to that comment Sue! Mine has few to no streaks in it, I just used dawn dish soap to get all the armorall crap off it and then smeared it on with a brush from HF. I think those with streaks are having issues with repeated spray on products that are saturated into the plastic, preventing the etching of the dye.
I think the real issue is to remember that it is a dye, not a paint. If you are doing multiple coats, you are using it like a paint, therefore it will scratch off, peel off etc...if it is dyed into the plastic, I can scratch mine and fairly deep it stays black. That means the dye soaked into the plastic. I have to wonder that if by diluting, you are minimizing the penetration of the chemical.
Last edited by Marlin : 04/15/2013 at 09:51 AM
I predict future happiness for Americans if they can prevent the government from wasting the labors of the people under the pretense of taking care of them.
Thomas Jefferson
Super VXer
Sorry ChrisI was trying to be so tactful .
gotta give me points for PCness in that line!
You may be right about what's alredy in the cladding affecting the SN.
My cladding was uber clean of all those products before I did the SN, maybe that's why I had good results.
Last edited by VX KAT : 04/16/2013 at 09:55 AM
Super VXer
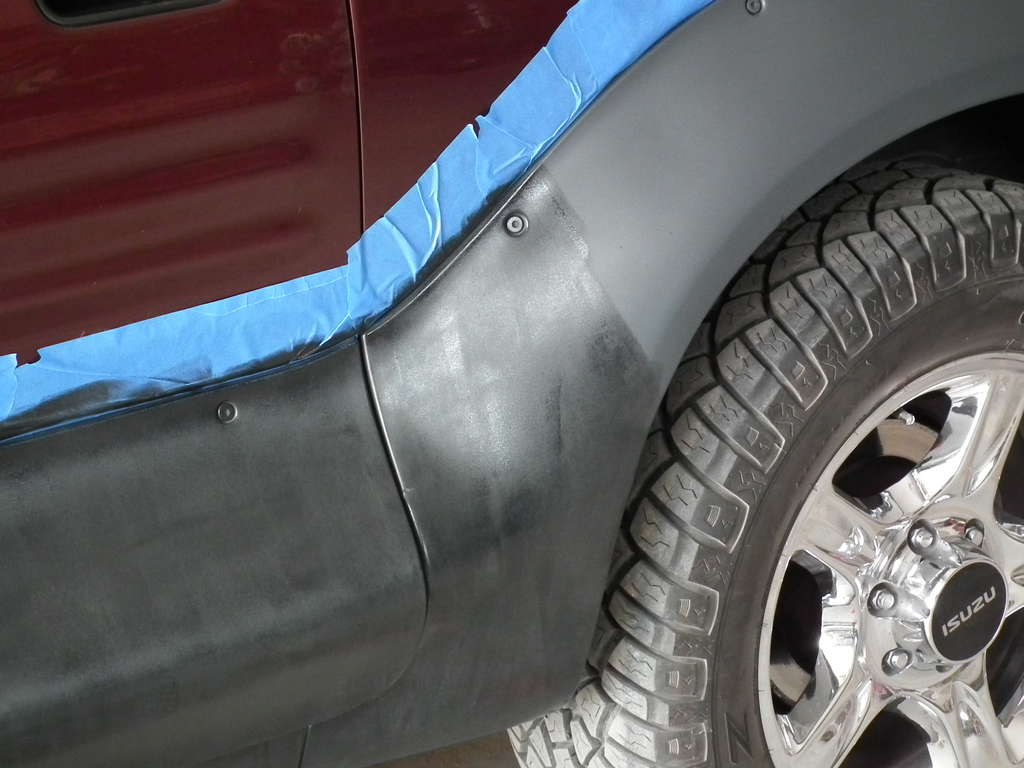
Ok boys and girls. Used marlins method. Just washed clean. Foam brush applicator.
The first coat I already mentioned looked terrible. I kinda expected that from what had been posted already.
If I had to do it again I would use the smallest bristle brush I could find (did this during the second coat) for around the lights and trim. I have a buddy that paints houses for a living. And by default he had taught me how to "feather" a brush. Pinpoint accuracy no need for masking anything. And it would be nearly impossible to see those brush strokes unless you were on your knee's looking in the light holes.
Once the trim is done. Its was like Kat said really about technique. Long steady brush stokes. "blending" into previous coating. Probably part of the reason my first coat looked so horrible. I ignored Kat's and Marlin's applicator recommendations and choose one foam brush that was to big and one that was to small. My Bad.
Problem area's for me where behind the cow catcher. And the rear gate door. In hindsight Kats covered sponge suggestion would have made doing these areas much simpler.
Results after second coat:
There are really two measurements here. The first being improvement from current appearance. The second being what I would consider perfect.
The improvement from start is very significant. There are some application lines still visiable. But few and far between and from 6' or beyond none visable at all. Really you would have to be at arms length in the right light to notice. It has been cloudy all day. I reserve the right to edit that at a later time. Overall much better than I expected for a second coat. And 100% improvement from the gray patch work that I started with.
Score from perfect. Its difficult to score this. I would need to get into my "wayback machine" to a point where I had not seen if before I coated. I would say I am 80% of what I would call Ideal.
Notes:
I used uncut black
Used slightly over one bottle. Just a couple of cap-fulls gone from the second.
I allowed a full day between coats.
2, 1/2 hrs first coat. 1, 1/2 hrs second coat
What I would do differently:
Try Kats sponge
Completely do trim first with small painters brush. To feather: press the brush flat sliding it left or right. (practice first)
Do it indoors (first coat was difficult with changing light and wind).
Maybe cut it with something to make coats less thick.
There are several stages to the drying. Just walk away and quit looking at it.
Questions for those who have gone before me. Will spot touch ups blend or be obvious? Has anybody tried an extremely fine sand paper to get out the few visible strokes I have left.
Oh and yes Kat I did read all of your posts several times. I'm am partly lazy and partly pressed for time. Its my daily drive and I don't have a garage to use. Don't you dare think I am not incredibly appreciative of the work you've done, The information you shared. You inspired me to do this. Thank you.
And Marlin thank you. Your tips were both accurate and helpful.
Right now I am kinda on the fence about a third coat. I dont want to bugger it up. It really looks pretty good the way it is.
Last edited by bssage : 04/15/2013 at 03:05 PM
Super VXer
I thought of another thing I may have done different, I didn't really paint in any kind of pattern, meaning, I did not OCD brush stroke it on. I just kind of painted as I went, and as I said before smeared it on". I didn't like being crouched for long periods of time, so I minimized any chance for symmetrical brush streaks. Think of it like painting a cammo pattern, hard to see obvious brush streaks if they are dispersed throughout in a random NON OCD fashionI took a look today, zero streaks and a handful of pin stripes from trees and whatnot.
Don't worry Sue, I wasn't really offended, just pointing out that I think some are trying to treat this a paint on chemical, but it isn't paint and shouldn't be treated like paint. I am happy with mine, and I spent a minimal amount of time on the project, leaving time for extremely important work (enter marlinstein bumper, herculining the hood/fenders
Super VXer
Glad to hear it's going better!
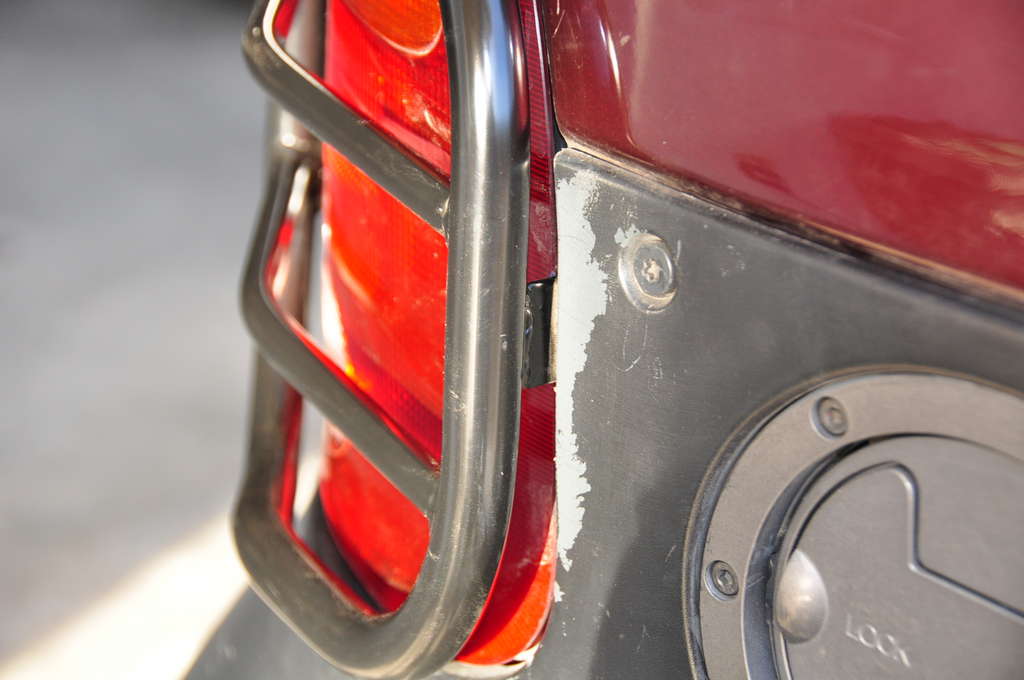
My fab shop really scracthed up my cladding when they were making/installing my tail light guards. They'd scratched it deep enough beyond where the Showroom New dye had penetrated. I touched it up with a small foam paint brush and it blended perfectly. I applied a second coat trying to reapply approx the same "level" of dye as I originally had there. Pic isn't the best, but can see it blended just fine.
I've also touched up a few areas after I got some trail rash, and it blends right in that scenario also. (Doesn't completely hide the scratch, but greatly reduces how noticeable it is.
VXorado touched up some severe scratches, here's his thread:
http://www.vehicross.info/forums/sho...tched+showroom

Super VXer
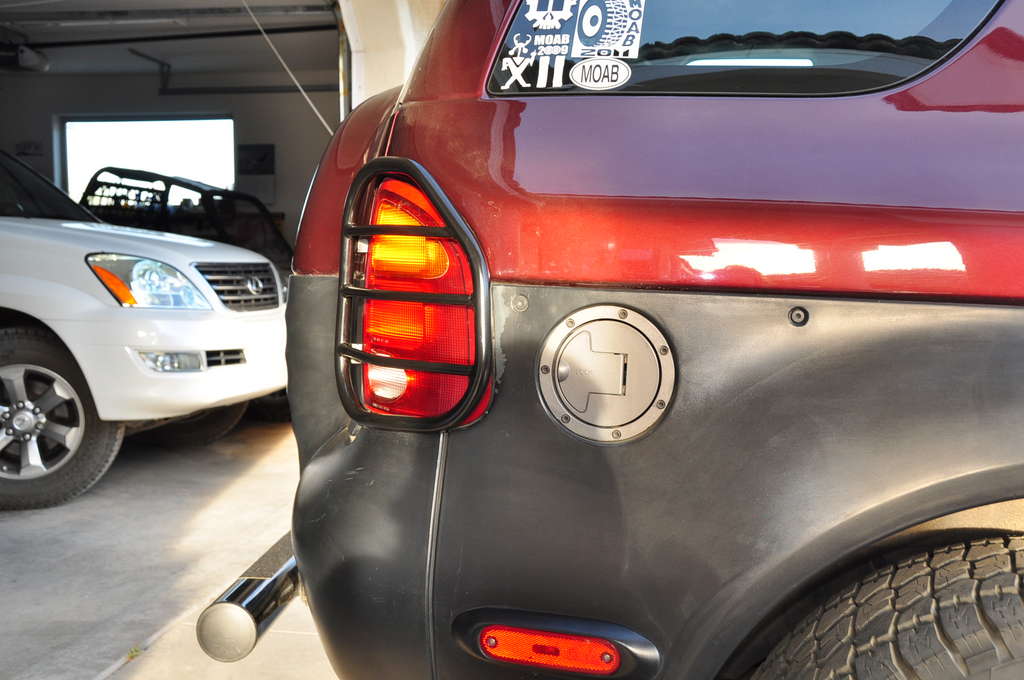
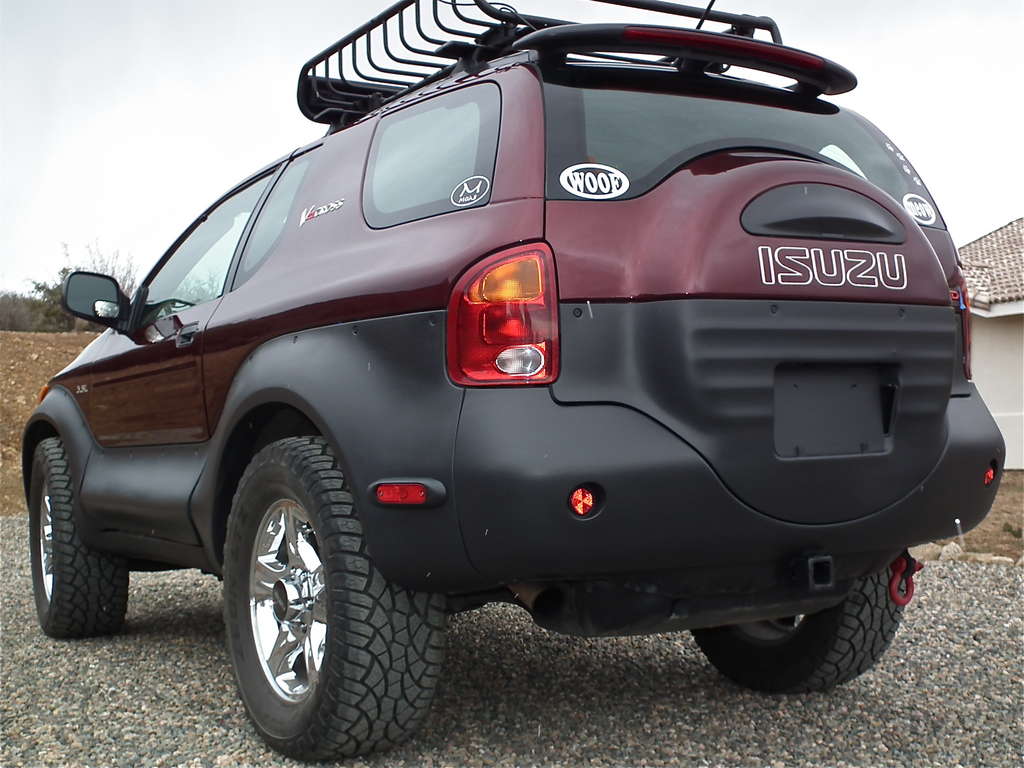
So I went ahead and used the showroom new!
I went with full on Black. I know about the big Dark Geay/Black debate when they were new,but I think it was black if you look at all the original promo images when the VX first came out....it was black.
Also I've talked to a couple owners who got the VX new and they say it was black also.
Anyway here is my views on the stuff.
First off it was a bitch to not get any streaks. Don't waste your time trying to use the brush lol.
After I was done it looks GREAT!!! better than anything I've ever used.
Now here is one MAJOR issue I have with it.... It scratches off very easy.
I prepped the panels to a T. trust me as I do body work.
It's not so much of a dye as it is a paint.
These pics are 3 weeks old by the way.
It holds up to car washing just fine,just don't touch at as it will flake off with a fingernail.
P.S I also did the hood insert.

 Super VXer
Looks good. Black and shiny. I guess better that the Wipe New you tried before?
I guess I'm sticking with the Krylon Fusion paint solution based on the below posts...
http://www.chevyavalanchefanclub.com...topic=108150.0
Last edited by VXD959 : 07/15/2013 at 09:42 AM
Daniel
Super VXer
I wonder if something changed, be it cladding material or the product. Mine is defintely not like paint. Covered in mud, pressure washed, car washes, no peeling or scratches except a few spots that were deep from tree limbs.
Super VXer
I was thinking the same thing Marlin. Mine only comes off with tree branches and stupid fab techs making tail light guards
Remember too, out of frustration I ended up sanding my front driver corner and the filings were dark gray and the cladding were sanded was still the new dark gray, telling me the dye had penetrated in a fair distance.
Super VXer
I don't know what happened...
I use the aerosol can and glass jar it came with.
I deff prepped it with a wax & paint degreaser made just for plastic and by the time I was done the cladding was a pasty dry grey.
Super VXer
Aerosol? Glass jar? Mine camr in a plastic bottle with a gold label. Me thinks you have a different product.
 Posting Permissions

 Reply With Quote