 VX Dash Removal
VX Dash Removal,
by workmeistr
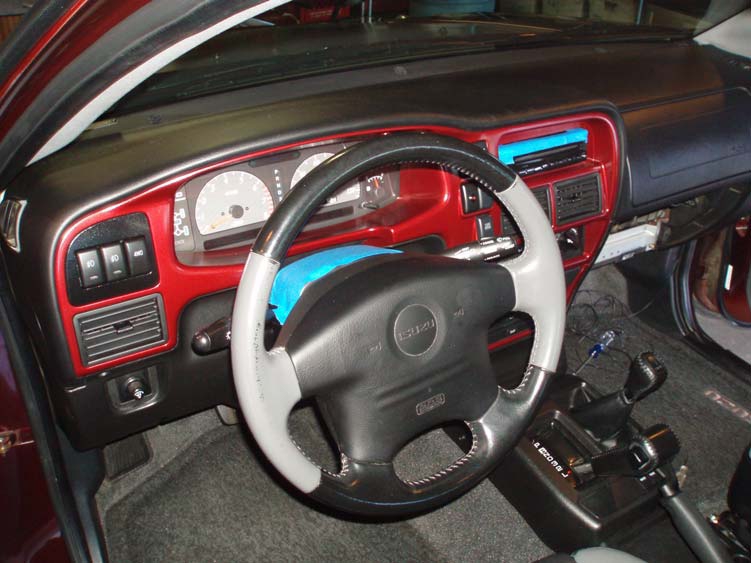
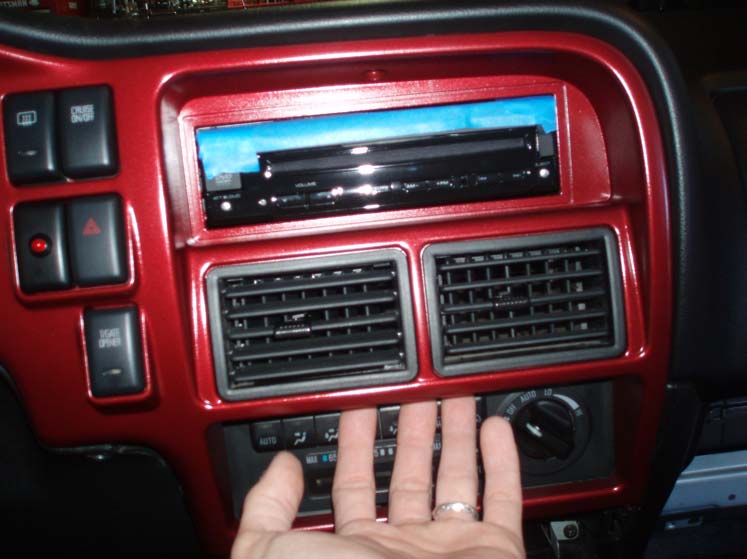
1. Put painter’s tape on top of the steering wheel shell. I also tape the top my after- market stereo since it sticks out farther than the factory stereo.
2. Remove the trim from around the ashtray and CD changer/cup holder/etc.
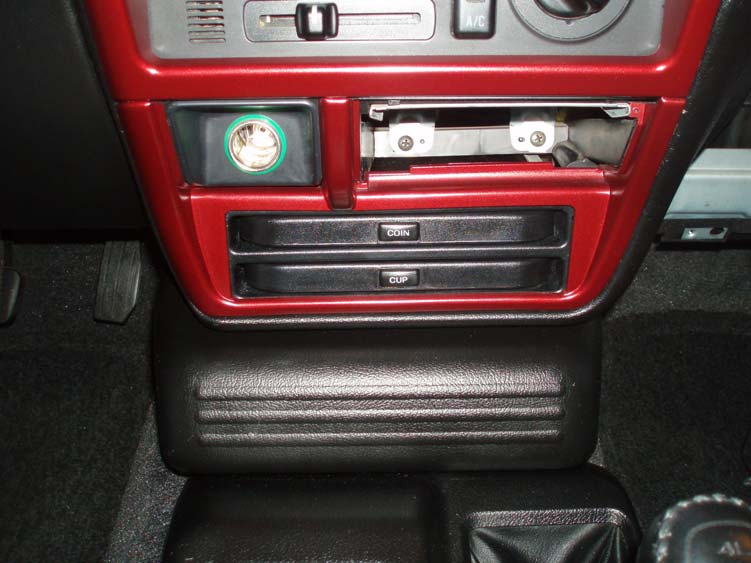
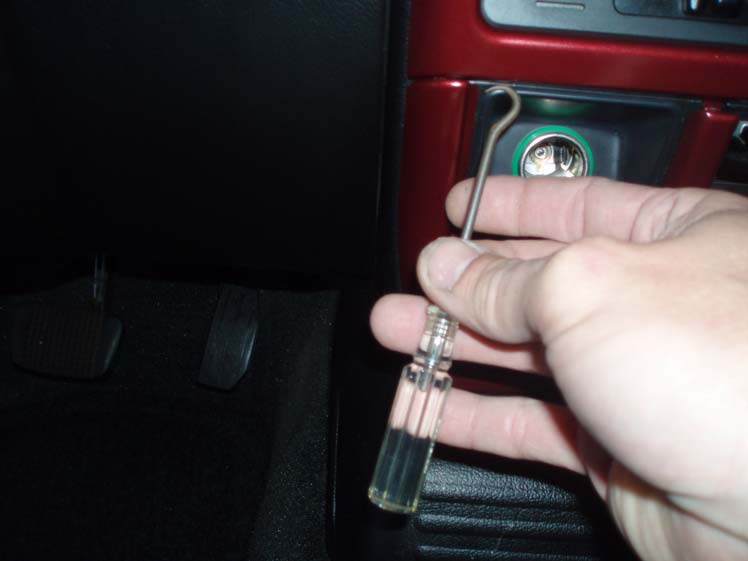
There is a tab on the right side behind the top right of where the ashtray would be before it was removed. Pull out just slightly to just free the metal pin; do the same with the center strip. The left strip needs a small hook to hook on the upper right.
Once the third metal clip is freed;
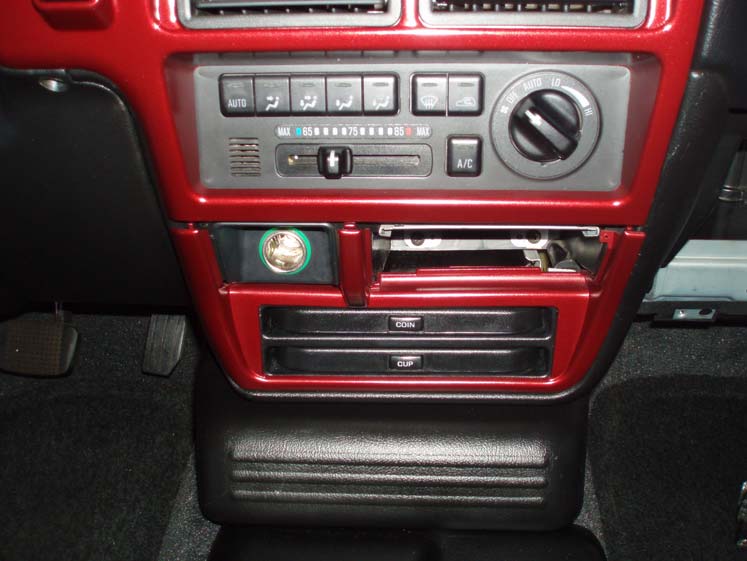
pivot the trim top down from the top, free of the metal pins and slide the base out of the two notches of plastic on the bottom.

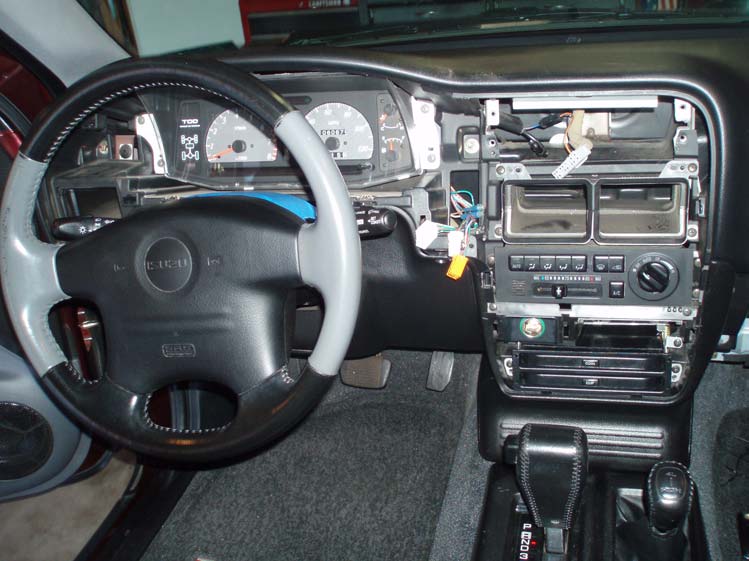
3. Shift focus to the main dash panel. Remove seven screws.
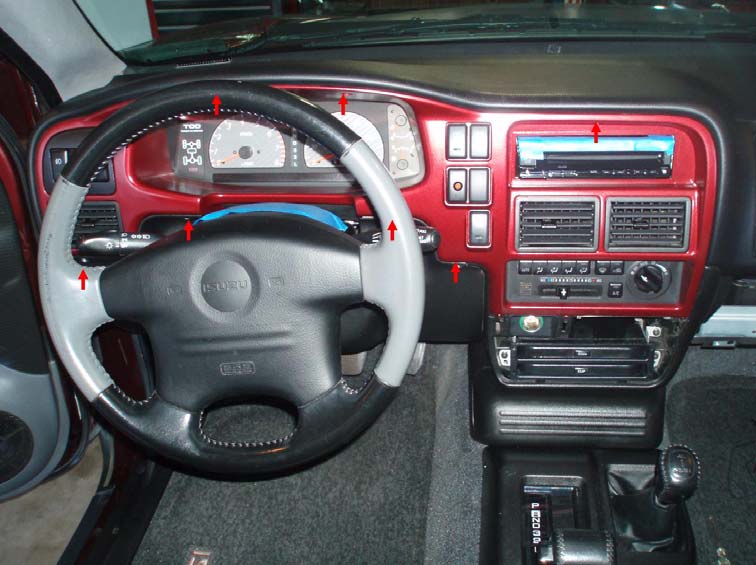
Use a stubby screw driver for the two upper gauge screws, or place the screwdriver between the stalks and the back of the steering wheel.

The lower steering knee panel (where the 4 screws were removed) can be gentle pushed down so that the dash panel tabs slide out easier.
Starting on the left side of the dash panel, by either grasping the fuzzy hole or otherwise, pull the panel out to release the left metal retainer pin.
The two top gauge screw areas are recessed and care has to be taken to free them by gently pushing down on the left of the dash panel.
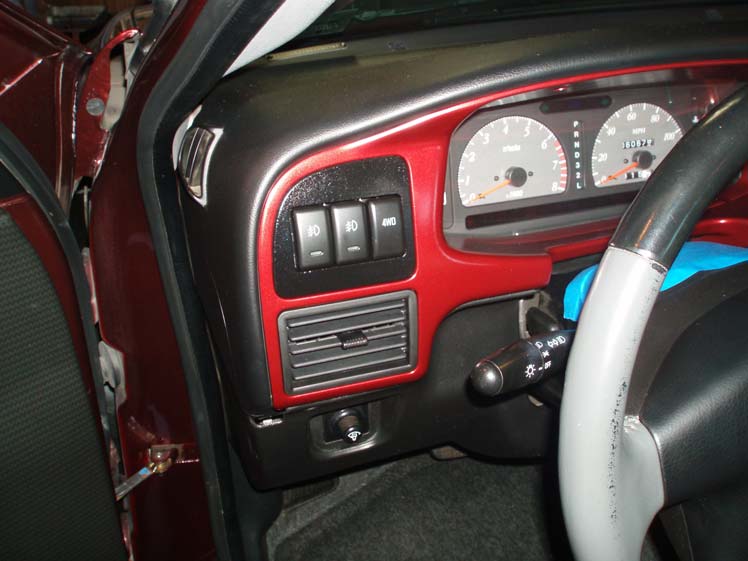
4. Now shift to the right side of the dash.

Only pull out far enough to separate the next metal clips on the back of the dash panel.
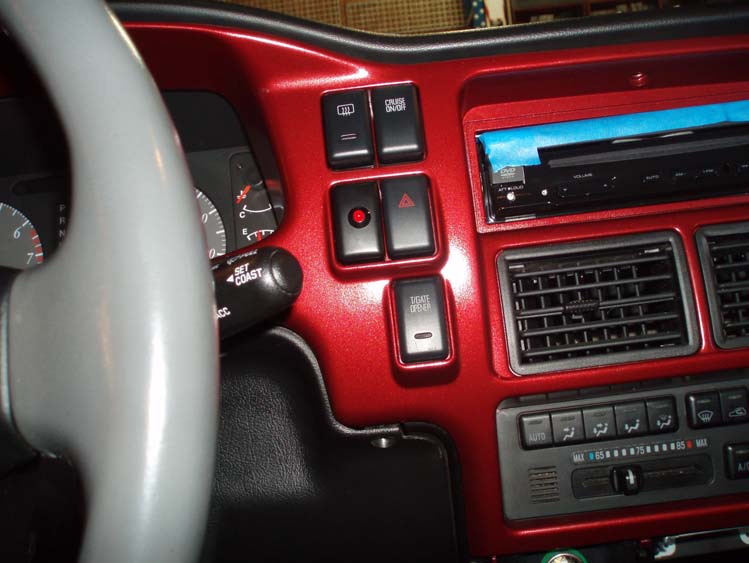
Pull out the clips around the HVAC controls by pulling the panel from under the center air vents.
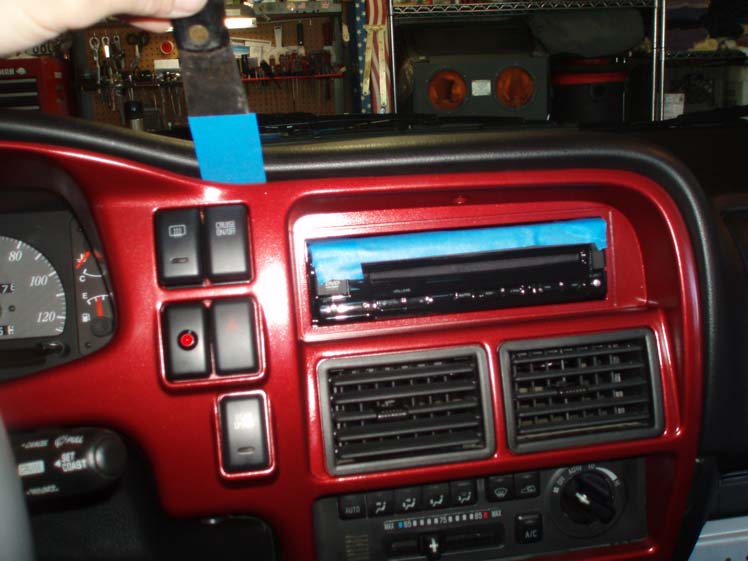
The next focus is the recessed screw area above the stereo. It is similar to the ones above the main gauge, but deeper and always proves to be more stubborn. This is the reason that dash removal is a 15 minute job, not a 10 minute job. It is easier with the factory stereo that doesn’t stick out as far.
You can slide a flexible putty knife between the dash panel and the dash board. This will usually push the recessed stereo screw area free.

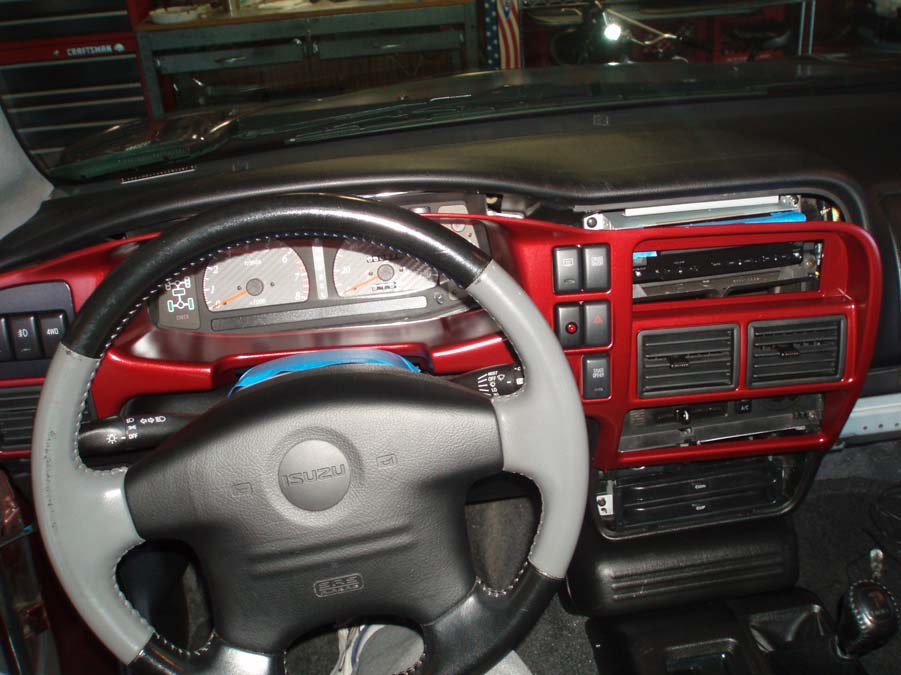
Pull the dash out and free from all of the metal clips and let rest on the taped area of the steering wheel base cover.
5. Remove pins from the switches. Sometimes this is easier said than done. Locate and push in indents for each male plug and lever out the lip with a small straight screw driver, that is, if one or more is giving you trouble.
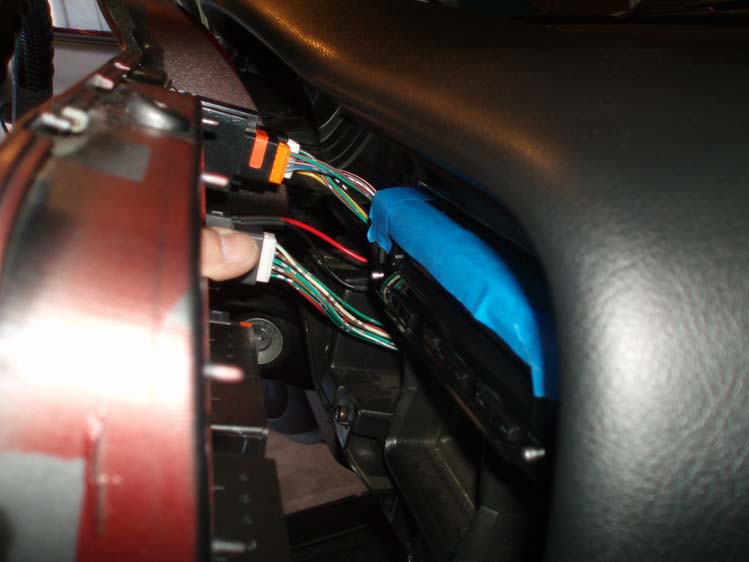
As for the alarm L.E.D., I recommend simply cutting the wires as close to the connecters as possible. Two of us spent 10 minutes trying to legitimately separate the two independent plugs the first time I removed the dash panel. Frustrated, I gave up and lengthened the wires from both the L.E.D. and the dash leads to a more user-friendly plug set-up.
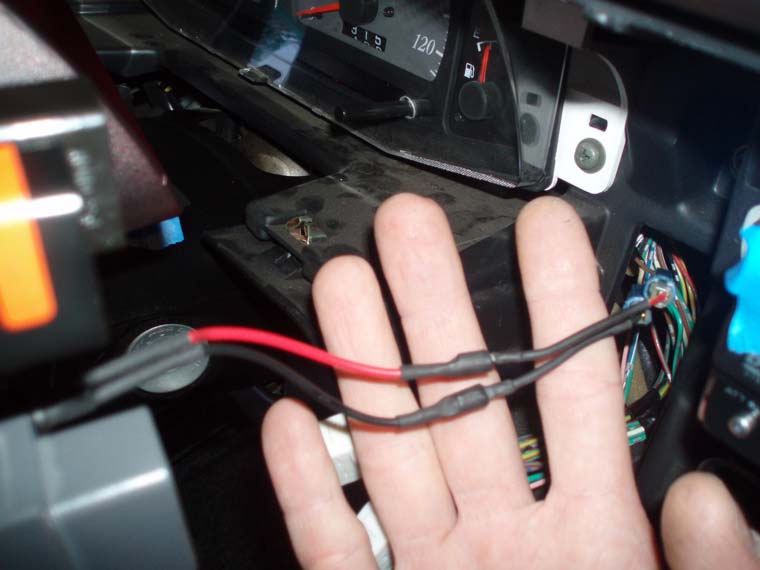
The dash is now free to lift above the steering wheel and remove from VX. I apply dialectic grease to the switch plug areas and the dash panel metal clips. This makes plug removal executable by hand only and assists the ease of removal of the dash panel, itself.
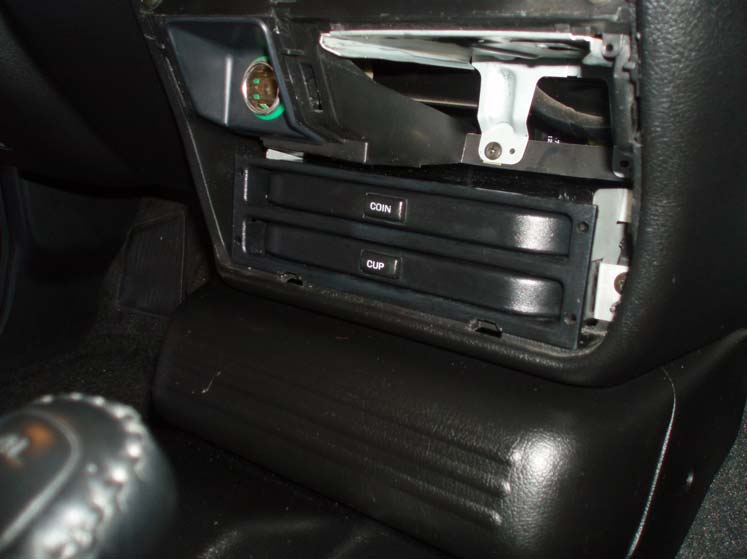
Close-up of the two notches required at the base of the Ford cup holder in order to have it slid forward, flush with the lower dash panel.
As all of the auto maintenance books say, “Re-installation is the reverse of removal.” After plugging the switches back in, start on the right side of the dash panel working up to the recessed stereo screw area, then move to the clips on left side of the dash panel. Make sure that the tabs are slid correctly into the lower steering knee panel (where the 4 screws were removed).
That’s it. Drink some beer.
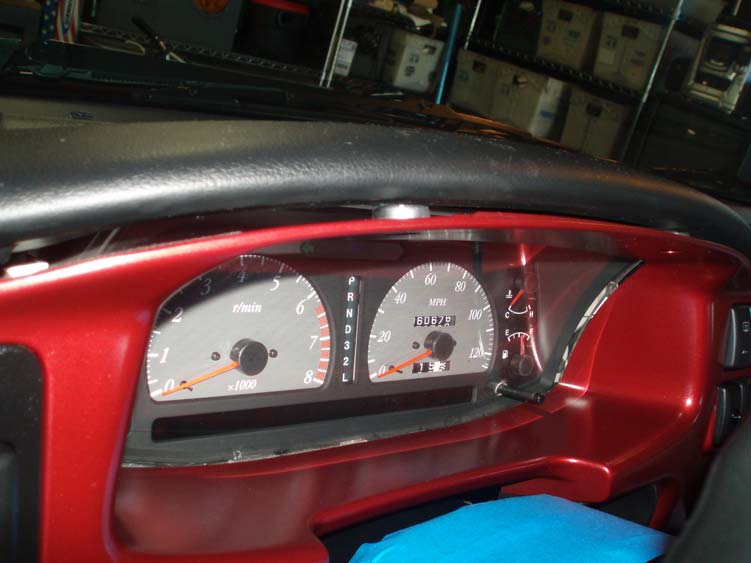
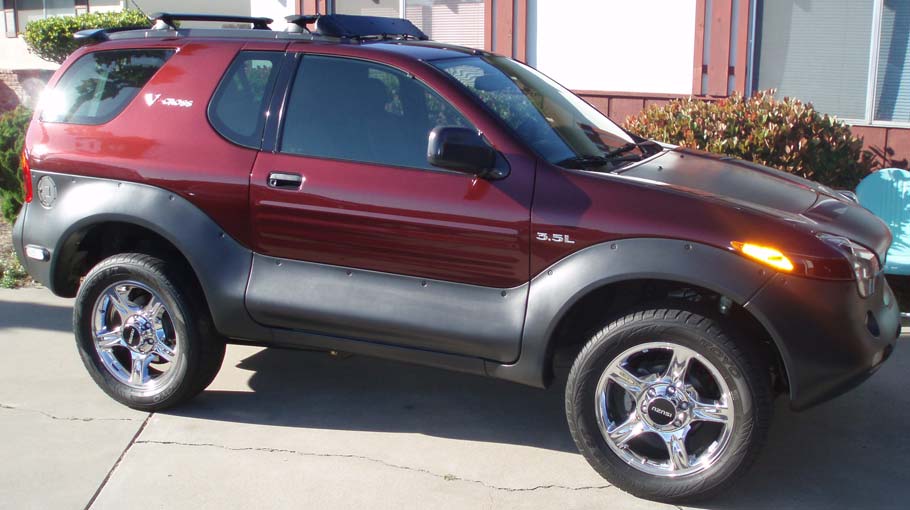
Gratuitous Foxfire shot to fill page:
You can also DL a pdf version of this write up with the link below
Bren Workman
Gretna, NE
(C) 402-312-1992
[SIGPIC][/SIGPIC]


 Reply With Quote