


This was part of a thread started by dyanni describing his experiment with the lights described below. I've made some edits where appropriate now that I've successfully run these for over a year. My part follows:
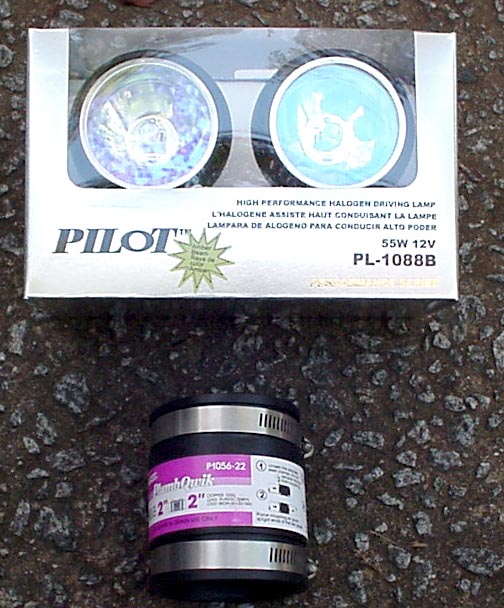
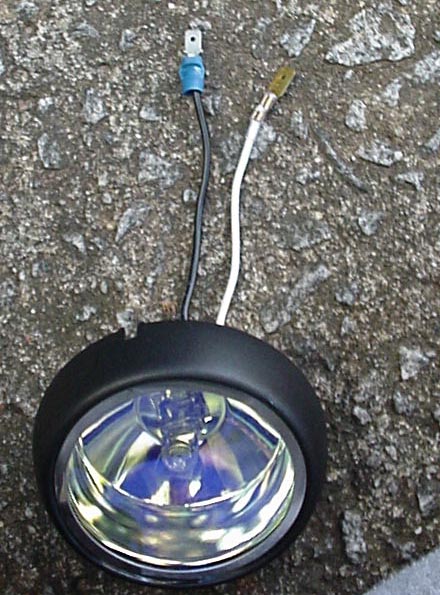
As discussed previously, BigMike and I first went to Autozone and each bought a $19.95 Pilot 55w light set. We then went to the local Lowes and bought a short plumbing Connecting Coupler that fit snuggly on the reflector (we brought one in with us and physically selected one that would fit):
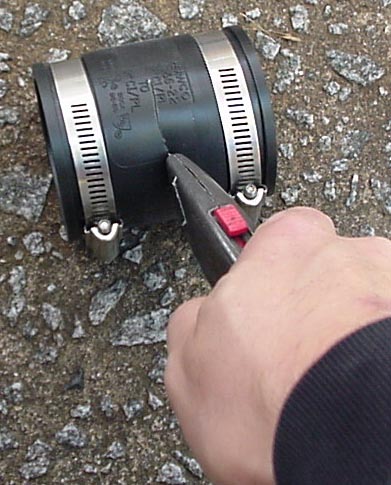
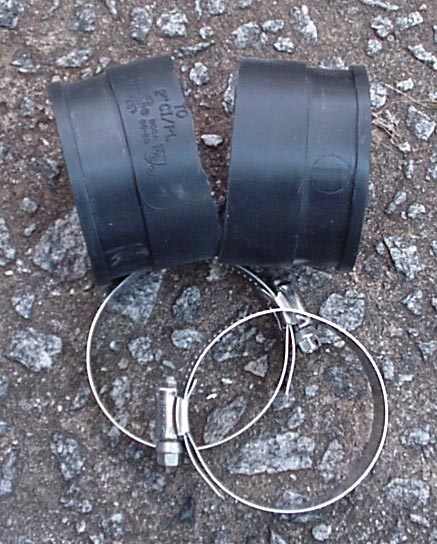
This Coupling has is about 4" long and has a pipe clamp on either end. You will want to cut this in half:
Next,
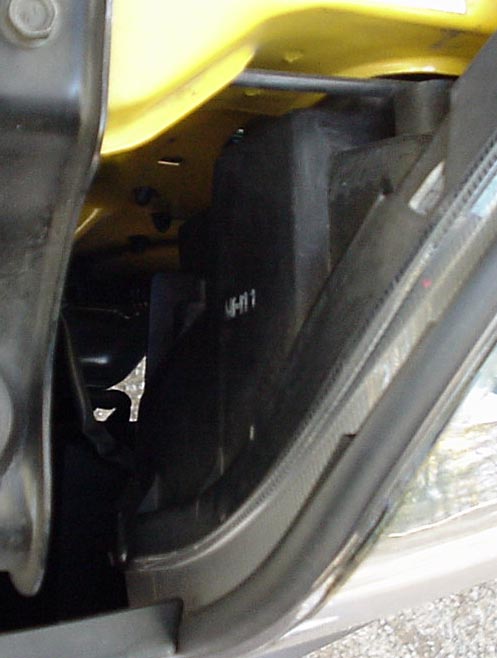
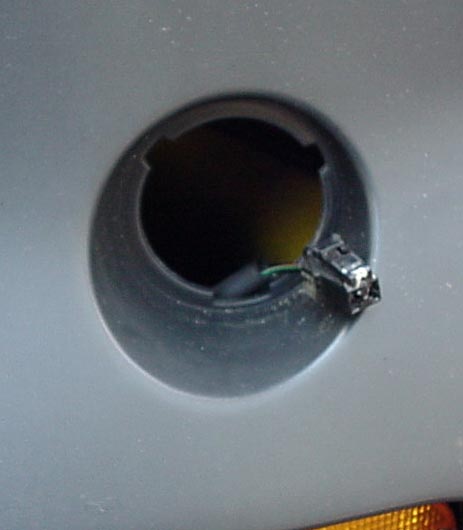
Remove the existing lights. You can do this by sliding your hand in the space between the headlight and the front grill. There is some foam insulation that may be moved aside for easy access to the light.
Turn it lefty-loosy from both the back and front. You'll then be able to remove the light and disconnect the leads:
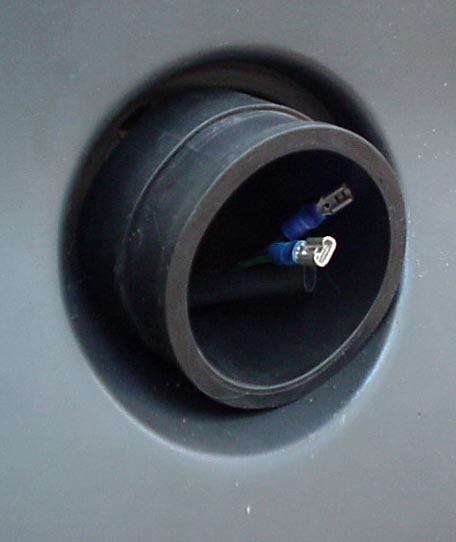
I sliced the enclosing harness about an inch and gave my self some wire on both ends before cutting the old wires. I then added some spade connectors (the Pilot light has one connector, find a match for it and a male/female for the other wire):
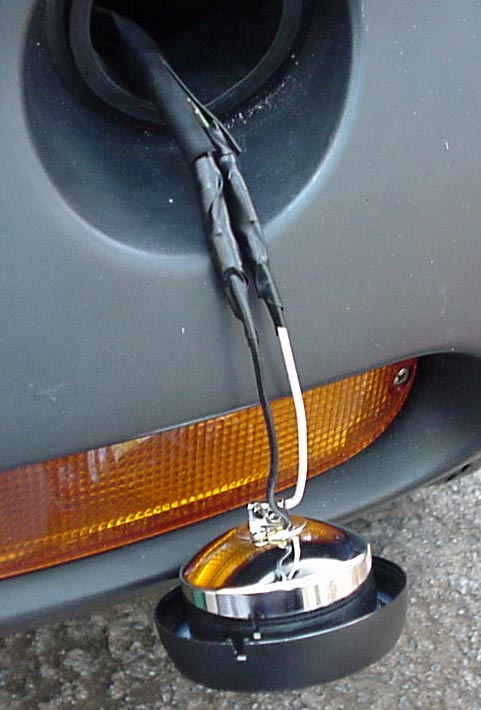
It's important at this point to insert the hose clamp inside the hole, but around the wiring harness. Then insert the rubber coupling, with the inset groove to the outside so that the lip is exposed. This will give you your tight fit:
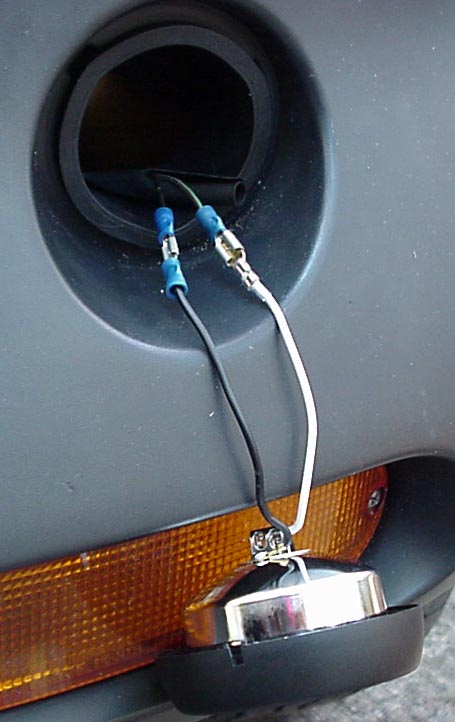
Next connect up your leads:
Next tape them up separately, then together with the harness as you see fit <edit: Now I would have added some shrink tube to get a waterproof seal between the connectors - John>:
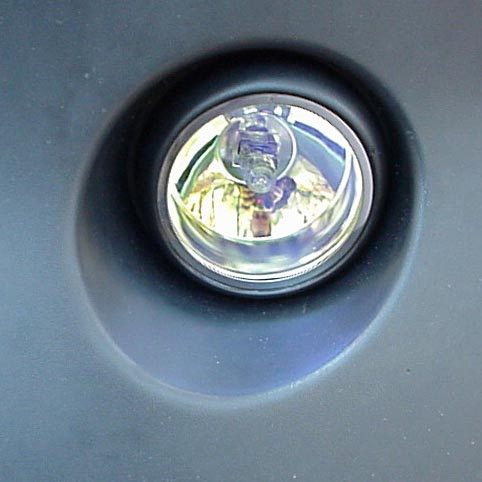
Finally, push the lights into the rubber connector - now a gasket - until the light edge is flush with the cladding:
There's a notch at the top of the light that you can use as a guide. This should be verticle in the hole.
Note that I used the spade bit connectors so that I might go back to the original lights at a later time if these didn't work out. It may be easier to use inline splices and not worry about it.
The hardest part is to tighten up the hose clamps. I tried using a screwdriver, then a nut driver but just couldn't get my big mitts in there to tighten them up. I finally said to hell with it and started to peel off the front bumper cladding. After removing the 3 screws and 4 bolts in the front grill, I realized that the insulation to the sides could be moved to the side enough for me to get a nut driver lined up on the clamp. A few turns and the replacement of the grill completed the project. Total time, about 30 minutes.
I ran them all night without any noticable melting of the cladding or rubber connector/gasket. I'll report any problems as they occur.
Since I originally wrote this (from the ClubVMag board, 11-24-2002) I've successfully run these without an issue. BigMike has experienced some rust in his from water getting into the housing. I'm not sure if there's a better method of sealing these to prevent that from happening. I believe the original plastic housing helps to keep moisture out of there.
These same lights can effectively be added to the rear bumper to be used as back-up lights (there's a thread in here about it - don't remember who did the install).
-- John

 Reply With Quote