Hi CatFish,
Great to finally meet you! Your posts have always been helpful.
Agreed, Photobucket is right way to go but until I set up an account, I beleive I may be able to post in one hit.
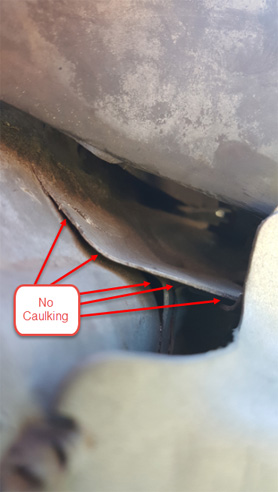
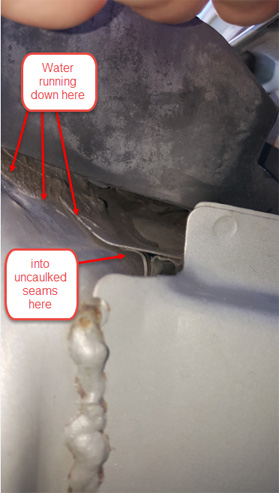
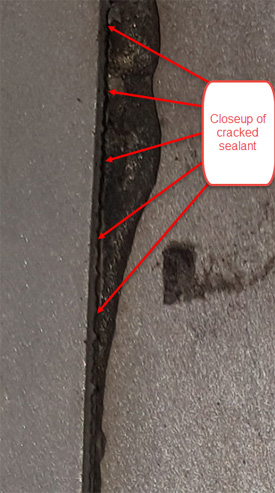
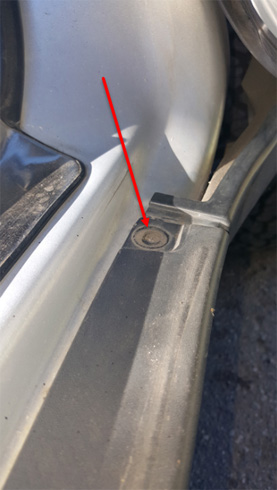
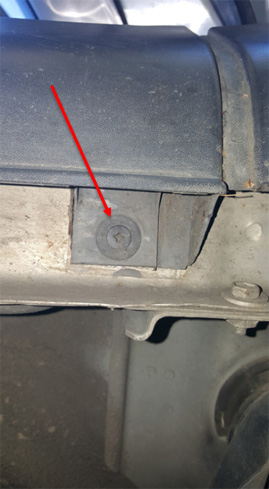
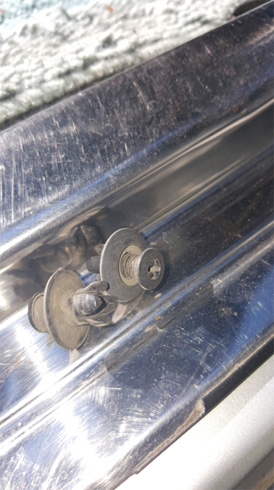
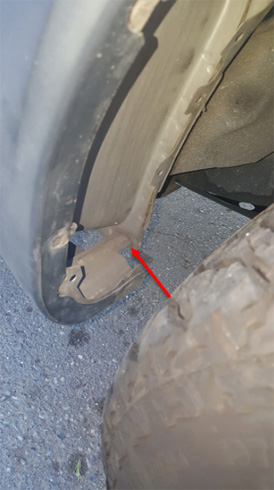
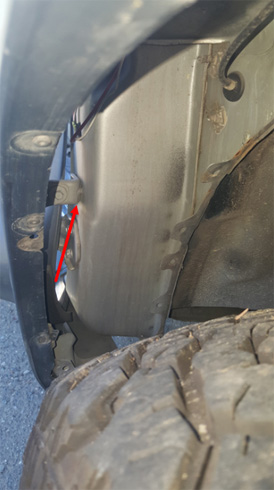
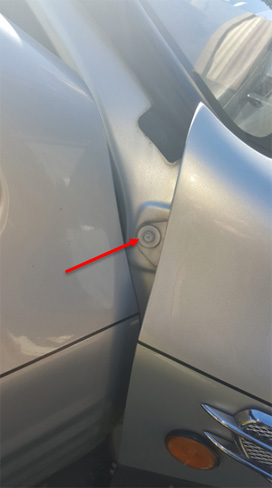
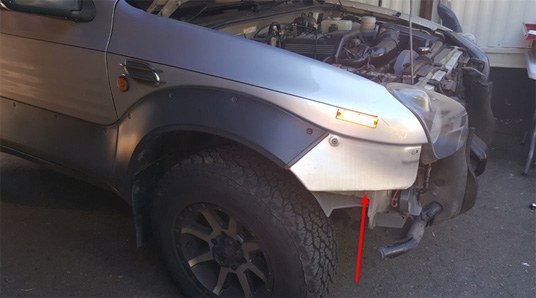
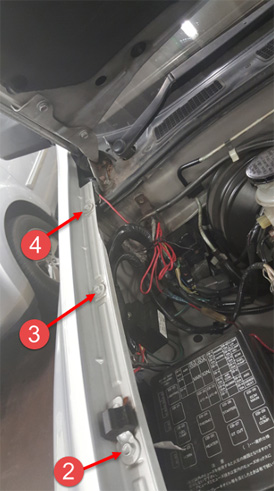
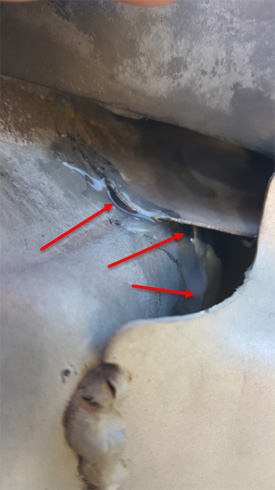
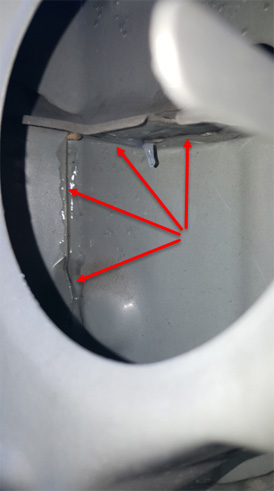
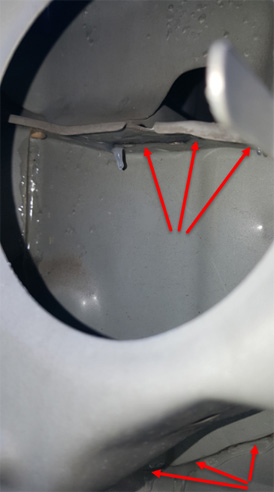
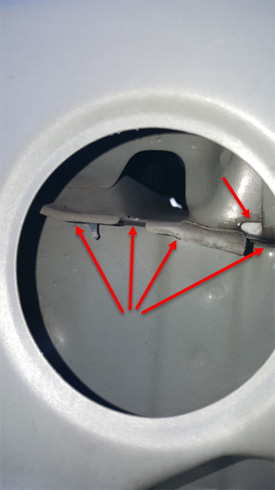
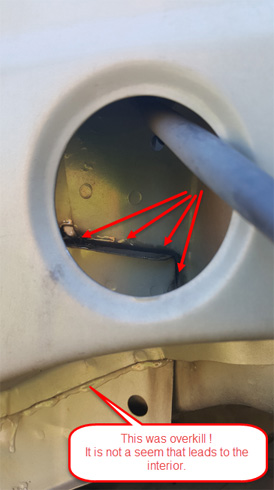
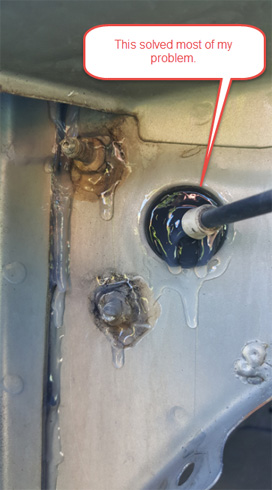
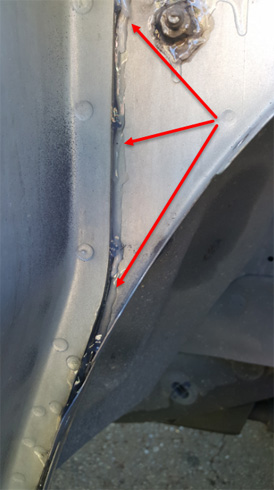
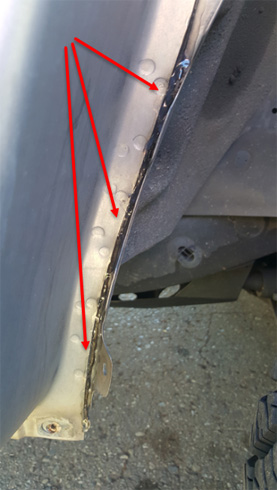
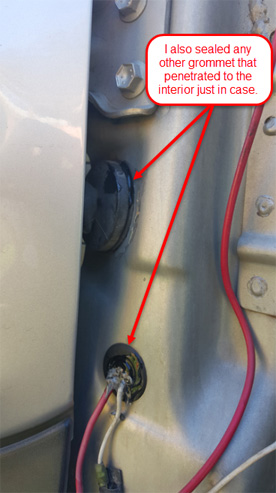
I am resizing all photos again down to 86KB. They are still clear enough to see everything and read the annotations.
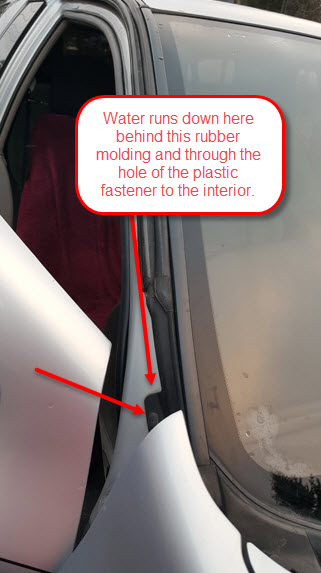
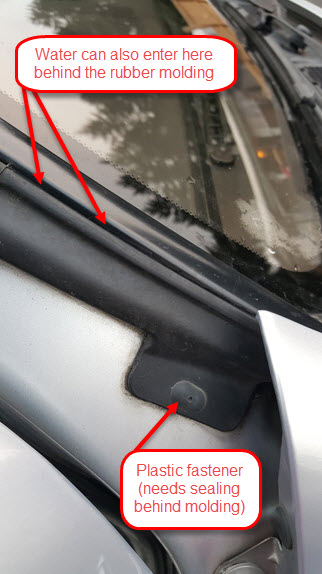
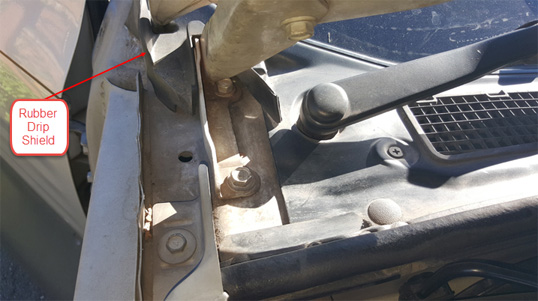
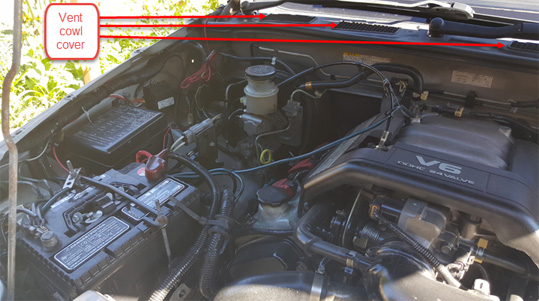
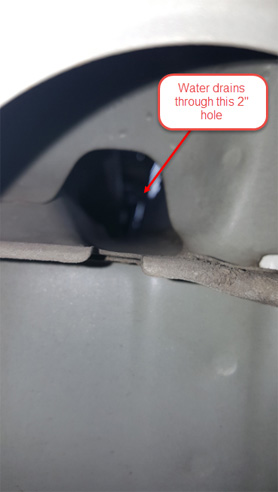
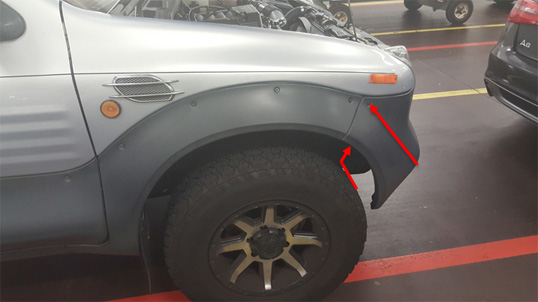
Thanks Raider. I am also including the front windshield bottom corner issue in this post. I'm about quarter way through resizing photos and will post as soon as I can.
Thanks for your patience!
Jayd-S

 Reply With Quote