Sorry about the link fail.
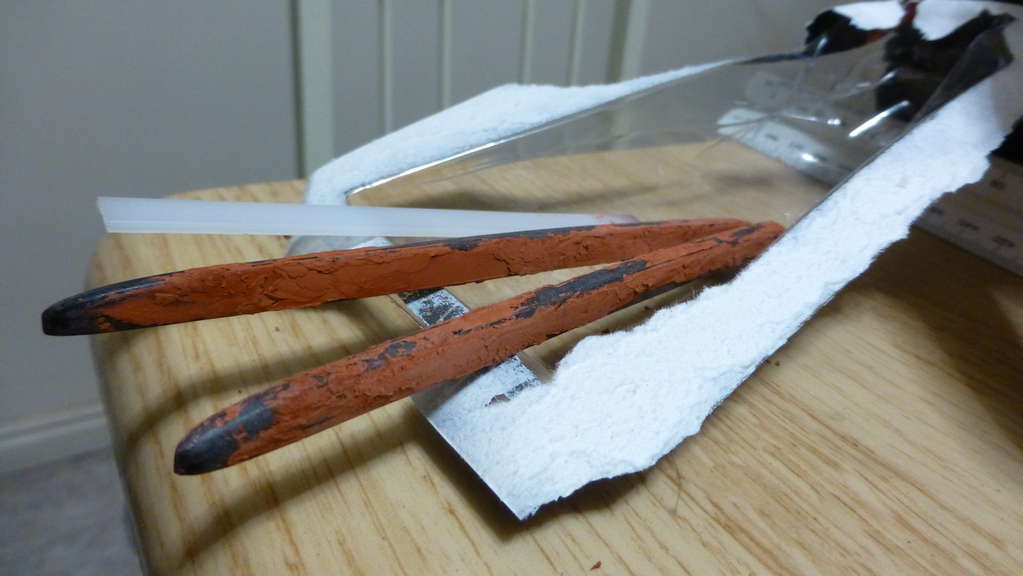
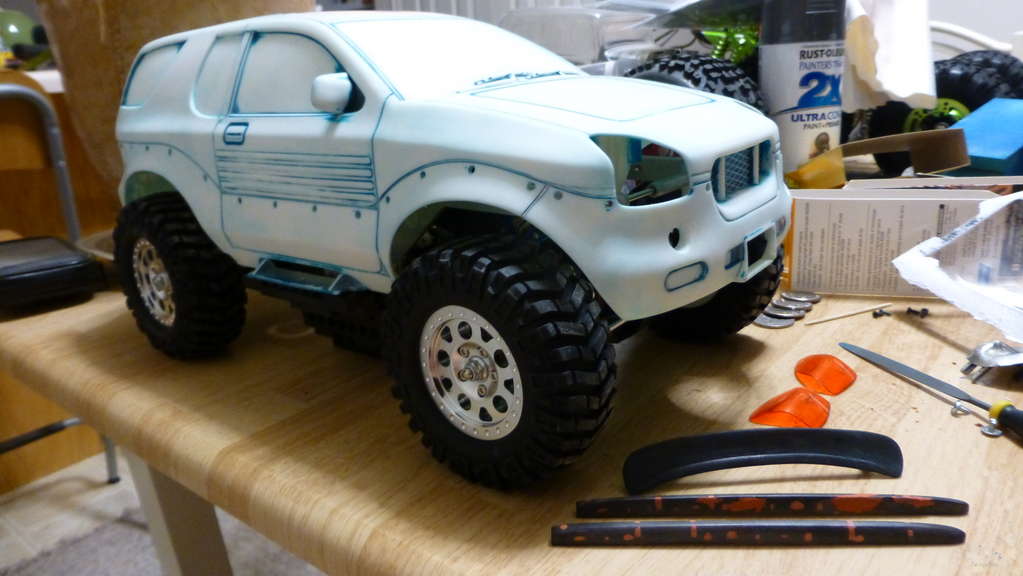
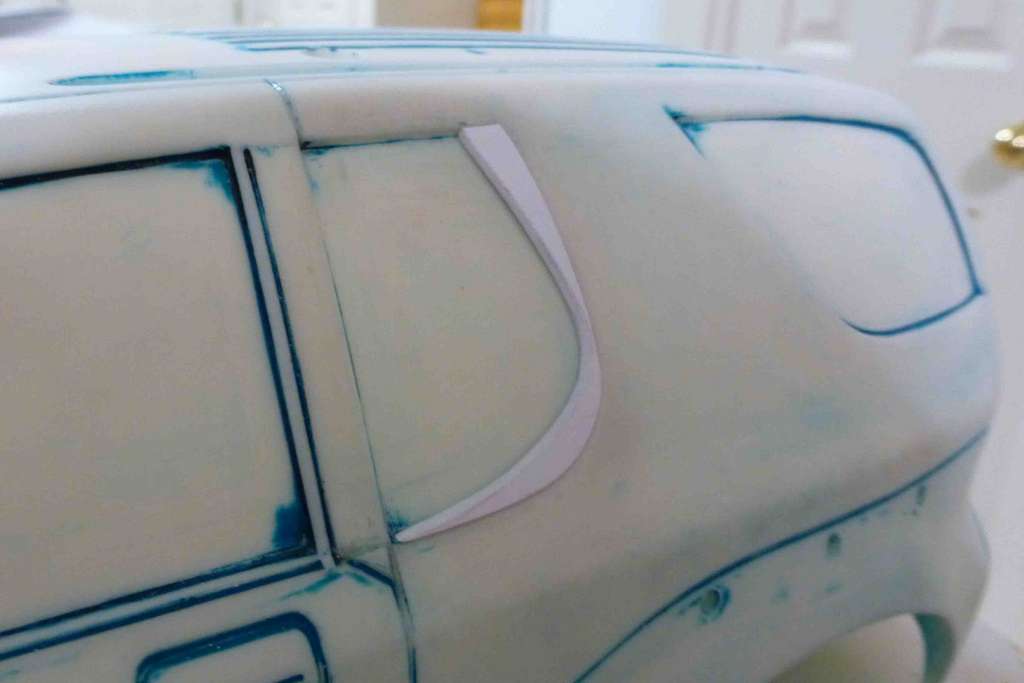
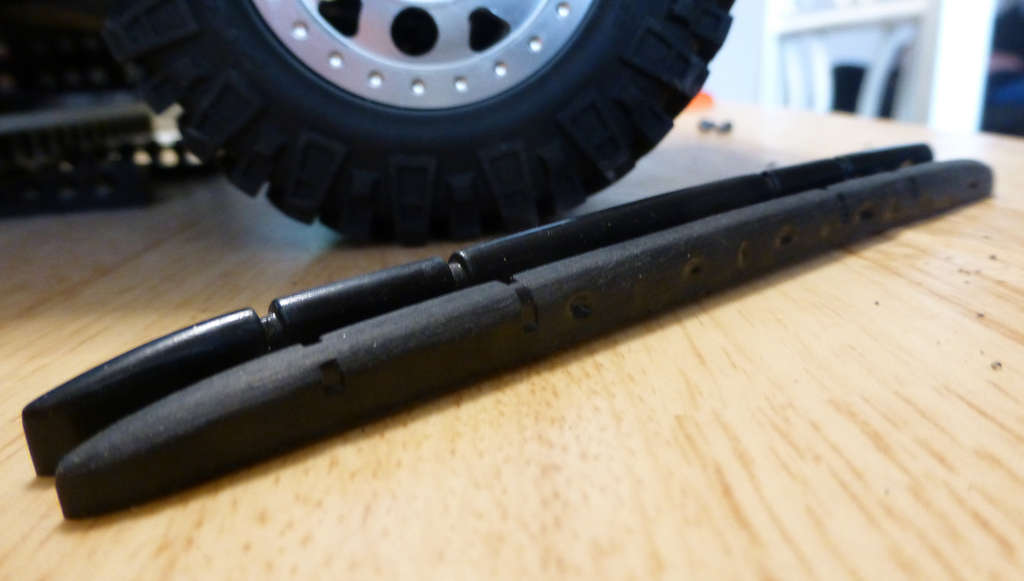
I took to work on the roof rails & spoiler today. I'm not finished but it looks much much better! Here is a comparo of the stock & modified:
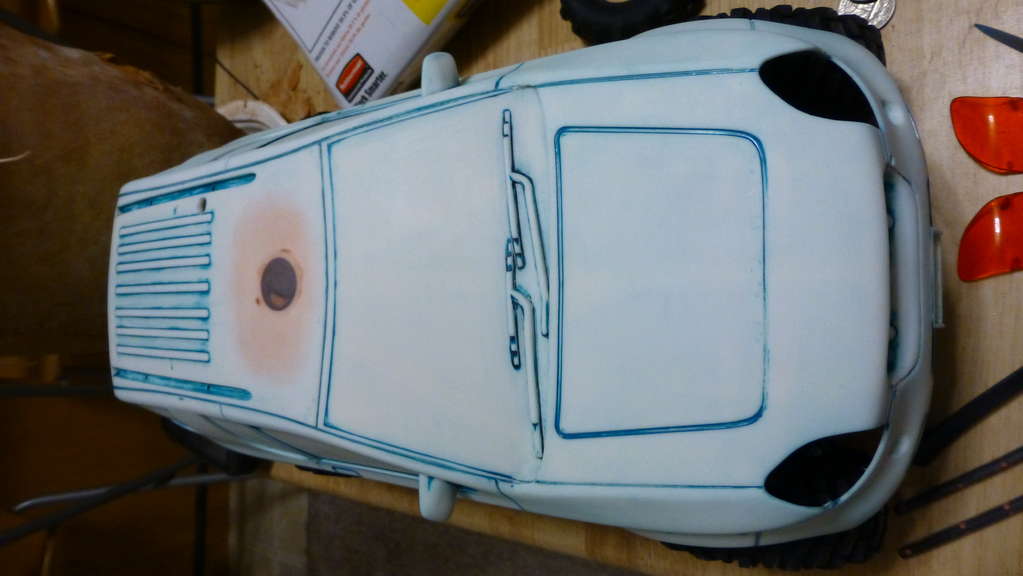
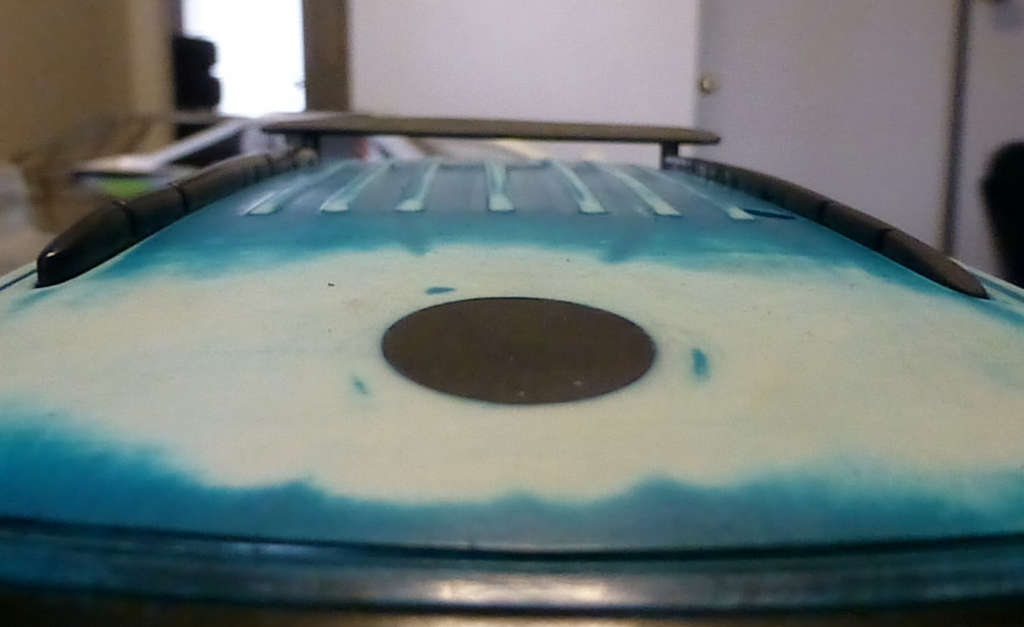
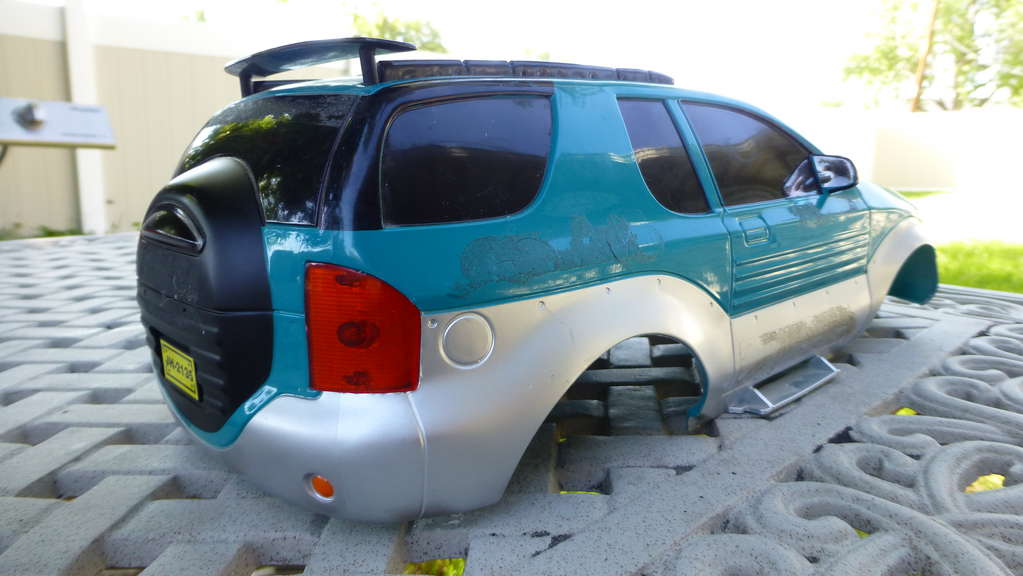
Stock & modified - Mounted:
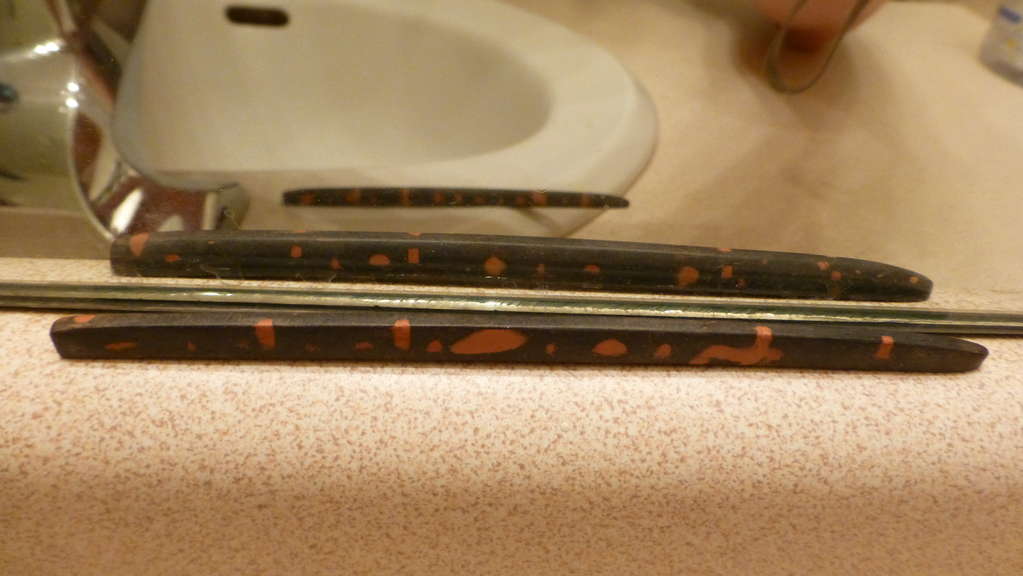
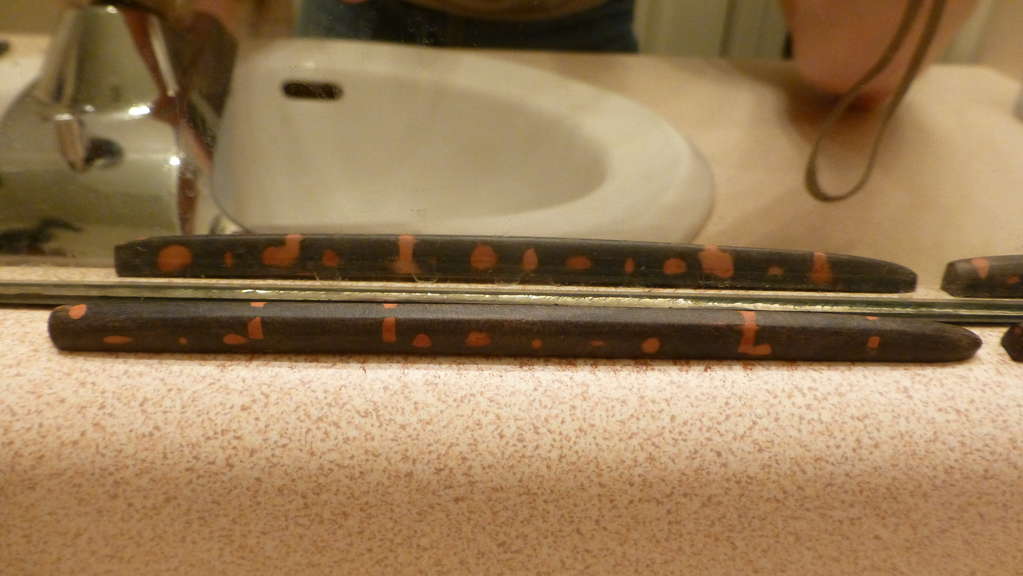
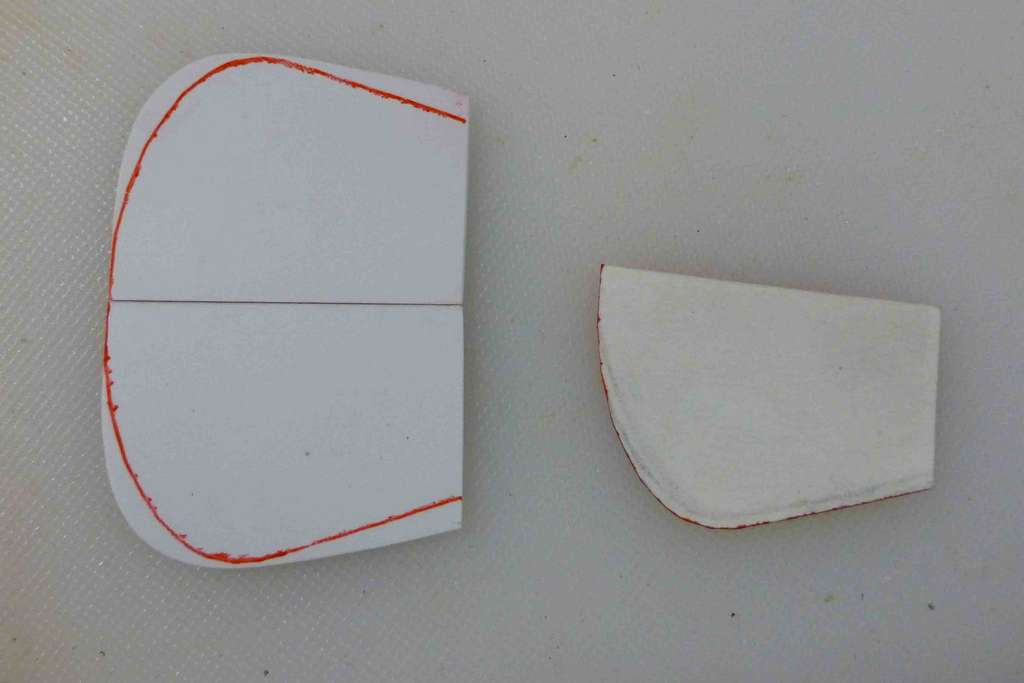
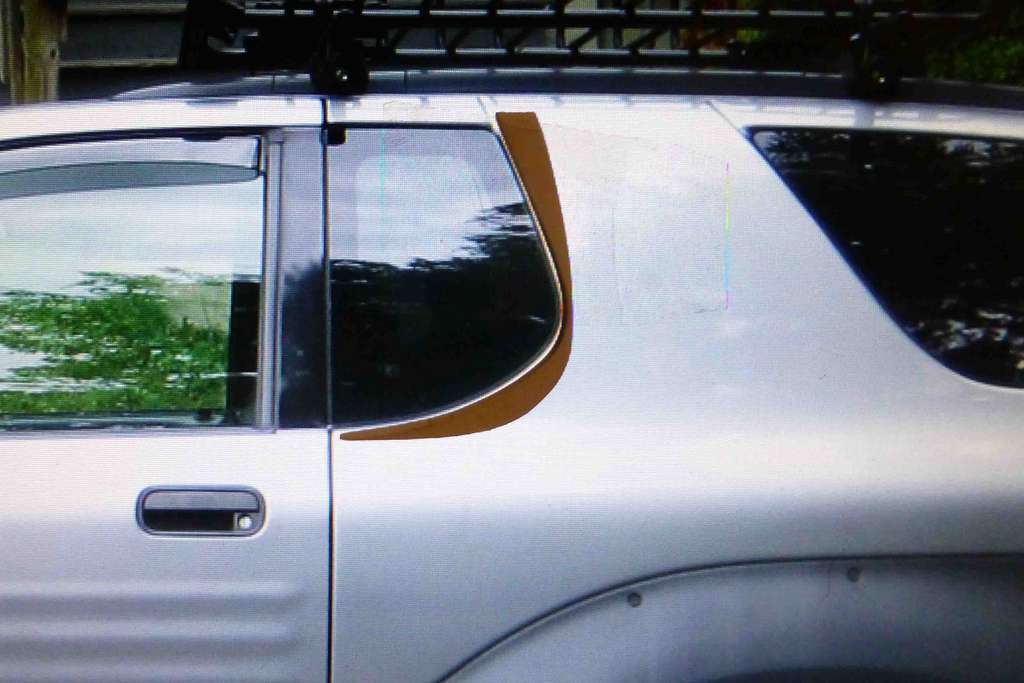
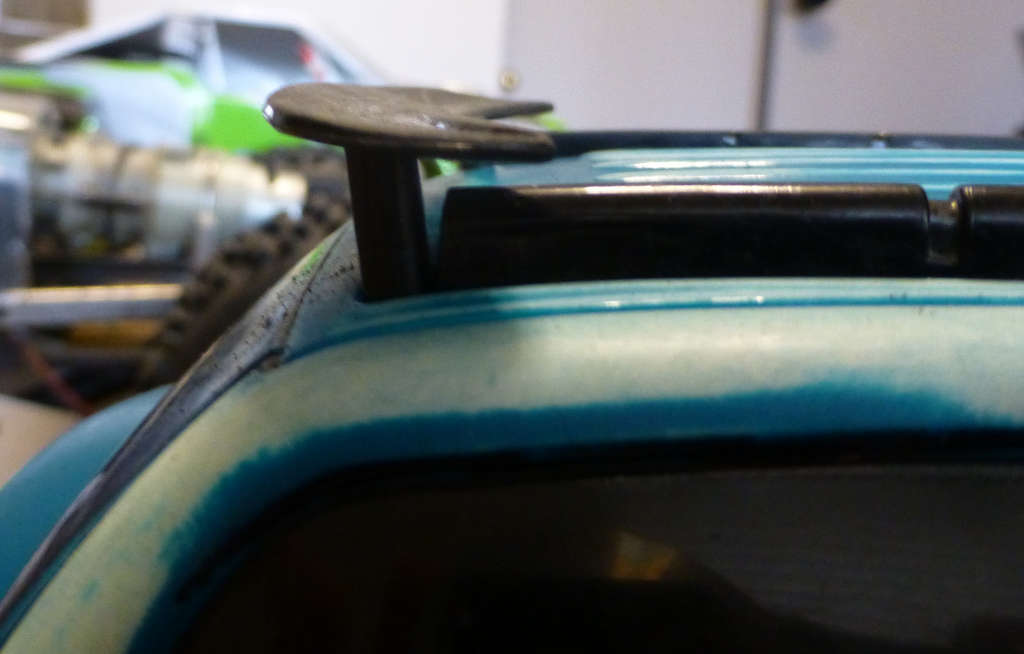
Tall spoiler & stock rail:
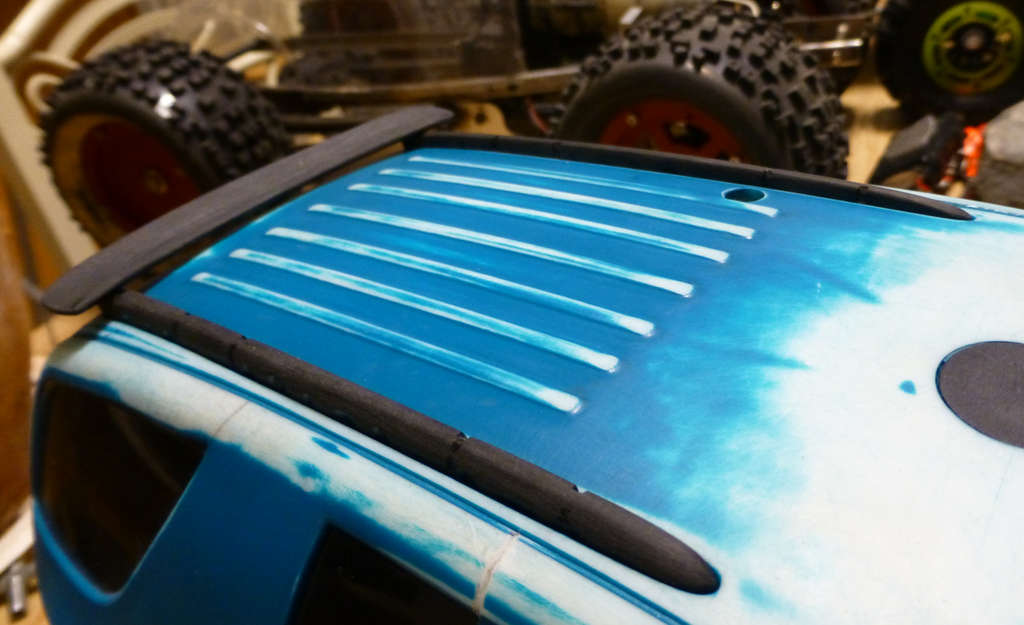
Modified spoiler & rail:
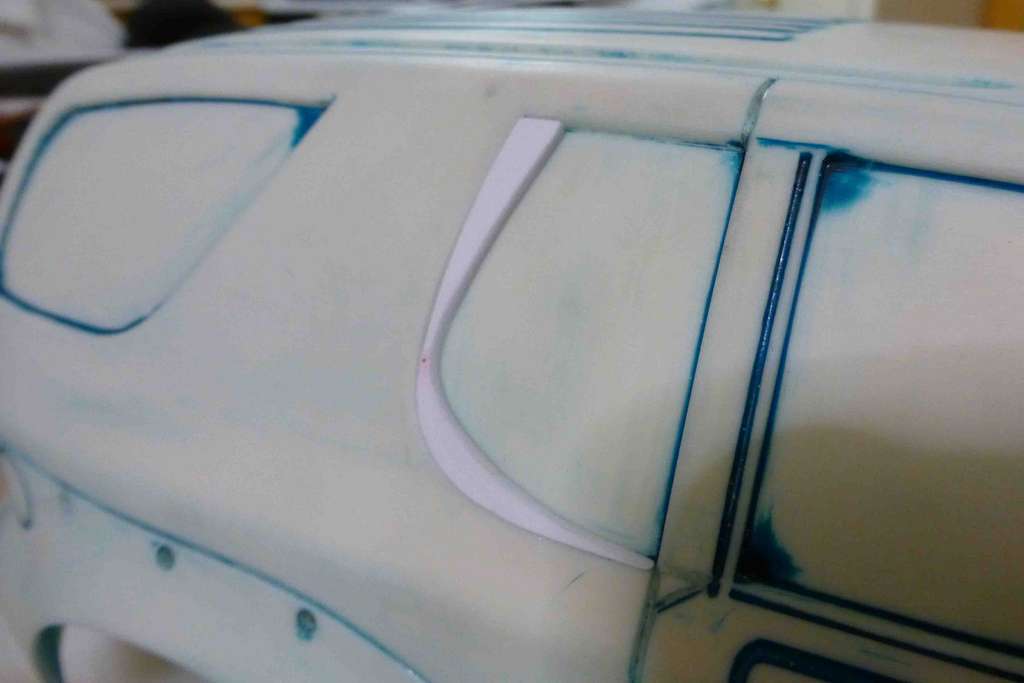
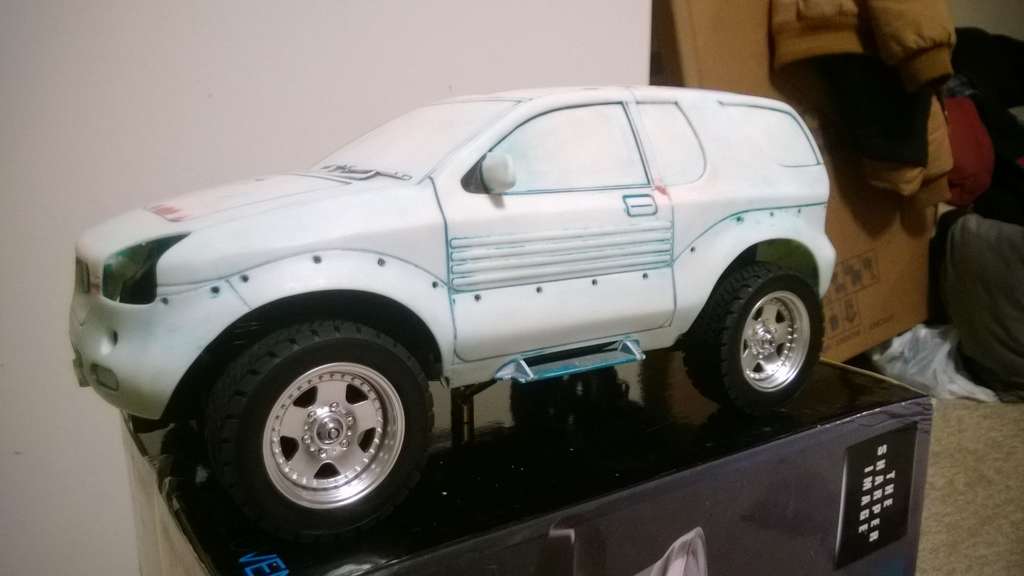
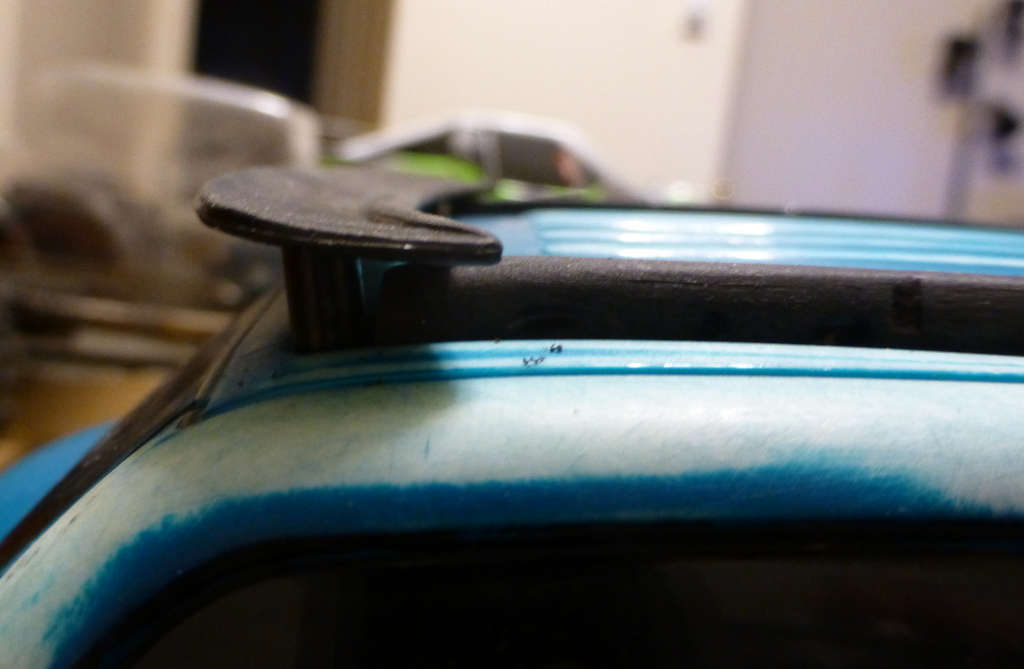
Modified - Mounted:
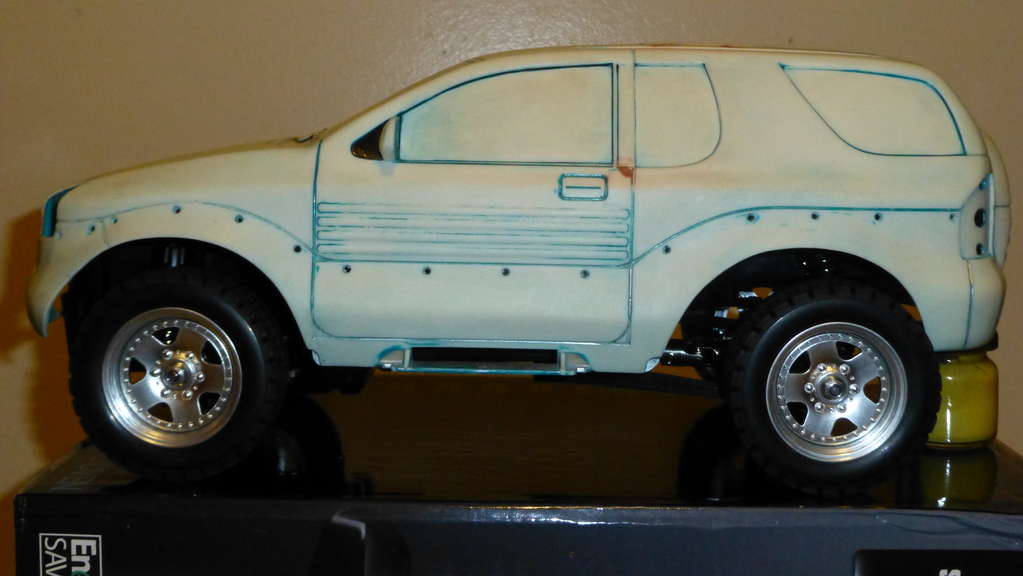
Here is the before:
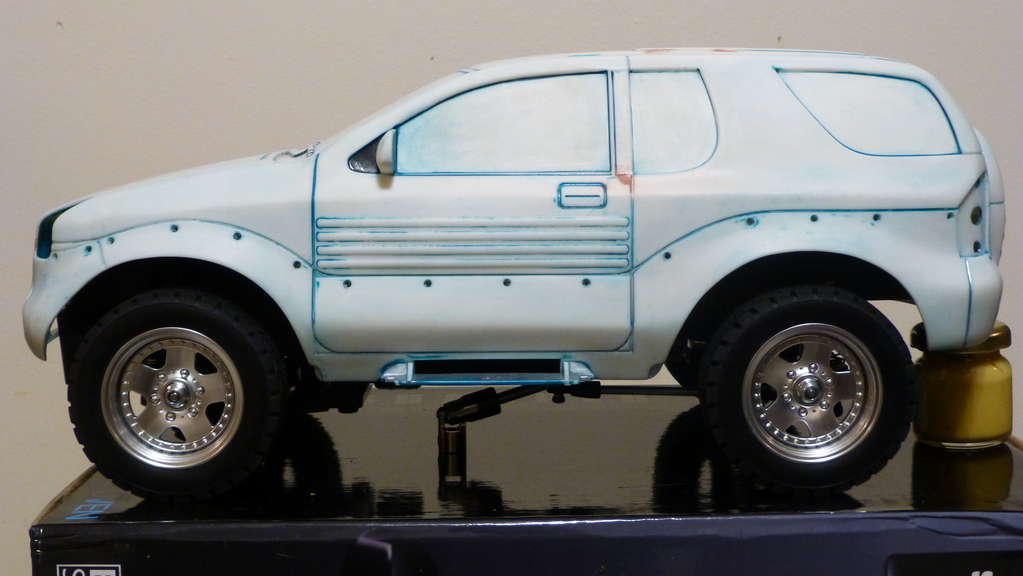
...And after:


 Reply With Quote