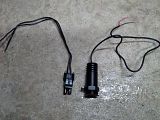
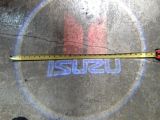
Projector Lights
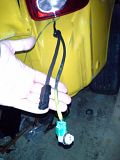
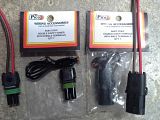
These lights are installed on the bottom side of the door. When the door is opened, the projector light will illuminate the ground with the displayed logo. I've also modified the wire ends so that they have the OEM waterproof disconnect. There are cheapies out there... I know because I've bought them and tried them. Bottom line, get a 5W Cree (3W cree min). If it's not a CREE I wouldn't get it. You will spend upwards of $65-70 (direct from Hong Kong like I did) or $100+ if you buy more locally. Once again, this was the FIRST SET to have an Isuzu logo on it. I spent lots of $$ on getting these just right, but from now on if anyone else wants the Isuzu Projector Lights you won't have to pay any set up fees as I've already done that. Email me for more info.
Tunnel Lights
These are originally meant for Towing & Emergency Vehicles. I modified the wire ends to have the oem waterproof disconnect and used 2" rubber seals. I tapped into the parking lights for power. During the daytime they look like round mirrors (cool!) but at night, they look like a tunnel of lights that goes on and on and on...
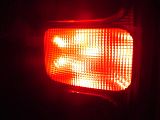
Lights-Other
I am currently working on SEVERAL different led and lighting projects, so I will leave this pretty much blank for now, however I can show the "5-star" led towers that are now installed for the blinkers and brakelights. Each bulb "flares" out once you push it through the opening of the housing. Each "arm" has many leds both on the front and back for a very unique look. The only problem is that our taillight lenses diffract the light so bad that it's hard to see the outline of the bulb (which was the whole point), but it's still kinda cool.
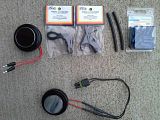
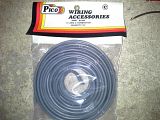
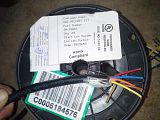
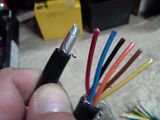
Wiring and WeatherPack Disconnects
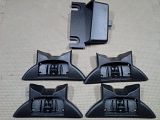
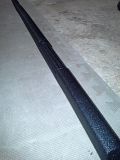
Roof Rack


 Reply With Quote