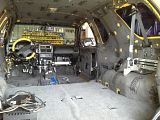
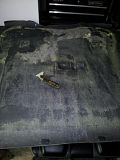
I paid a hefty price a couple of years ago to the same reputable local company that installed the Dynamat to install a very nice and loud system (both at the same time). Once I started pulling everything apart I noticed how sh*tty of a job they did...So I decided to rewire myself and making it better than before.
- Fixed all the wiring problems from the previous audio installation (1 week for this alone) and rerun most all of aftermarket wiring.
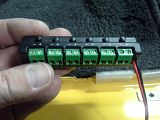
- Installed new Stingray SPV44 660 Amp Power Series Dry Cell Battery w/ Protective Steel Case (for Systems up to 1320W) along w/all new heavy duty connections, fuses, blocks, etc.
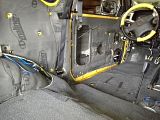
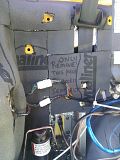
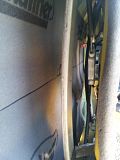
- Color Code Wires - Purchased 3M Colored Electrical Tape. Each bundle of factory wiring was re-taped with black, any wires related to the sound system taped with blue, any wires related to interior led lighting system (UFO ICE LED KIT from Europe & other interior led accessories) will be taped with red, wires related to exterior led lighting with green and so on
- Used wiring that notes "+" and "-" all the way down both sides of the wire. Labeled each wire connection with water-proof labels so that each wire when disconnected is labeled as to what it goes to.
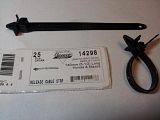
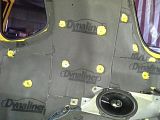
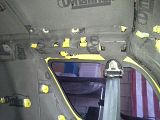
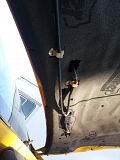
- Purchased new OEM Adjustable Wire Holder Zip Ties. The adjustable holders are IDEAL as you don't have to pull them and replace them for every wiring job or install. Just release the tab, put the wire through and rezip, LOVE IT! Replaced all wire holders with these new adjustables and added a few along the way.
- I found that there were not enough holes drilled for these zip ties that mount into the holes, so I drilled new ones. For the majority you will need to drill 5/16" hole and they will fit perfectly.
- If you need more along the piece of frame where the headliner/windshield meet (going to rear view mirror), you will notice Isuzu used a smaller hole and zip tie. I found some online and used 11/64" hole and they fit perfect.

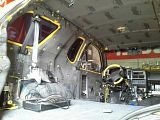
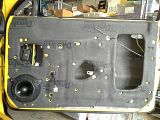
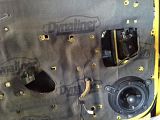
- Replaced all door panel retainers and interior panel retainers with new OEM retainers (update: due to the installation of the Dynamat & DynaLiner, the original retainers were to short. The subsitute needed is Auveco # 17102)
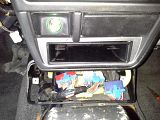
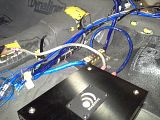
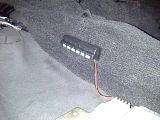
- Relocated bluetooth box and established location for near-future Car PC
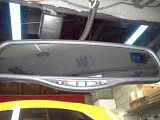
- Install new Rear-View Mirror (update: I decided to change the mirror to another model that has a sat link, so this one will be sold soon)
- Learned that you CAN completely disconnect the Airbag Module including the safety "RED KEY" and nothing will go wrong (the battery was disconnected). I did this to reroute wiring issues done by previous installers
- Established new Grounding Points
- Established new Power Ports
At about this point, Robbie at RWG Automotive called and said he had an opening to paint the VX coming up so I stopped wiring projects to prep the VX to be painted and will resume wiring projects later


 Reply With Quote


 ~ ~ > OFF ROAD WHORE <~ ~


