


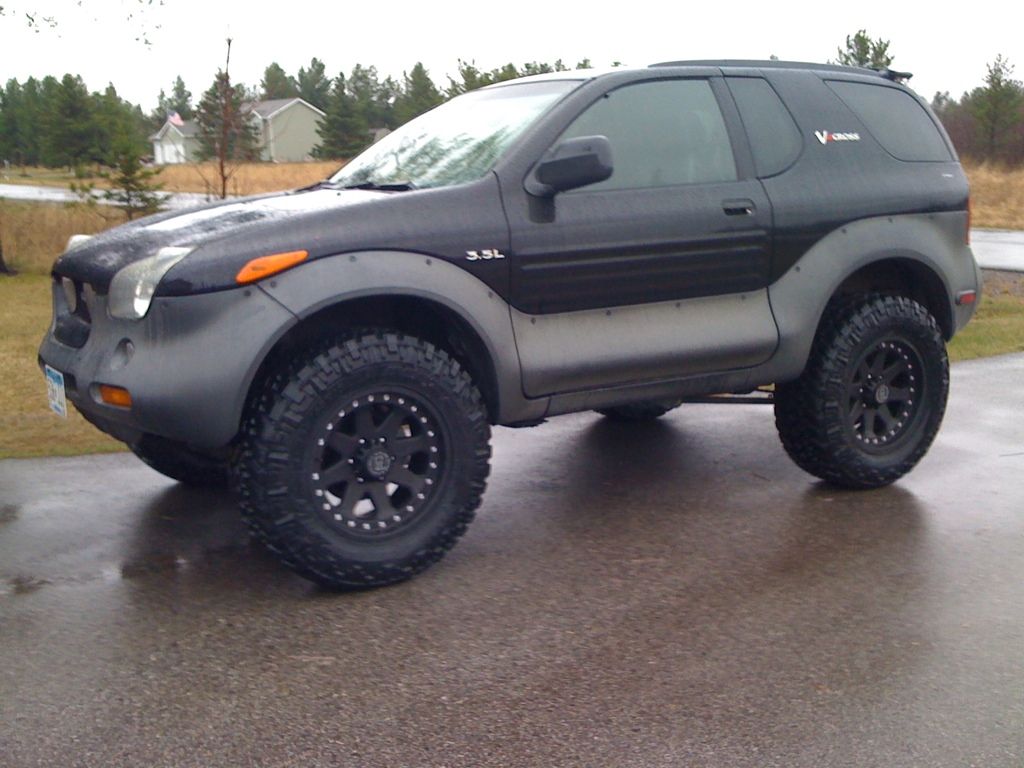
The tires and wheels are on and trimming for fitment is done. The cladding restoration didn't happen since we needed to do some work on the rock buggy this weekend as well. But here is Betty looking good!!
Since there really wasn't any definitive thread on how to go about fitting the 285/65R18s in the VX's front fenders I made sure to take some pictures. My guy and I did the passenger side first and did it just a tiny bit at a time so we could get it right. When we went to the driver's side we measured and only cut once. Here were the tools we used other than the standard jacks and such: Sawzall, BIG hammer, a 10mm socket and another small one (can't remember the size), pliers, file, torch, a couple of steel pieces, drill, and a pop-rivet gun thing. I am going to warn you that I am not an expert and may not explain things perfectly, so just let me know if you have any questions!
On the driver's side we started with the rear side of the fender. The first thing we did was take 2 of the 10mm bolts out of the fender/cladding and all the little screws with plastic backings off of the fender from the middle of the fender to the rear. Then you can move the inner liner of the fender to get to the metal behind it.
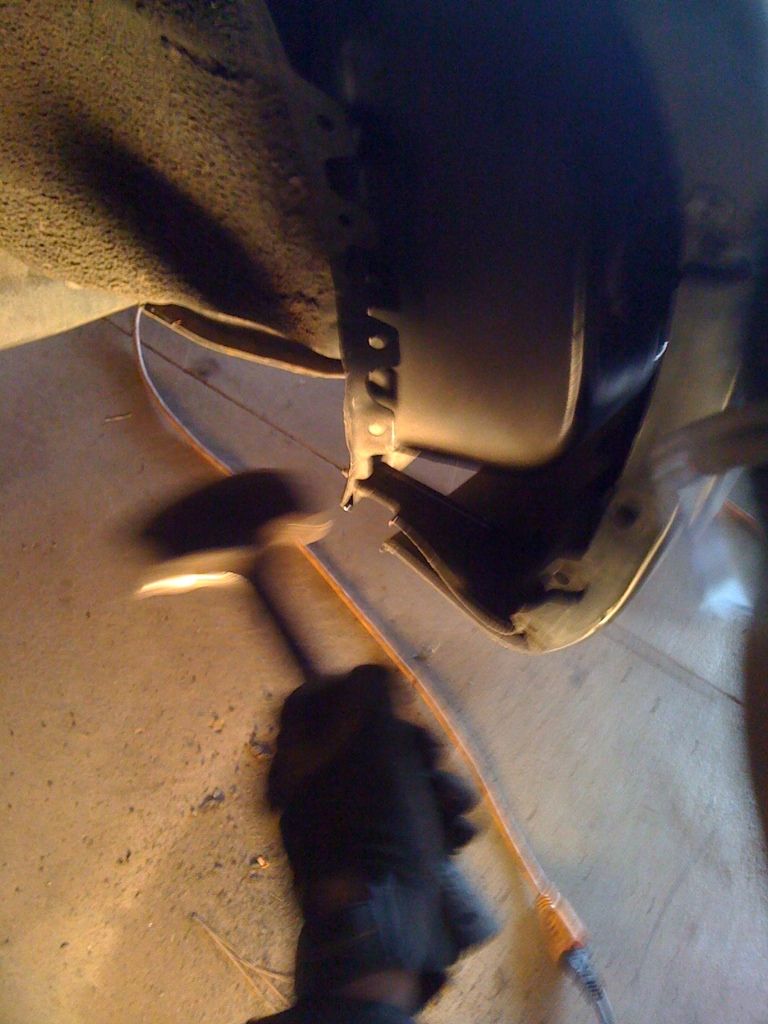
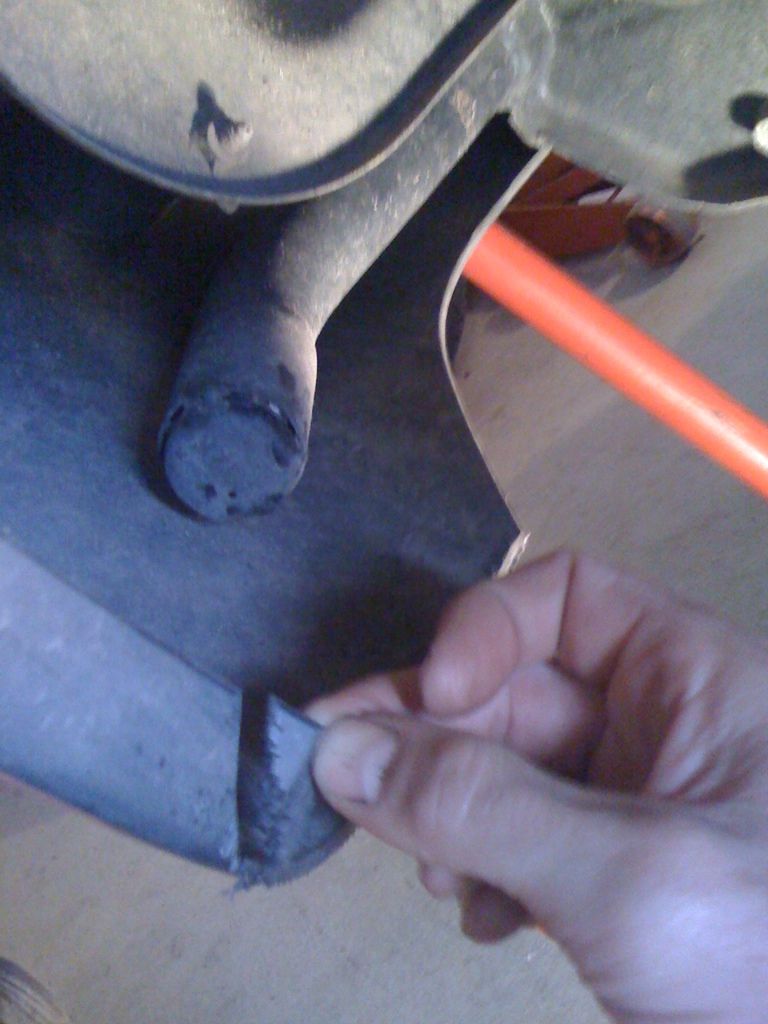
The next thing we did was to get the sawzall out. The only sawzall cut we made was from 4.5" below the 10mm bolt (you can see the hole in the middle right of the pic) and went diagonally toward the brace on the inner side of the fender. Part of the diagonal piece you cut off includes one of the 10mm bolt holes and there is a clip on the hole that you need to remove and reuse later.
Next, we took out a big hammer and piers and cranked the inner fender around. It doesn't take much, but when you push in the inner fender the bolt tabs will need to be bent back as you will be using the lower bolt hole for the 10mm bolt and clip you cut off.
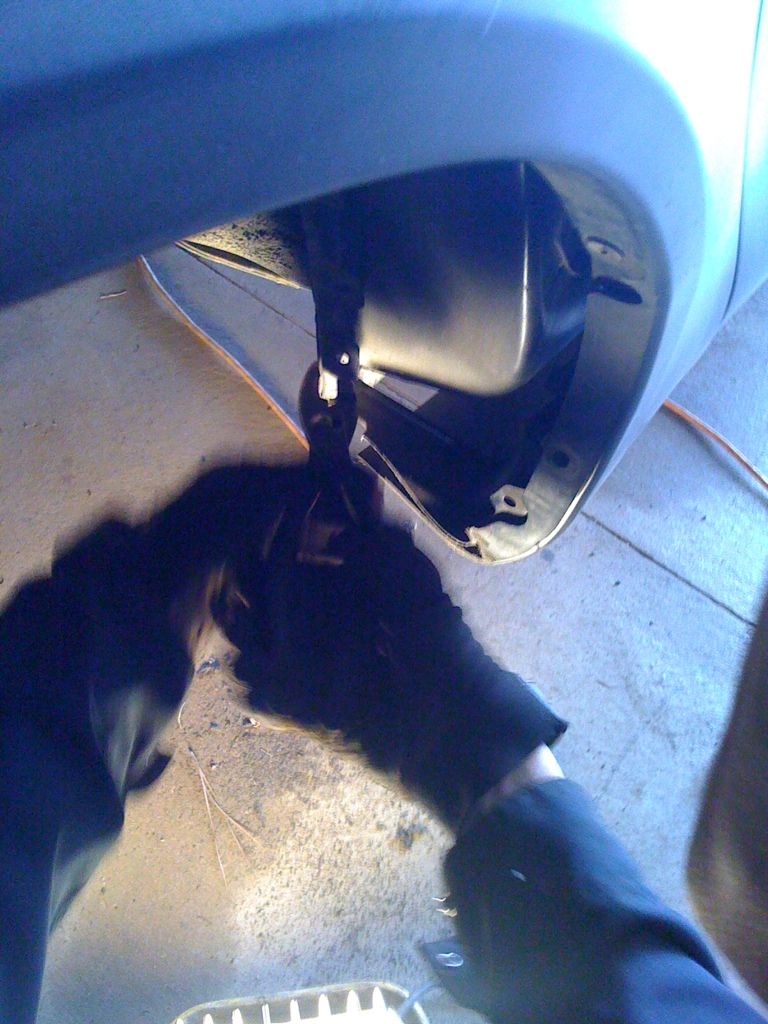
Next, we used a torch to heat up the fender liner to flatten it out a bit. I do not have pics of this process as I had a torch in my hand at the time. We used a really low setting and heated and used two pieces of metal to get the plastic to go a little more flat as we were having trouble with this section sticking out when fitting the tires. (you can see the portion we re-bent in the picture with the drill. Its the section to the left and below where the drill hole is.)
Next, we refit the fender guard into place and marked the spot where we put the 10mm clip we stole from the piece we cut off at the beginning. We drilled a hole through the liner where we will reuse the clip and bolt.
Lastly, the cladding hangs a bit funny under the door since we cut off the connection point, so we put a pop-rivet through the cladding and sheet metal below the door maybe a cm behind where we cut (no pic). After that, put all the little bolts & plastic things back in and stand back and appreciate your work...apparently I didn't appreciate this part enough because I forgot to take a final picture of the back of the fender. I will do it tomorrow and post up.
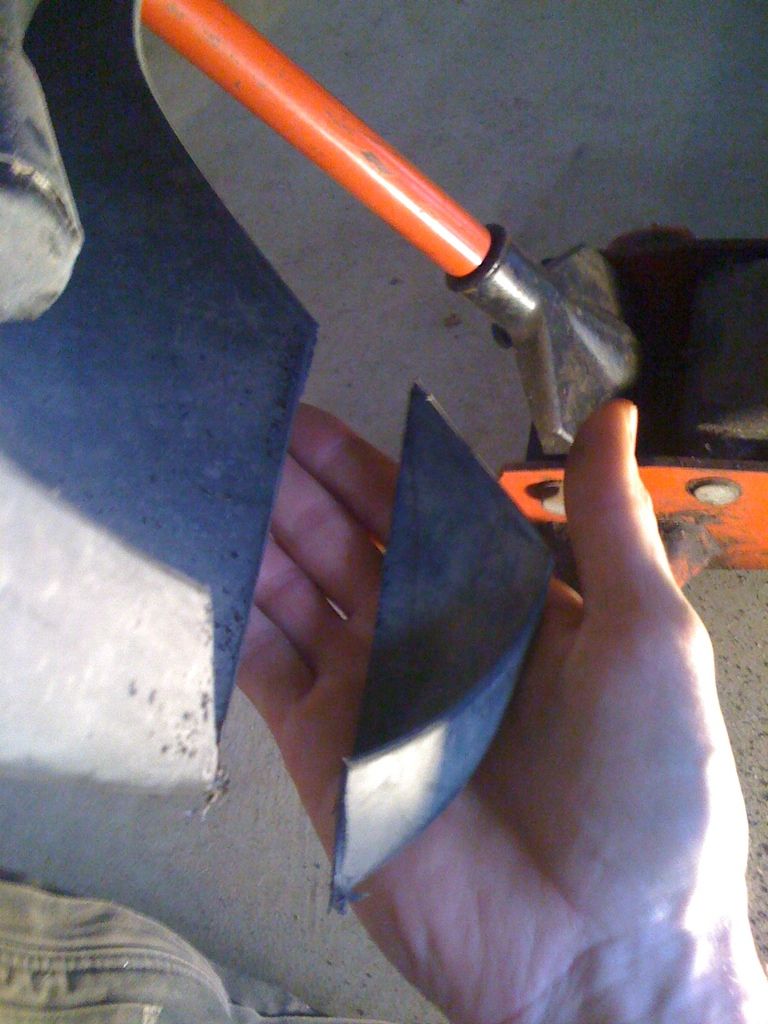
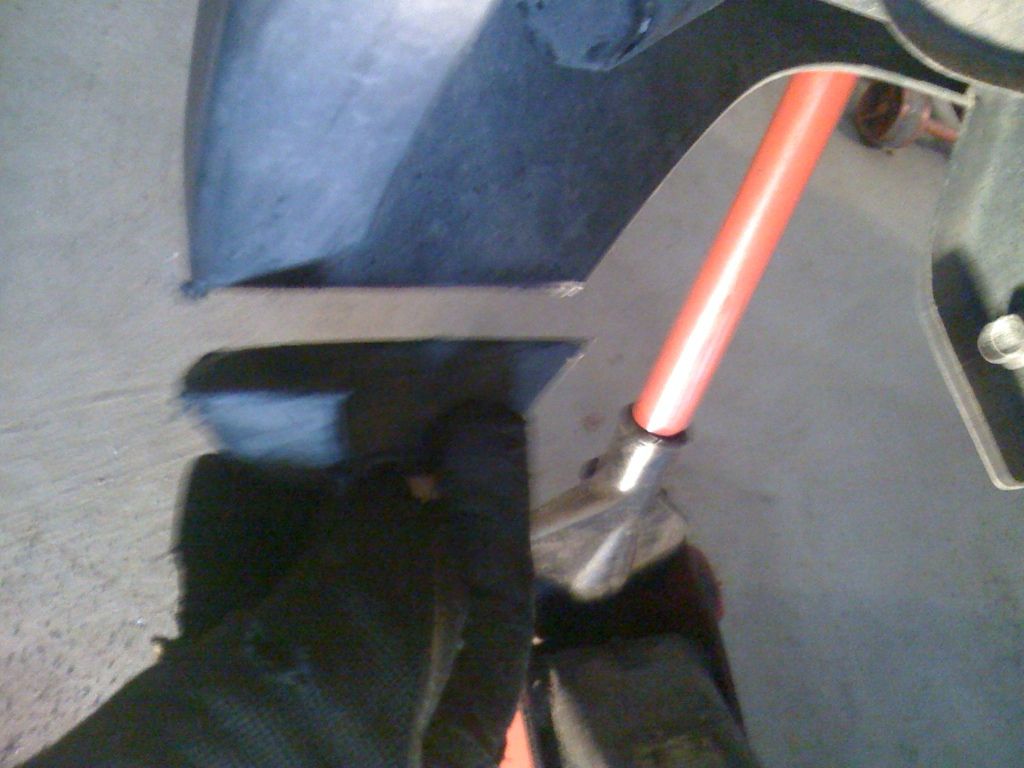
The second part is the front. I don't really know a good way to tell you how much to cut off, but I can show you a couple pictures so you can get an idea. If you want a measurement of something specific let me know, I still have the big piece we cut off. After cutting use a file to clean up all the edges - it looks GREAT!
Well, it was a fun project. I LOVE the look of the VX now!!


 Reply With Quote