Page 1 of 6 1 2 3 4 5 ... LastLast
Results 1 to 15 of 85

Thread: V-LEDs Projector Headlight Install

  1. #1
    Member Since
    Jan 2005
    Location
    2001, Ebony Black, 1153
    Posts
    2,264
    Thanked: 2

    Wrench V-LEDs Projector Headlight Install

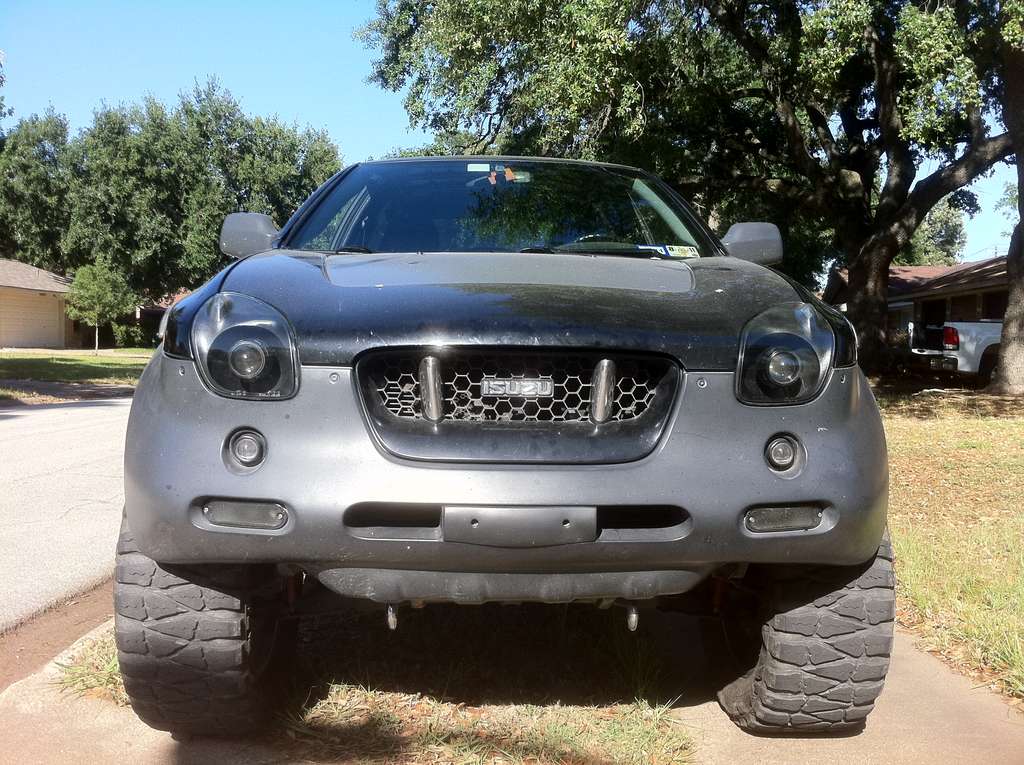
    Alright as some of you know I have been wanting projector headlights in the VehiCross for quite some time now. Well I finally had everything ordered and all the paint supplies and a free couple of days and a different vehicle to drive so I started the project. It was A LOT easier than I thought and ANYONE could do this with just a little info and I hope that some of you can use these photos and instructions to do this yourself one day:

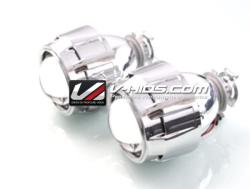
    Projector as I got it out of the box and installed the included chrome plastic cover:

    http://www.v-leds.com/Exterior-HID-H...77715-1-2.html

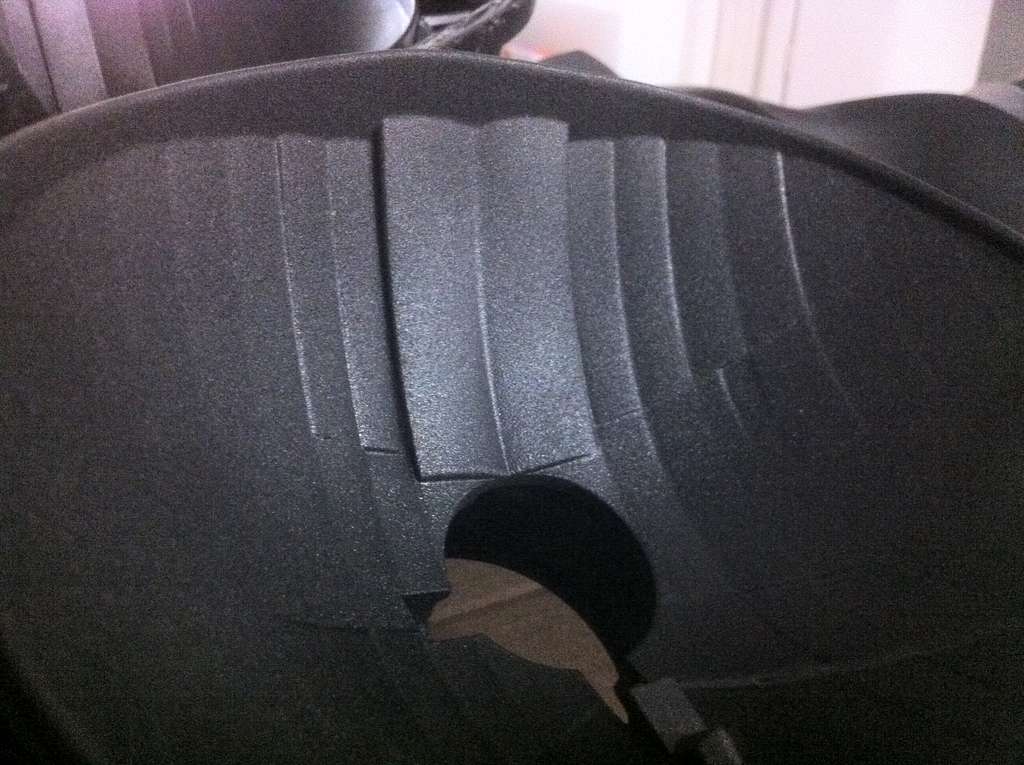
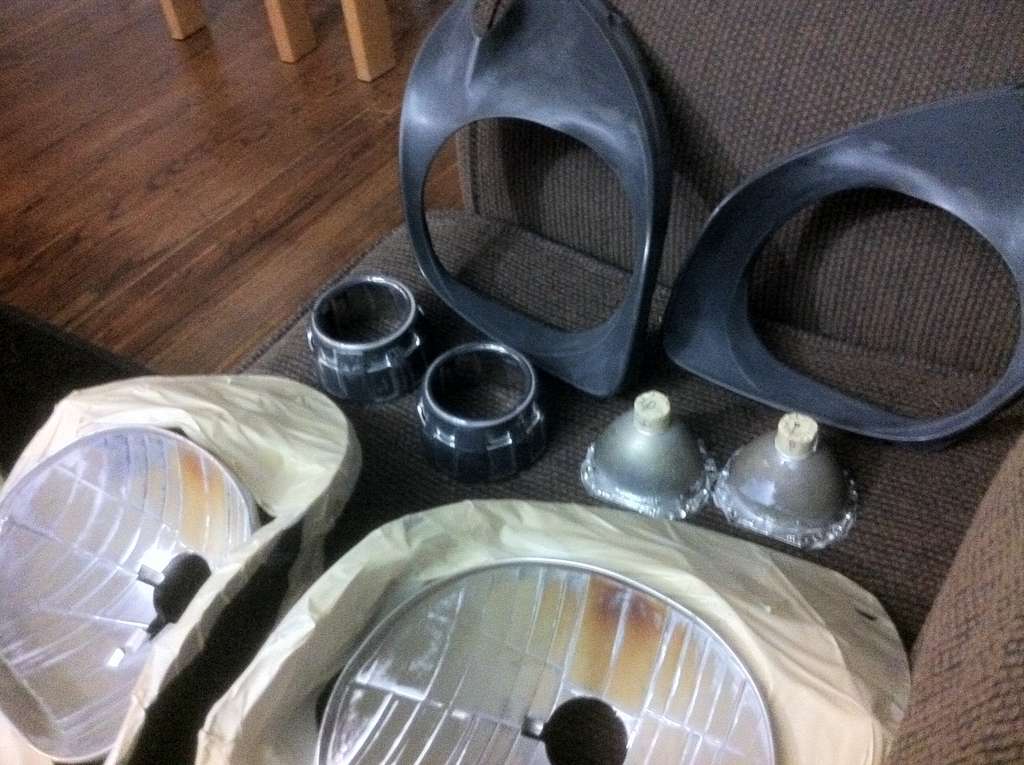
    I took the projector apart to separate the metal housing that the bulb slides through because it will show on the rear of the projectors and since I am painting everything black this section will need to be painted as well. To separate it is easy just 4 screws that hold the chrome metal housing to the black plastic housing for the lens:


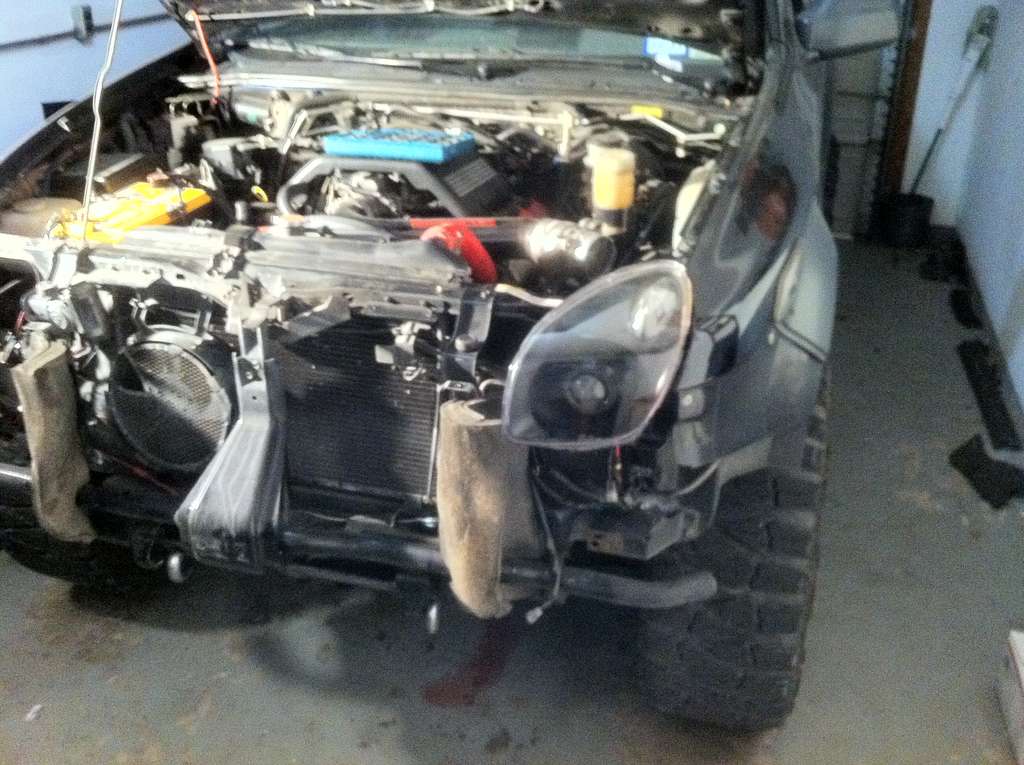
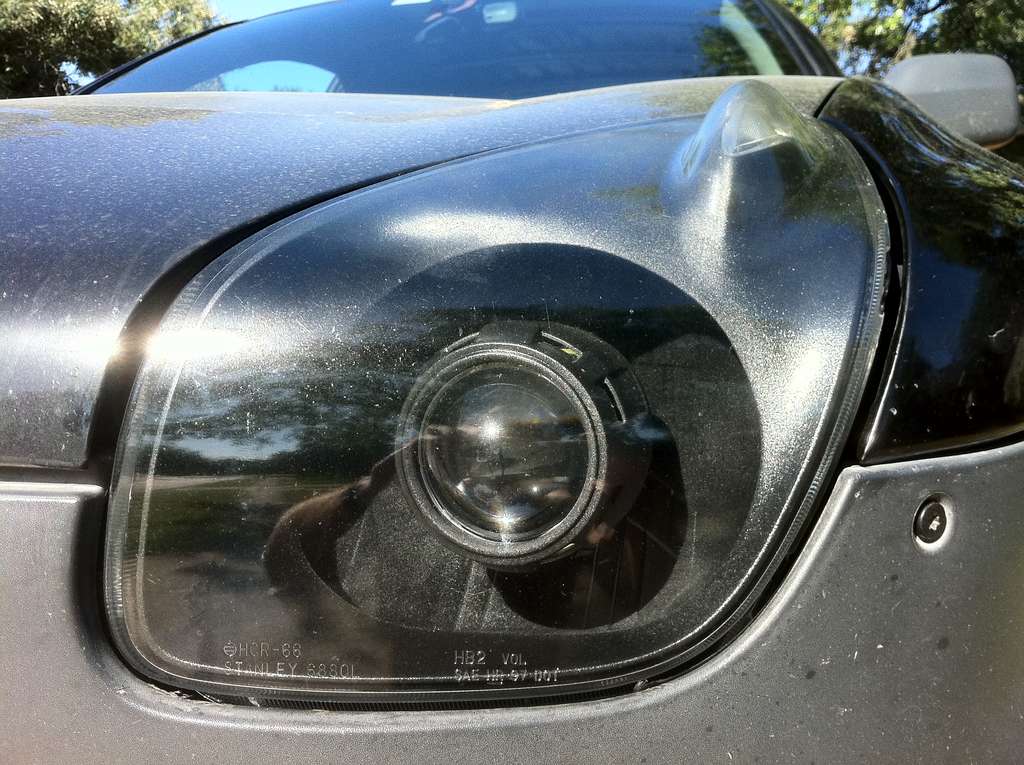
    1st you will need to remove your headlights. In order to do this you will want to remove your front bumper, this is easy and once you get good at it takes about 5 minutes. Then there is simply one screw on top of the headlights and 2 screws just below each headlight and it comes right out easily, if you really take your time taking both the bumper and headlights out should take you 15-30 minutes.

    OK HERE IS WHERE SOME PEOPLE GET SCARED, but there is no need, this is really a simple step.

    Locate an oven make sure that there is only one rack in oven and that it is on one of the lowest tracks in the oven. Test fit the cookie sheet/towel/1 headlight into your oven to make sure no metal is going to touch the headlight. Then turn your oven on and set the Temperature to 200 degrees exactly. Get a large cookie sheet, and cover the top of the cookie sheet with a damp towel. Then place your headlight onto the towel which is on top of the cookie sheet. Place headlight into oven and let it sit in there for 5 to 6 minutes. I would suggest wearing gloves from here on out. Remove cookie sheet and use a flat screwdriver and start slowly making your way around the headlight loosening the glue in between the clear plastic cover and the black plastic base of the headlight. Once you have gone all the way around once prying and turning the screwdriver start to pull the headlight apart with your hands. If you start to feel it coming loose keep going. If not place headlight back onto cookie sheet and place in oven for another 2 to 3 minutes, then try and pull apart again. Eventually it will break loose.

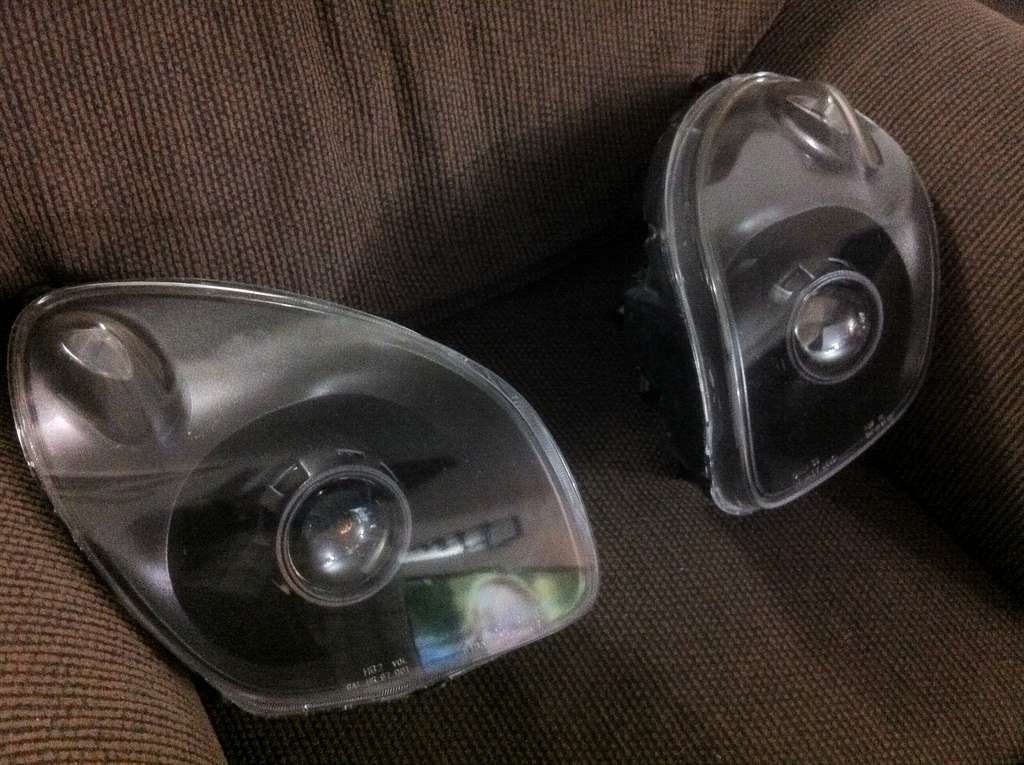
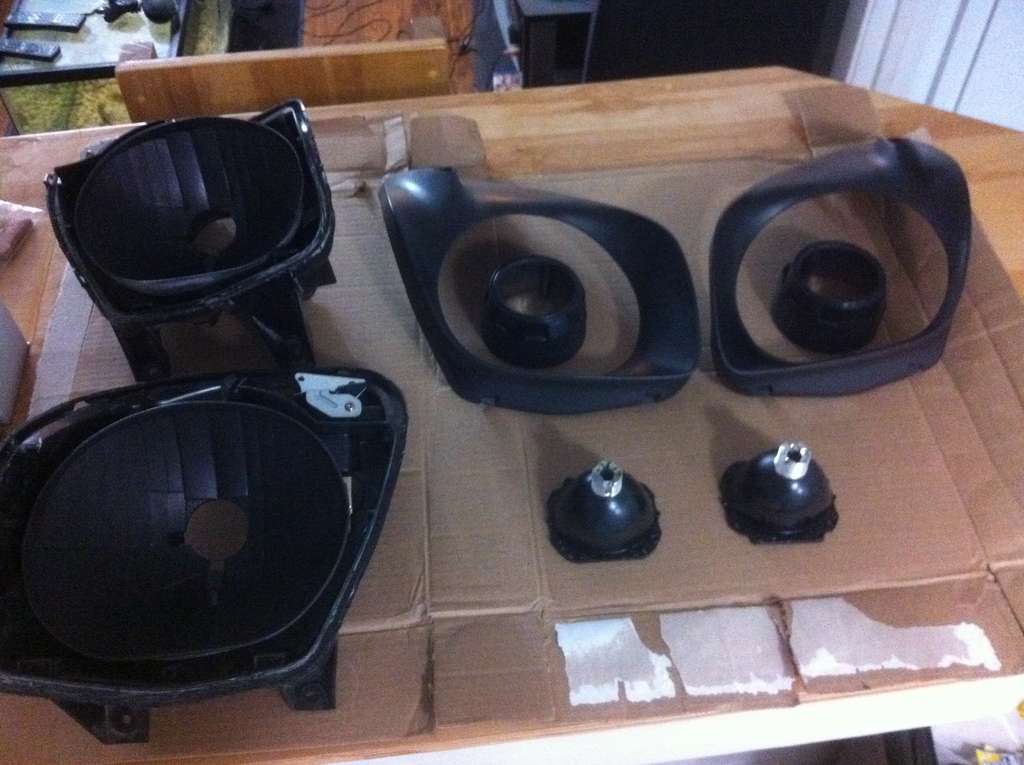
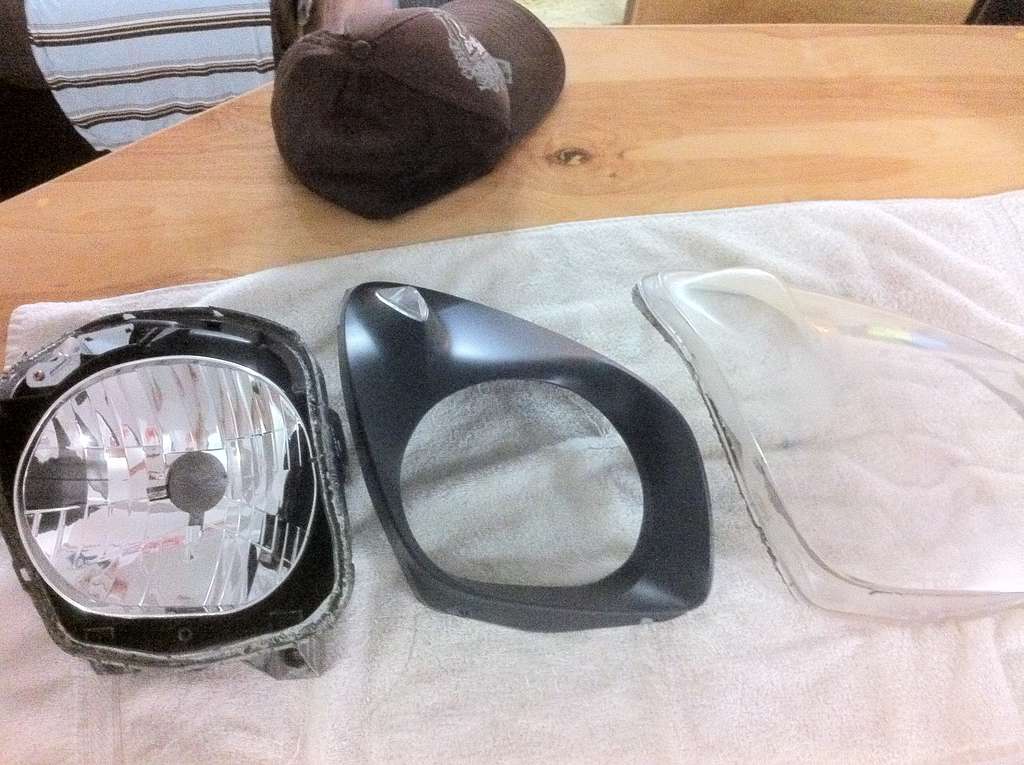
    Out of the oven and apart:


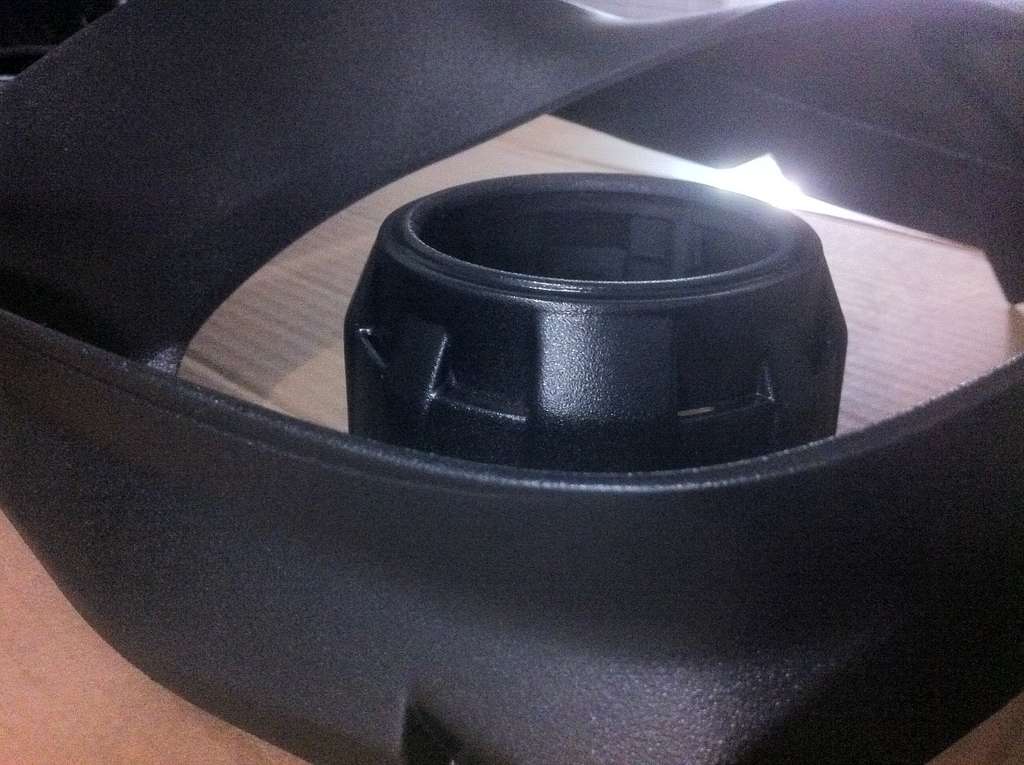
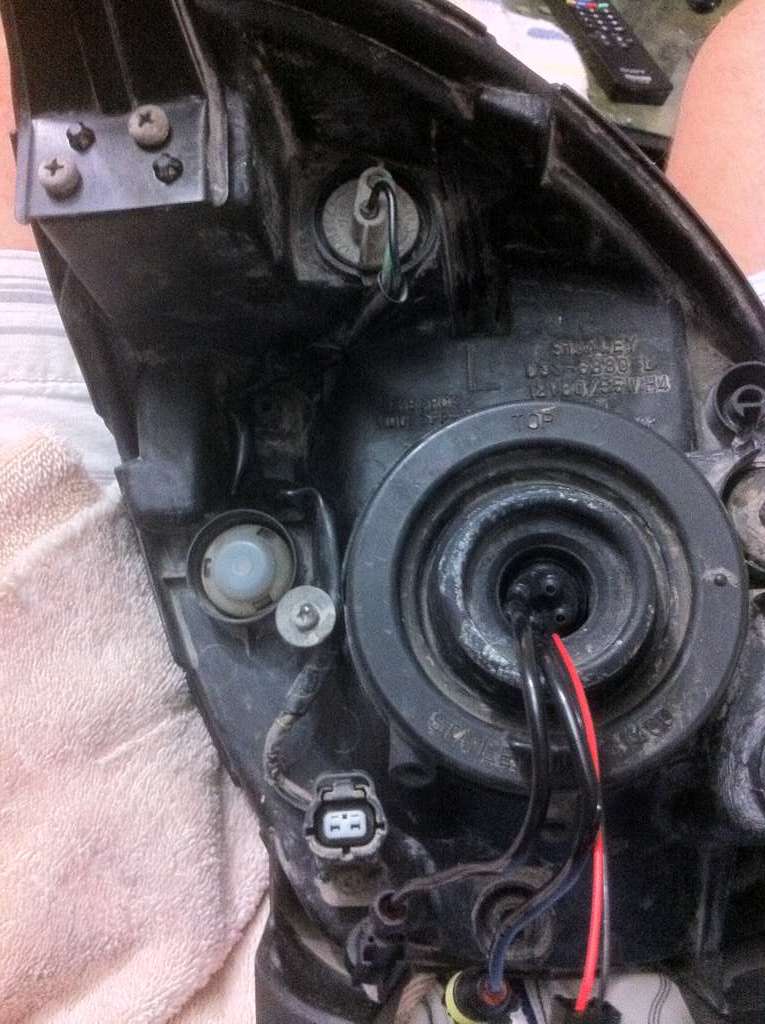
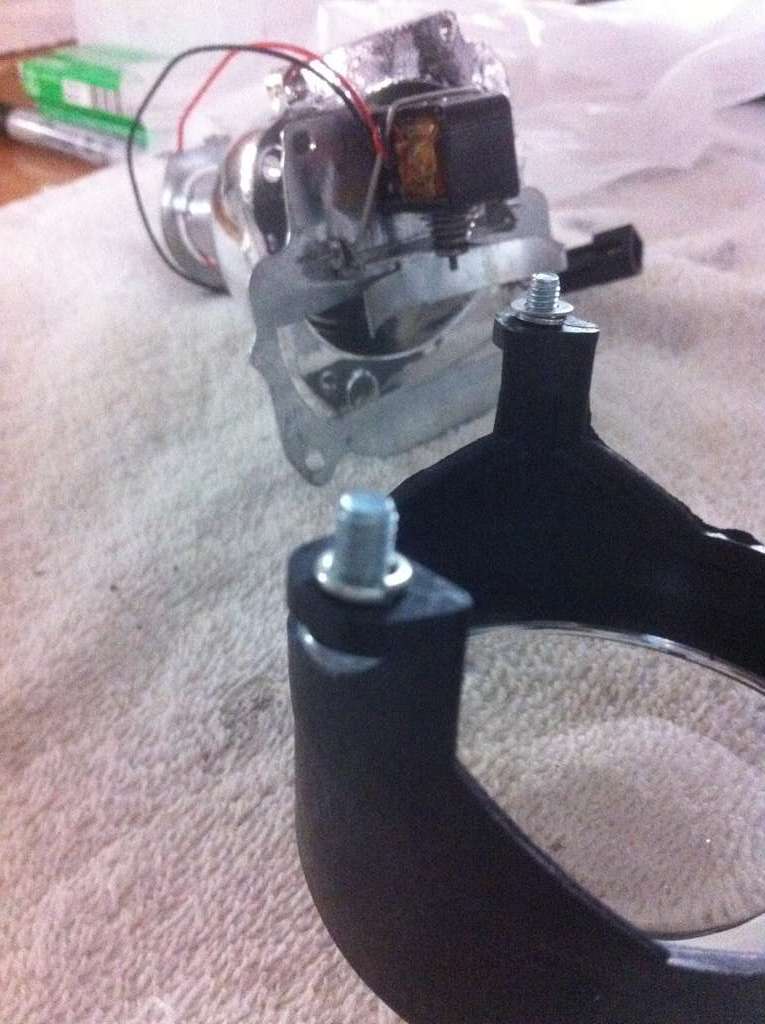
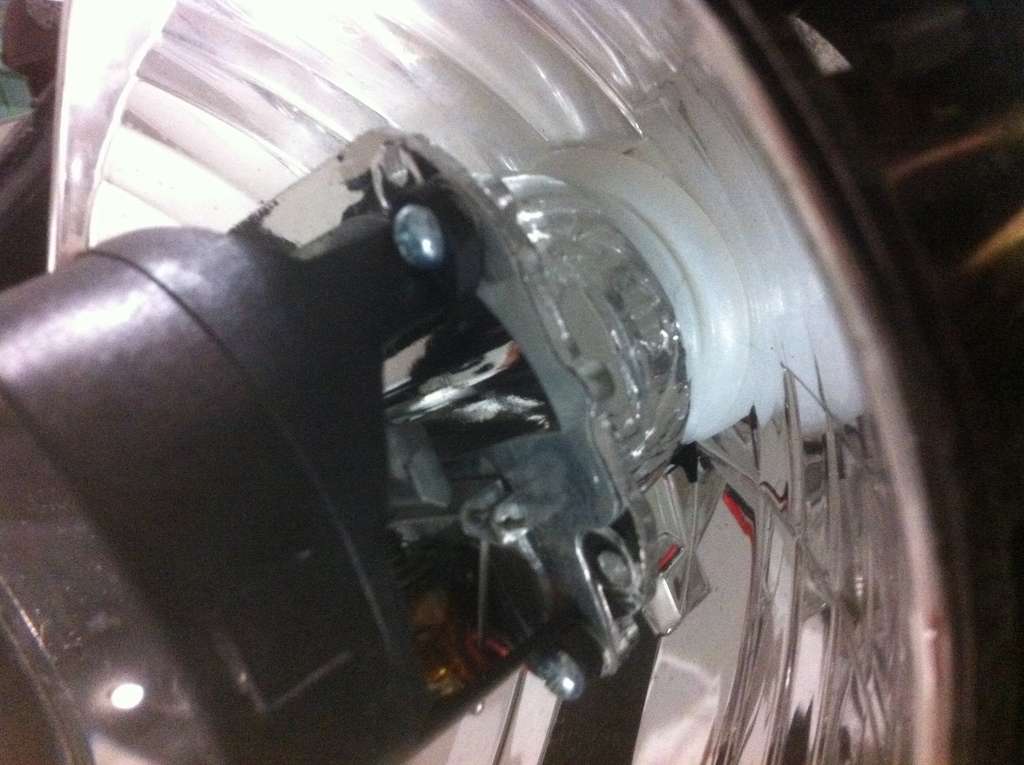
    Here I am test fitting the projector unit to make sure I know exactly how all of the rubber gaskets and metal washers and one nut hold all of this together before it is painted all nice. Notice the white rubber gasket just behind the metal projector housing (this white rubber gasket comes in a ziploc bag in the kit), it fits in between the stock plastic chrome reflector and the metal projectors bulb housing. Note: in order to slide the white rubber gasket on and then slide the projector kit through the stock chrome reflector you must first remove the bulb holder that the clip fits onto which comes installed on the rearmost part of the projector kit. In order to remove there are 3 small screws, east just don't drop them when reinstalling (I used tweezers to get them in place before using a very small screwdriver to tighten them down):


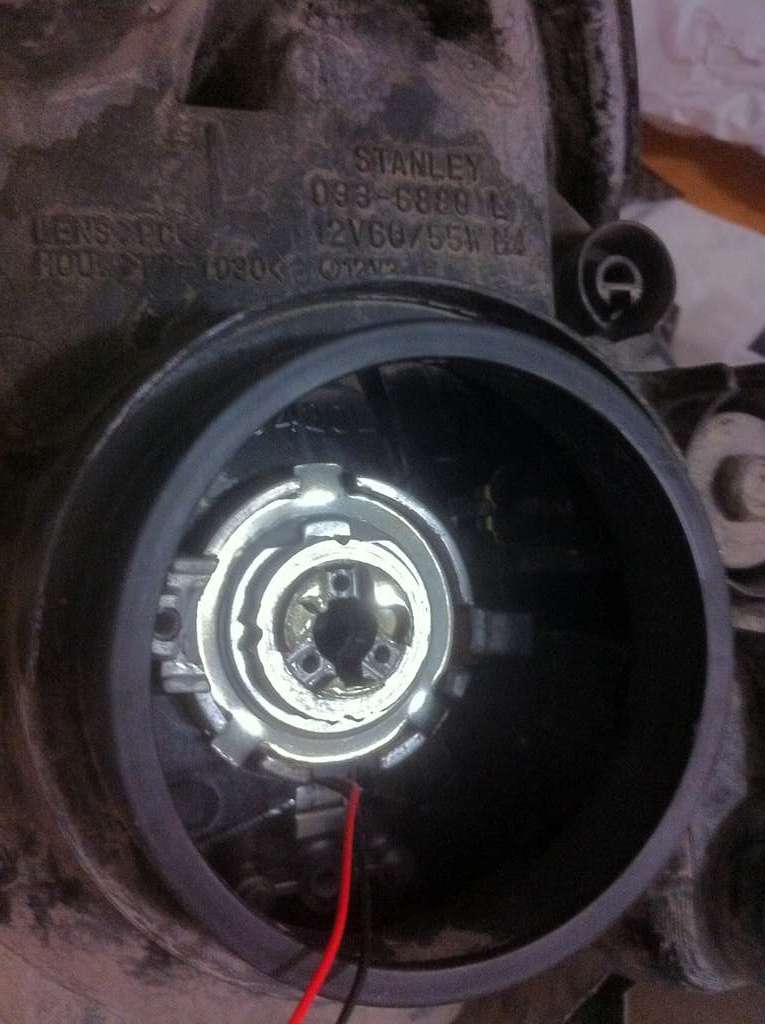
    Here is a picture to show the order in which the various gaskets and washers are installed. You already saw in the previous photo that on the inside there is one large rubber gasket. Well seen in this photo:
    1) First you must slide on the larger metal washer that has 3 prongs coming out from it, there will be grooves on the stock bulb socket that this fits perfectly into, note that there is only one way this washer fits perfectly into the stock socket, and only on one side, flip it around and then flip sides and one will fit perfectly.
    2) 2ndly there is a smaller white rubber gasket that goes on in between these 2 washers.
    3) 3rd there is a smaller metal washer that only has one notch coming out from it and this slides on 3rd from the back side.
    4) Finally there is the nut that screws on by hand. I would highly recommend TAKING your time on making sure the threads are going on correctly. There is also only one side this goes on. One side has rounded edges and the other side has 90 degree sharp edges. The rounded edges should face out. Once you have it going on and off easily I would recommend doing this a few times, totally tightening it, pushing on the projector unit from the front (hold it with a soft towel not to damage it) and squishing the rubber gaskets tight to get a good tight connection. You should be able to get it pretty tight by hand and then use a pair of pliers VERY CAREFULLY to get the nut just past flush with the most shallow part of the projectors bulb socket. The nut must be screwed far enough in to not interfere with the projectors 3 screws that hold on the bulb clip that must be put back on to install the bulb. This picture is of the nut tighten totally down, but before installing the socket, clip, and bulb:


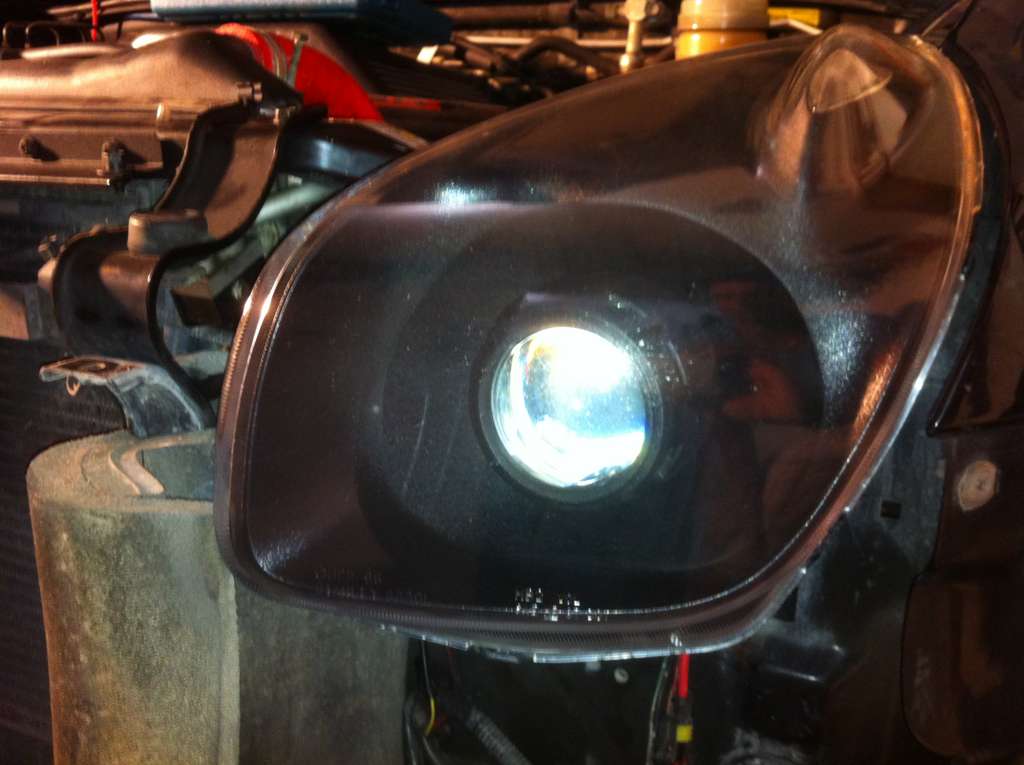
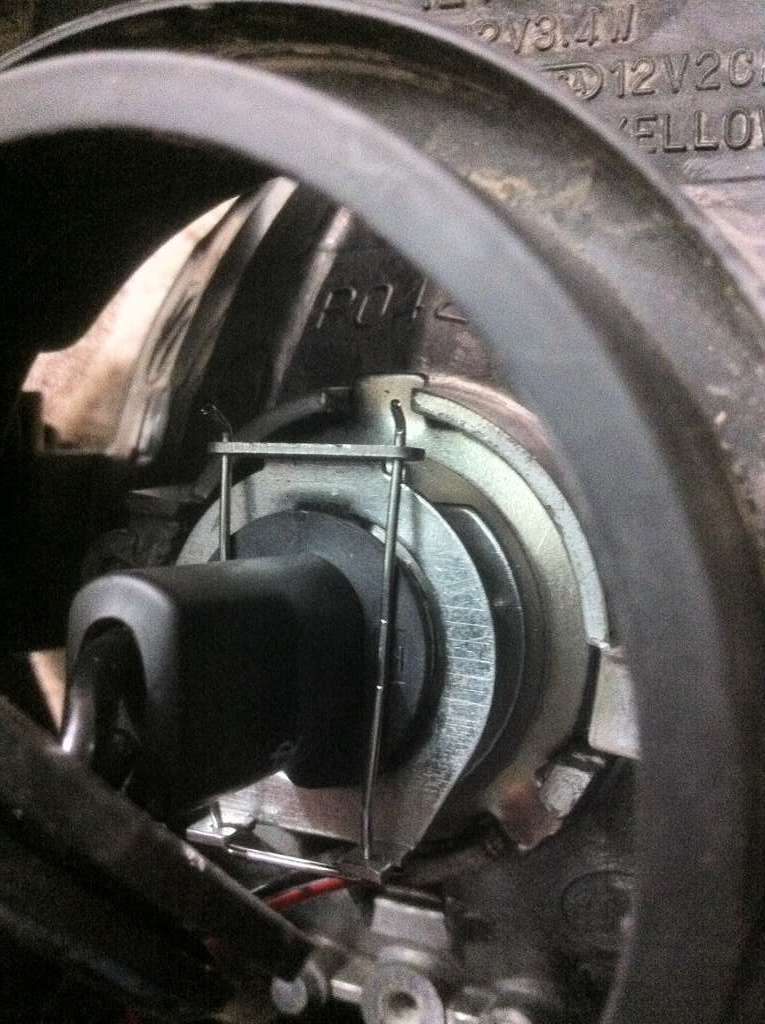
    Now here is a picture after reinstalling the bulb socket with the 3 small screws and then installing the bulb and then the clip:


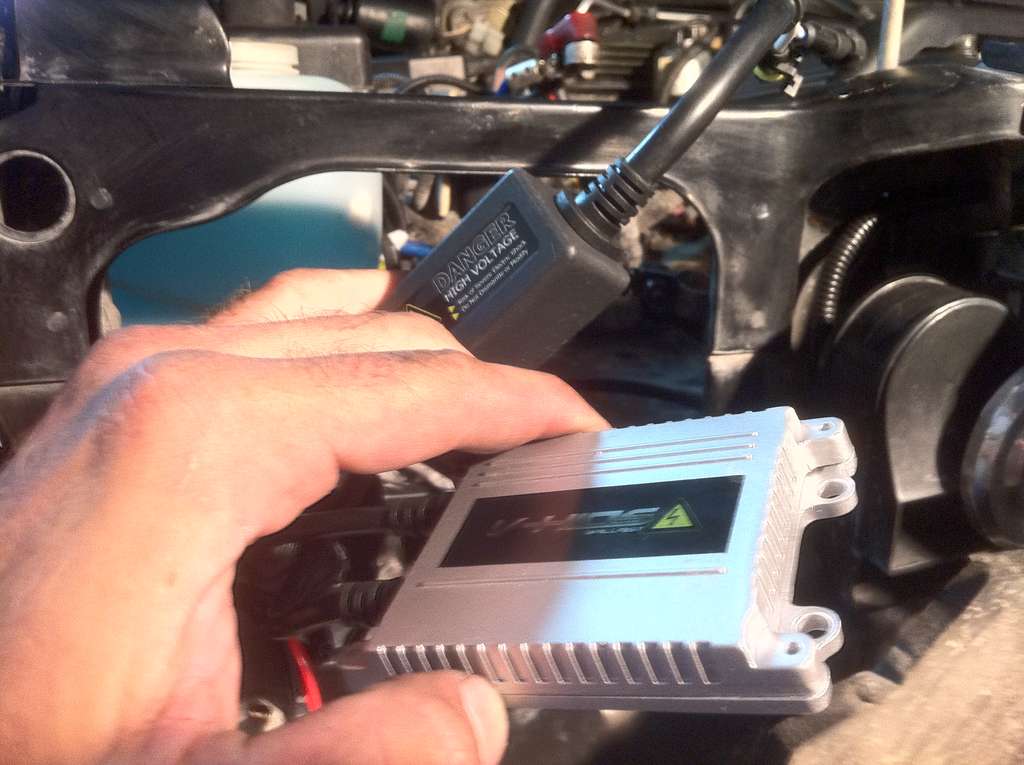
    Here is a shot of the incredibly tiny ballast:


    Here is the stock photo of the projector kit:


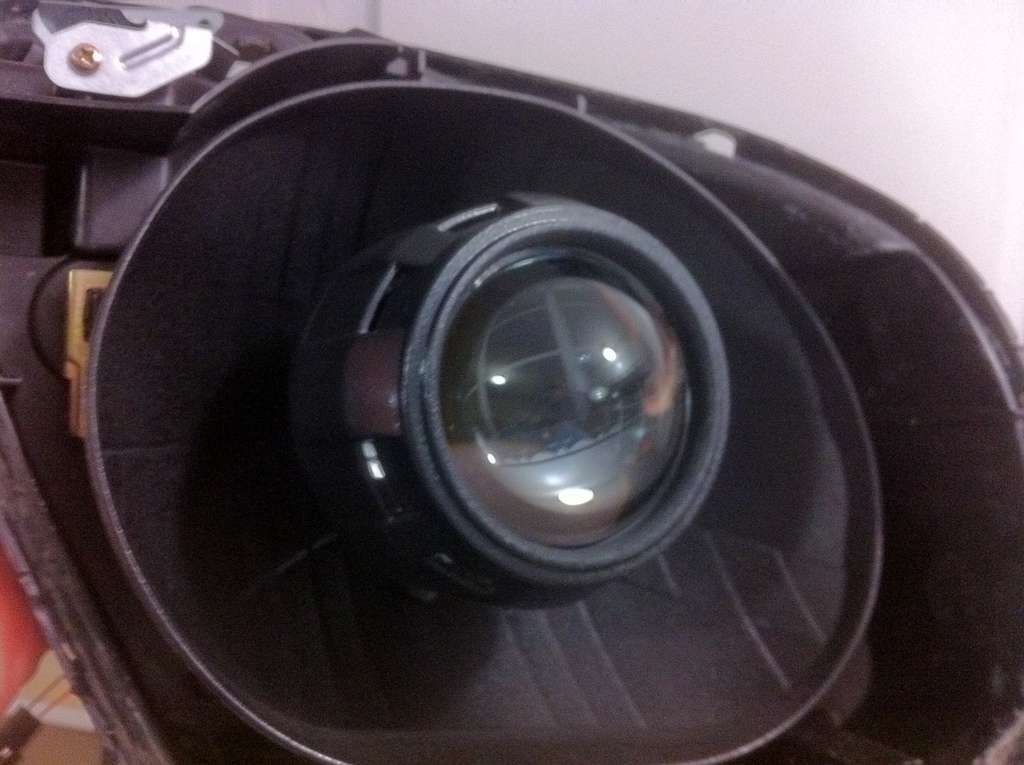
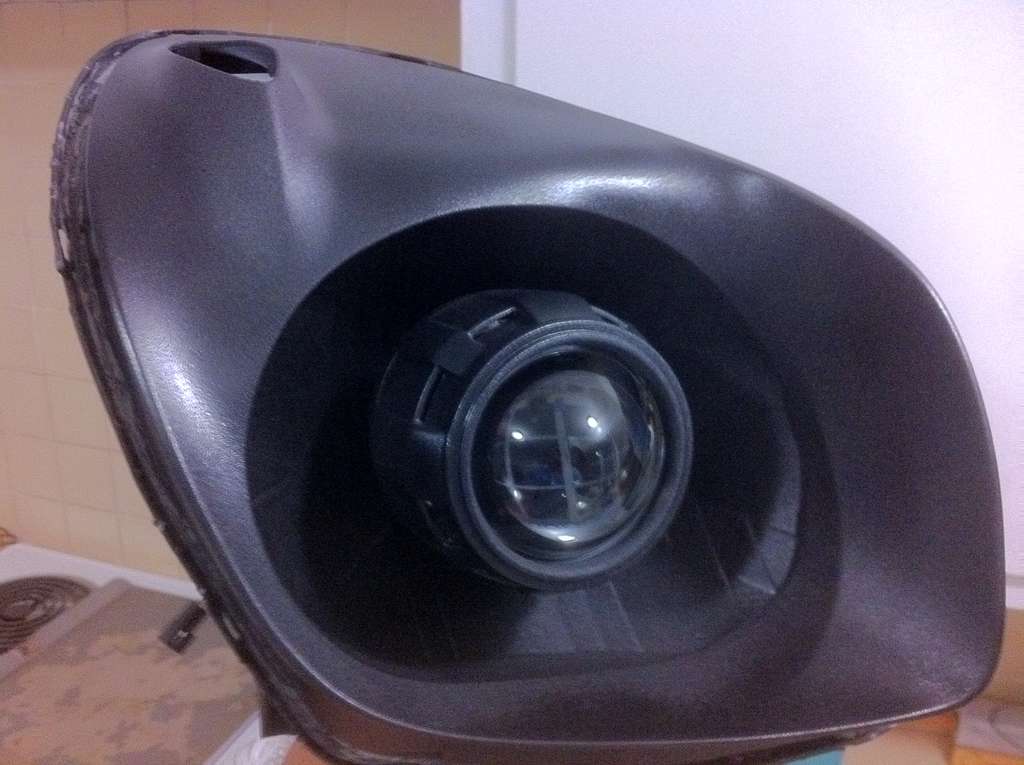
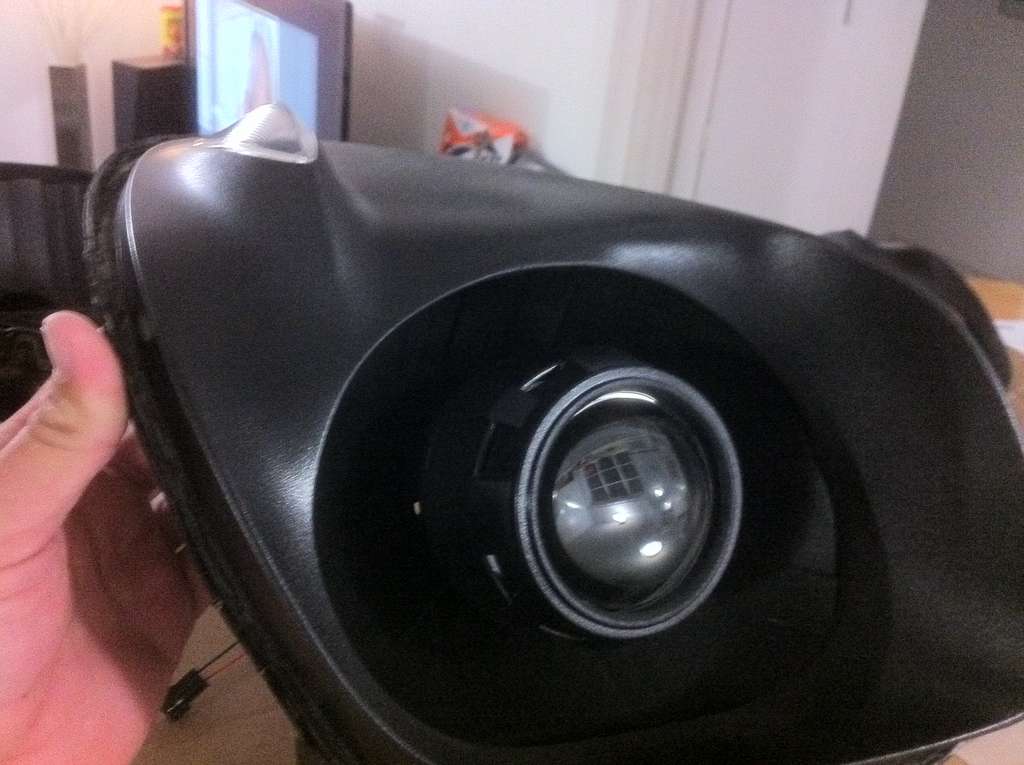
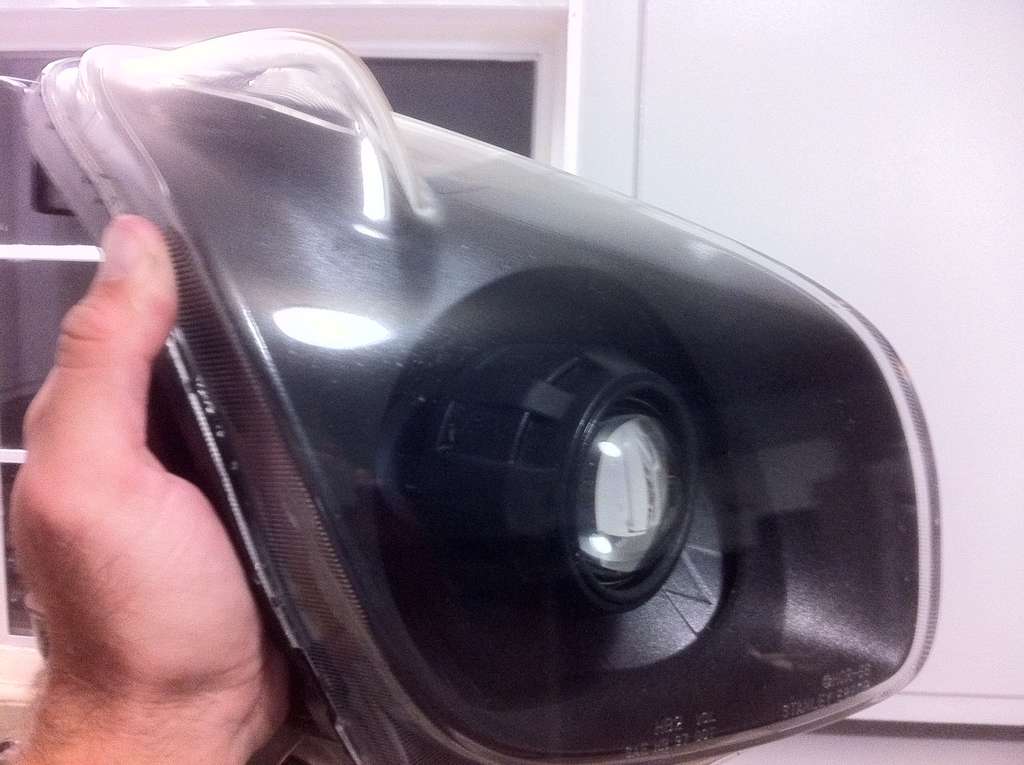
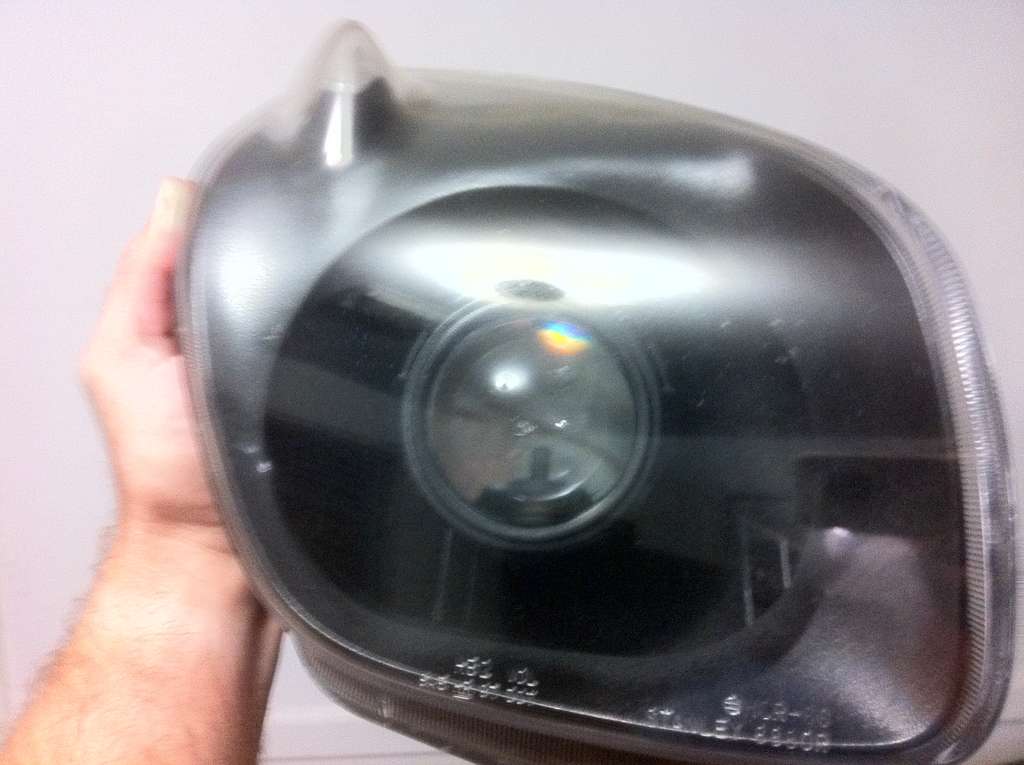
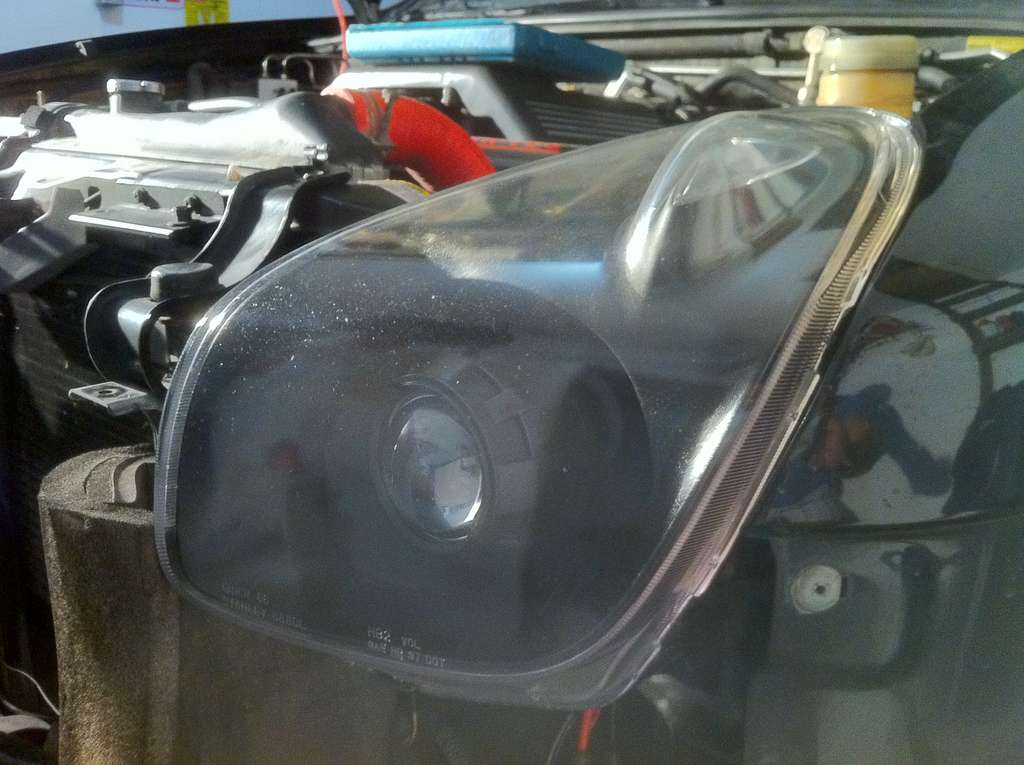
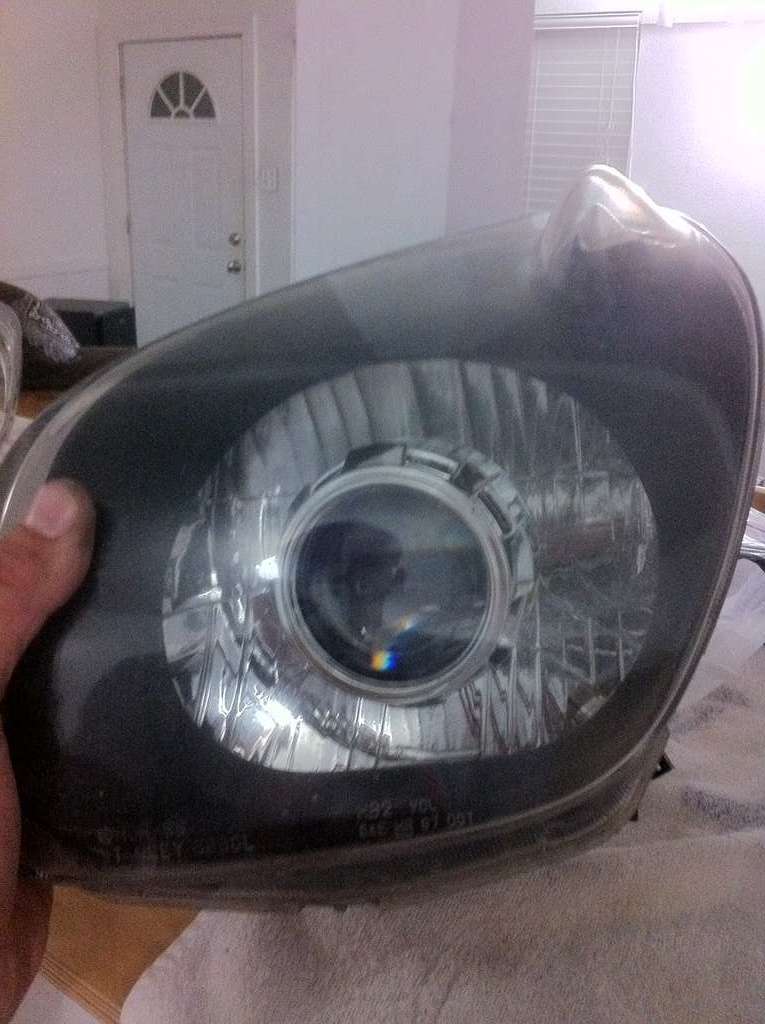
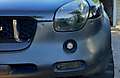
    Test fitting (before paint):


    Test fitting:


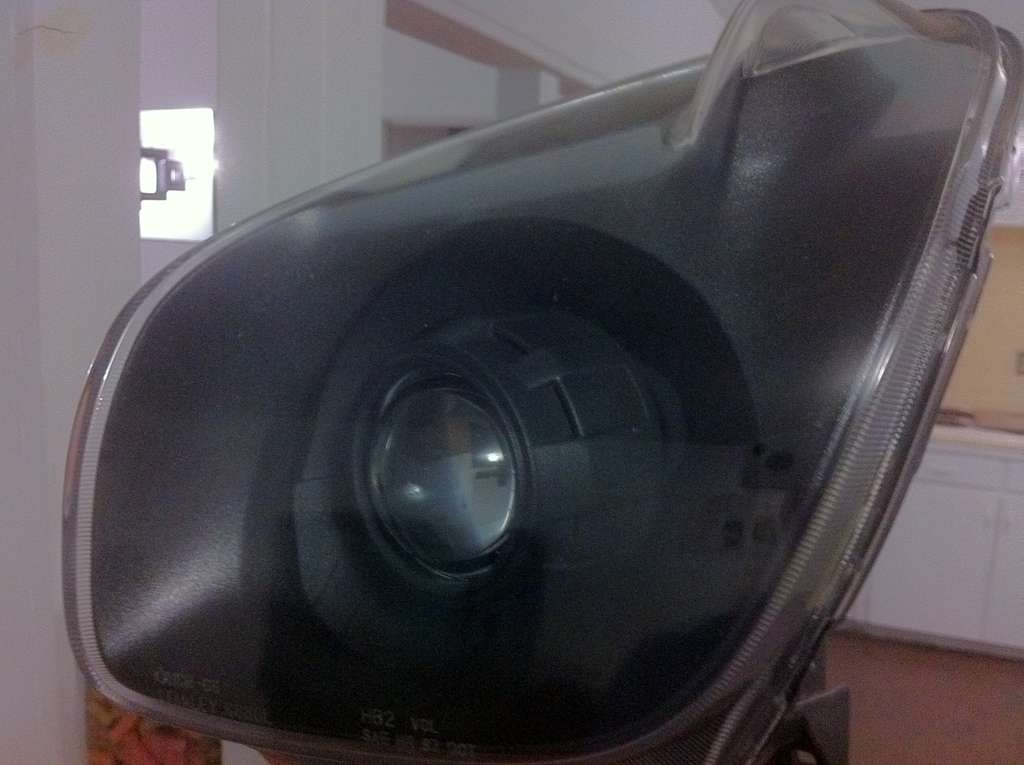
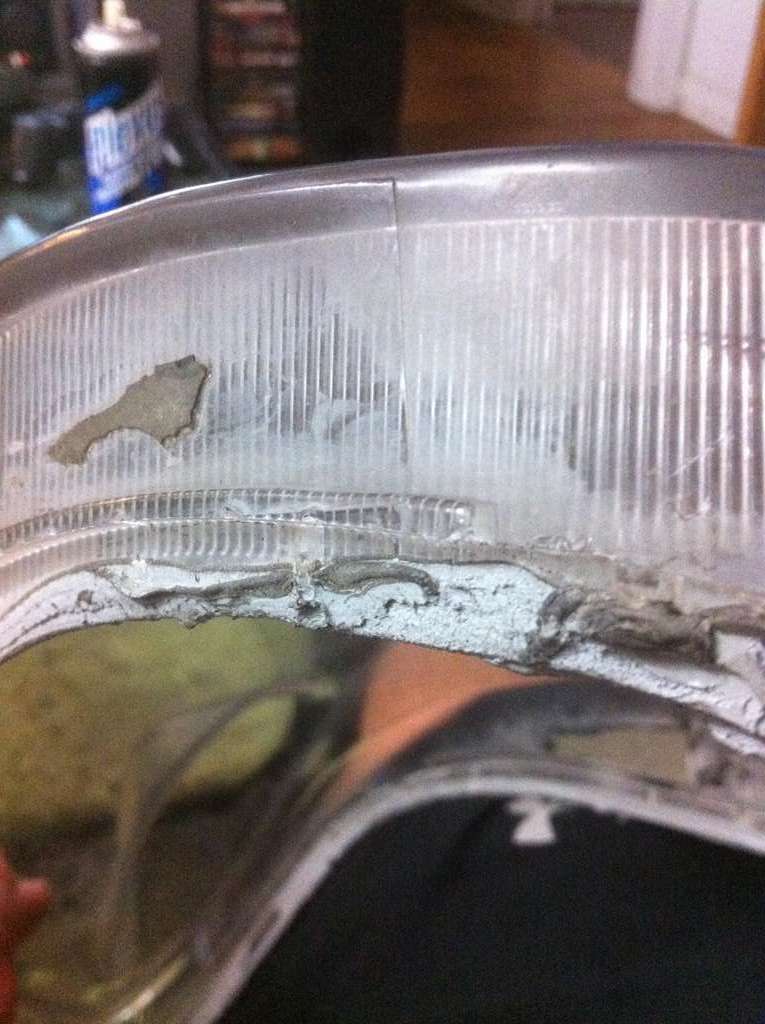
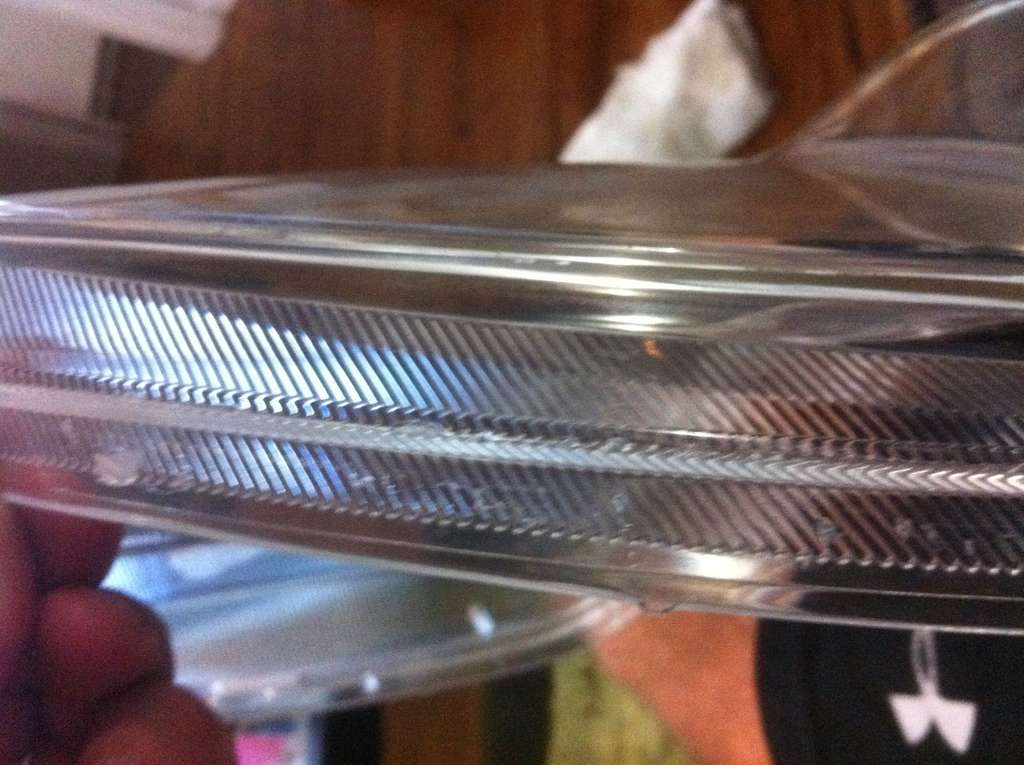
    Nasty glue on clear plexiglass:


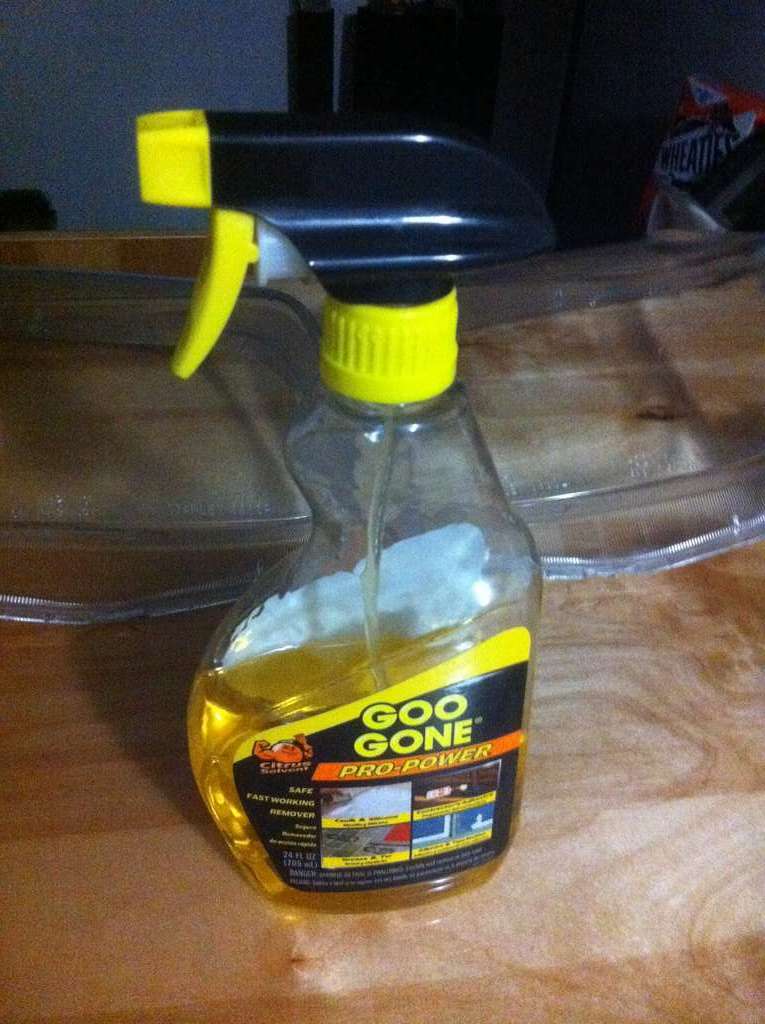
    Goo Gone, this will remove the adhesive and not harm the plastics plus it is a gel and will not run as bad as other removers. I just sprayed it on the very edge let it sit for a few seconds and then rubbed it off with a hand towel:


    After Goo Gone:


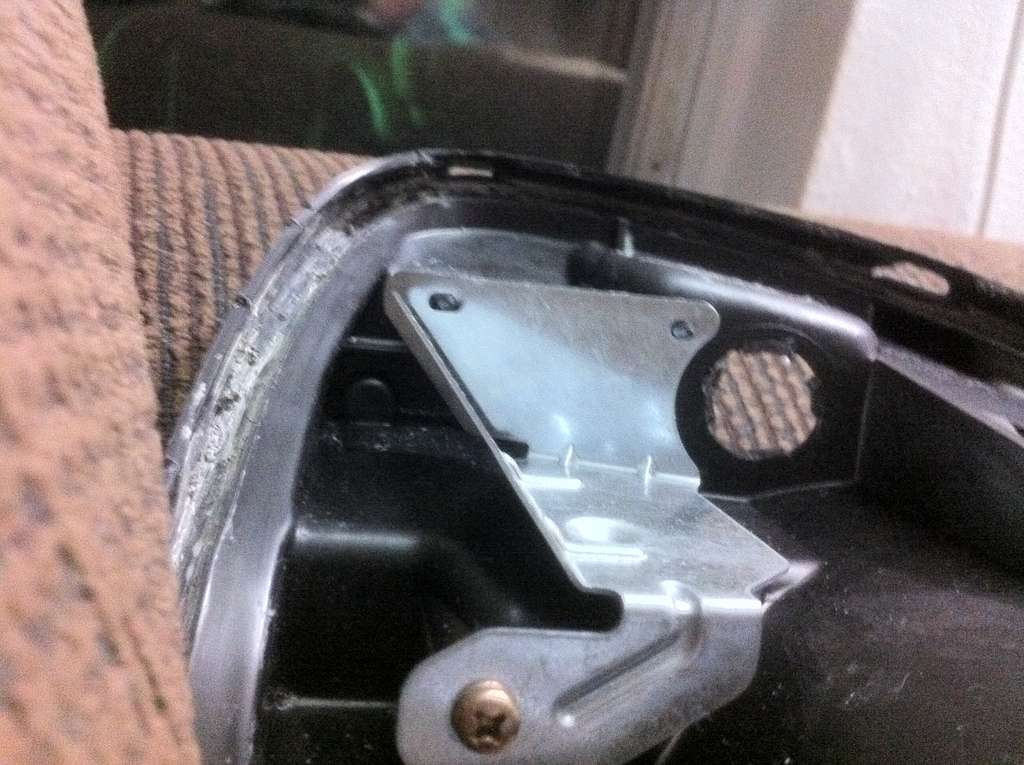
    Here is the black housing with the nasty glue in the grooves:


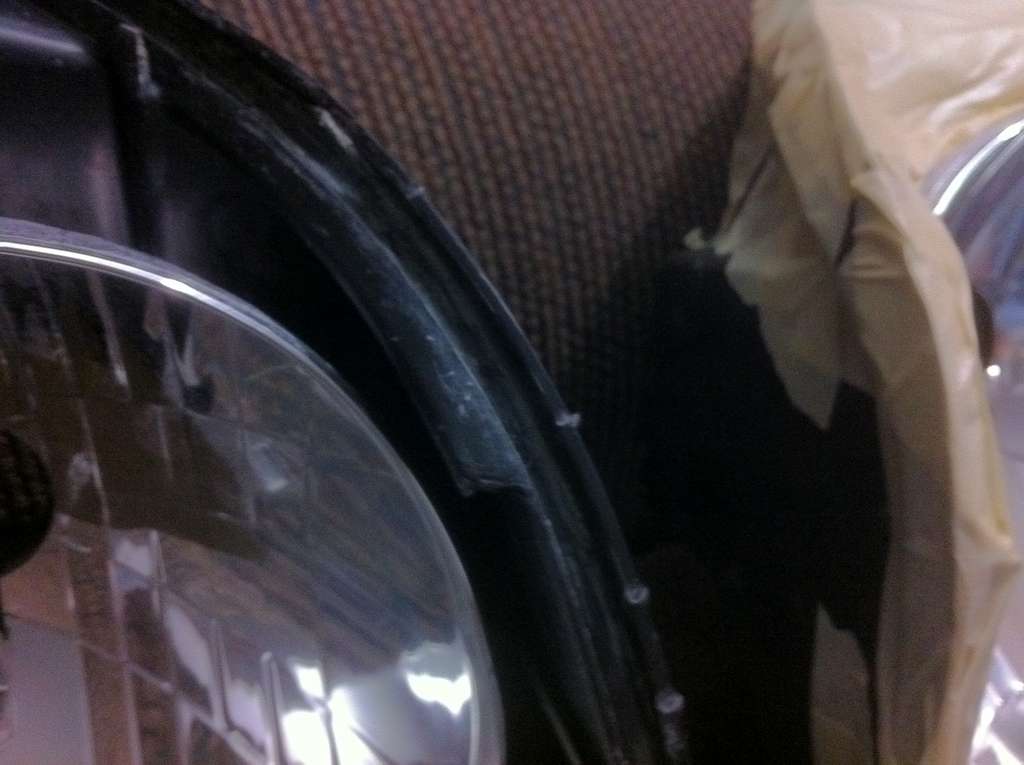
    After letting Goo Gone sit for a few minutes in grooves and using a screwdriver and hand towel to remove almost all glue:


    I used 400 grit sandpaper and prepared all surfaces for paint:


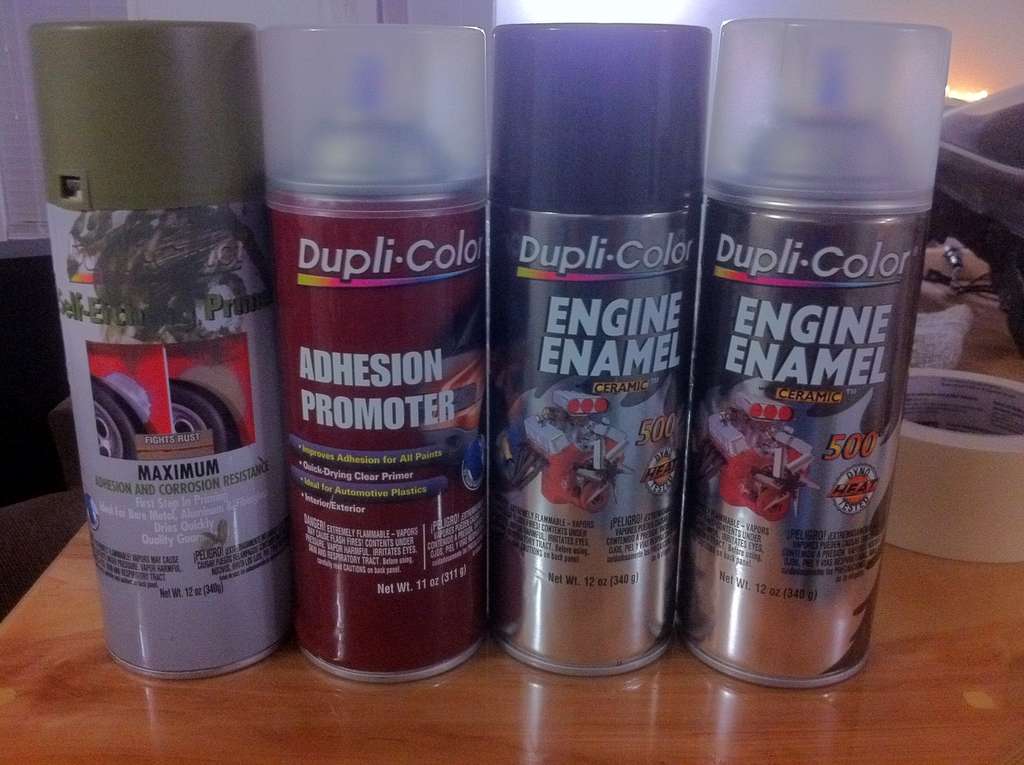
    Here is the awesome Dupli-Color paints I used. Metal self etching and primer for the metal chrome bulb housing, adhesion promoter for all the plastics parts, then for the color coat I used the Gloss Black engine enamel, and finally for the clear coat I used the Clear Gloss engine enamel:


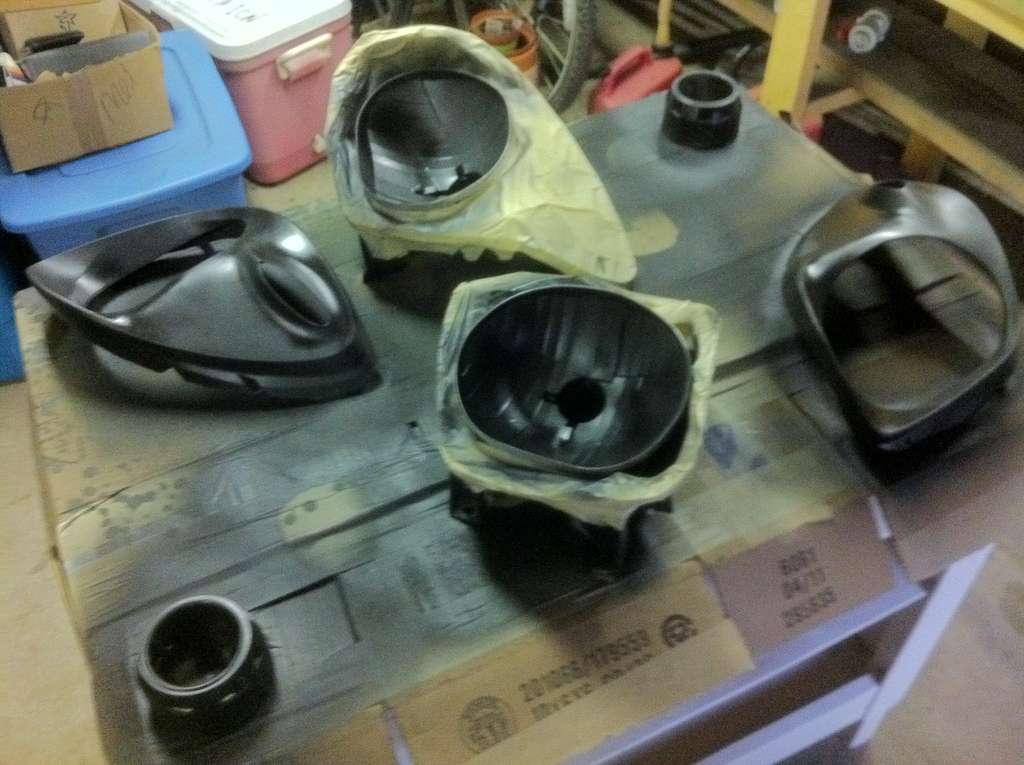
    Plastics being painted:


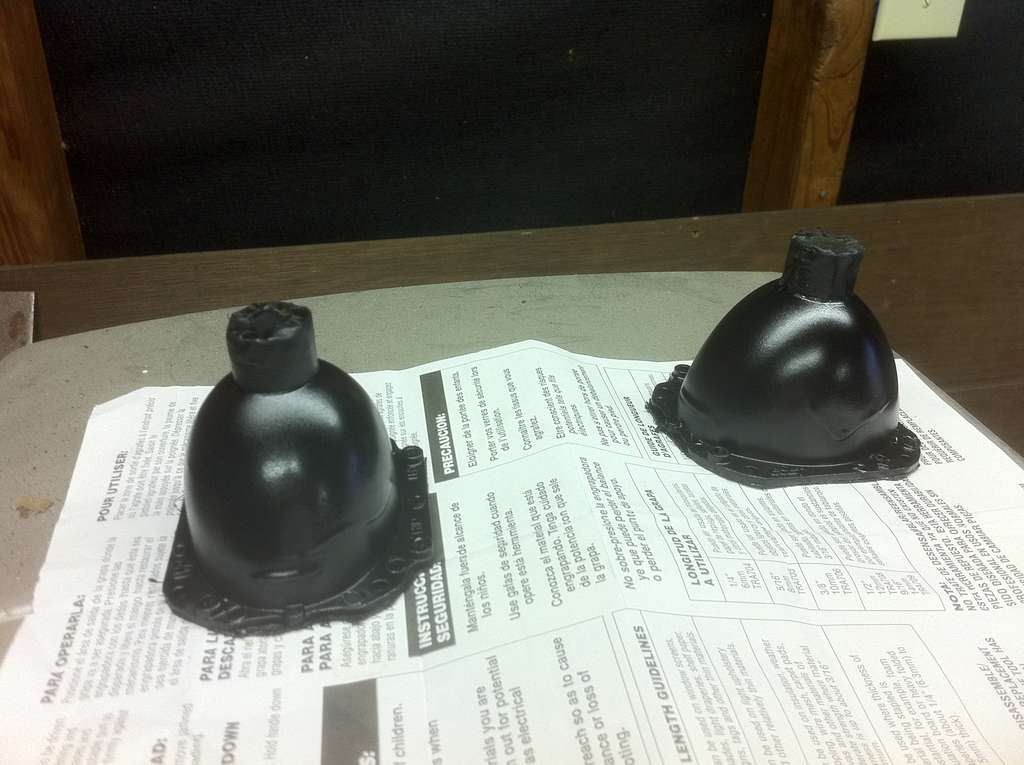
    Metal housings being painted, make sure to cover the threads that the nut must screw down on AND cover the inner chrome housing that the bulb will reflect off of, I used masking tape:


    Drying inside:

  2. #2
    Member Since
    Jan 2005
    Location
    2001, Ebony Black, 1153
    Posts
    2,264
    Thanked: 2

    Wrench Continued.....

    Stock chrome reflector painted close up (I love the texture):


    Metal Chrome reflector housing painted:


    Plastic Parts Close Up:


    Assembly after painting:


    Bulb installed and rubber grommet used to seal the rear off:


    Both done:


    Driver's side close up:


    Ok so now that you are happy with the way everything fits together and all the screws AND BULBS are installed, it is time to seal up the front. Just get some "The Right Stuff" Gasket maker and run a thick bead inside the groove and press the clear plexiglass cover on until the clips make a good connection:


    Test Fitting:


    Testing the wiring:


    Here is the beam pattern on the wall:


    Here you see that there is roughly 1/4 to 1/2 of an inch clearance from the lens to the plexiglass cover, PERFECT!


    1st shot with bumper back on:

  3. #3
    Member Since
    Jan 2005
    Location
    2001, Ebony Black, 1153
    Posts
    2,264
    Thanked: 2

    Wrench Continued.....

    Both the new projector headlights and the Hella Micro DE projector fog lights on:


    Here are the 1st shot out in some sunlight. It will look A LOT better after I clean the VX, I will post some more photos after the Little Beast is clean, but for now these will have to do. I think it makes the VehiCross look very mean:


    Final closeup (so glad I painted everything to match:


    Videos:
    http://www.youtube.com/watch?v=aJGf6TvZSLM
    http://www.youtube.com/watch?v=RcRgaxXCztk

  4. #4
    Member Since
    Feb 2005
    Location
    01 Kaiser Silver
    Posts
    801
    Thanked: 0

    Thumbs up

    OMG Ryan that looks freaking sweet. Awesome AWESOME job. Now I know what to do with my soon to be spares. Nice write up as well.
    "It's not sexual harassment, I am just building up your tolerence"-Dumke

  5. #5
    Member Since
    May 2010
    Location
    1999 Ebony 1716
    Posts
    1,196
    Thanked: 0
    SWEEEEEEET!

    You got a list of parts bought like the different projectors used for this? I'm completely green with jealousy about this! If I can afford the lights I'd love to do this to mine as well!

    Thanks for the write up!

  6. #6
    Member Since
    Jan 2005
    Location
    2001, Ebony Black, 1153
    Posts
    2,264
    Thanked: 2

    Smile Hope you can do it :-)

    Quote Originally Posted by Bob Barker View Post
    You got a list of parts bought like the different projectors used for this?
    The projector kit is $119.98, but you will need the H1 HID Kit (bulbs/ballast/wiring) as well which is $79.99, so complete total is: $199.97
    This is it:
    http://www.v-leds.com/Exterior-HID-H...77715-1-2.html
    Here are the options I went with:
    Projectors: 2.5" (only option)
    Choose Harness: H4 Relay Wiring Harness (you will need this unless you already have one)
    H1 HID Kit: 6000k Slight Blue (add $79.99 this is a great deal, highest quality I have seen yet!)
    Last edited by LittleBeast : 05/18/2011 at 01:01 AM

  7. #7
    Member Since
    Feb 2010
    Location
    1999 Ironman,#1-1767, #2-1326
    Posts
    504
    Thanked: 0
    that's what I was looking to do also, without the painting though, will be doing the painting now after seeing your shots of the finished project. Any outside shots yet?

  8. #8
    Member Since
    Feb 2007
    Location
    2000 Proton VX - 0776
    Posts
    9,258
    Thanked: 0
    That setup really makes the lights in the horns more prominent. I likey. Great job.
    [SIGPIC][/SIGPIC]

    Put a smiley after you say that Bub.

  9. #9
    Member Since
    Jan 2009
    Location
    1999, Ebony Black, VX, 1614
    Posts
    1,852
    Thanked: 1
    Very impressive.

  10. #10
    Member Since
    Jun 2002
    Location
    2001, Proton Yellow, #0580
    Posts
    1,887
    Thanked: 5
    Very nice write up - and it solves the glare problem from the reflector using an aftermarket HID kit only (what I'm currently using). One question - your post is "V-LED" - shouldn't it be "V-HID"? That confused me a bit as I started to read your instructions...

    -- John
    John Eaton
    Original Owner
    2001 Proton Yellow #580
    Atlanta GA

    http://wildtoys.com/vehicross/
    http://vehicross.blogspot.com/

    "Metaphors be with you"

  11. #11
    Member Since
    Feb 2006
    Location
    2001,Kaiser Silver, VX, 0563
    Posts
    4,767
    Thanked: 0
    I'm not 100% sold on the look... but the light output is awesome and you did a fantastic job with the install and write up! definitely on my potential mod list

    it definitely gives the VX a more futuristic look, reminds me of the police 300's and magnums from "the island"

    Last edited by etlsport : 05/18/2011 at 06:28 AM


    "Engineers believe if it ain't broke, it doesn't have enough features yet"

  12. #12
    Member Since
    Apr 2011
    Location
    01 Kaiser #0806
    Posts
    98
    Thanked: 0
    nice job and professional even.... showed some friends of the outside pic and they said it looked likes a PO'ed catfish lol

  13. #13
    Member Since
    Jan 2008
    Location
    1999 Astral Silver 0481
    Posts
    2,672
    Thanked: 0

    Thumbs up

    I like the way you did the job.

    The painting procedures is great,but don't you think it will look much "stock" if you find a way to fill the empty area around the HID housing ?
    Dakar was just the begining.

  14. #14
    Member Since
    Apr 2008
    Location
    2000 Foxfire Red Mica, 0555 (RIP) & 0717
    Posts
    6,229
    Thanked: 3
    Hmmm... not sure the black paint will look nice with Foxfire or any of the other non-neutral colors. I wonder how it would look with a light silver paint, or even paint match a la the new Corvette headlights?

    Quote Originally Posted by johnnyapollo View Post
    Very nice write up - and it solves the glare problem from the reflector using an aftermarket HID kit only (what I'm currently using). One question - your post is "V-LED" - shouldn't it be "V-HID"? That confused me a bit as I started to read your instructions...

    -- John
    V-LED is the name of the company he purchased the HIDs and projects from...

  15. #15
    Member Since
    May 2011
    Location
    2000, Proton Yellow, 0586
    Posts
    10
    Thanked: 0
    wow, I'm doing this as soon as I can. The stock lights are pretty anemic and I've been wanting something better. This is fantastic. Thanks for the great info.

Similar Threads

  1. Custom Door Projector Lights
    By tysamigo in forum VX Modifications...
    Replies: 4
    Last Post: 03/25/2017, 01:23 PM
  2. A/C LEDs?
    By wintermute in forum VX Modifications...
    Replies: 2
    Last Post: 02/08/2013, 07:30 AM
  3. Fun With LEDs! Part II
    By Kenny in forum VX Modifications...
    Replies: 10
    Last Post: 08/22/2008, 01:06 PM
  4. Projector headlamps
    By Ldub in forum VX Modifications...
    Replies: 17
    Last Post: 02/06/2008, 08:22 PM
  5. Would you pay $2K for a projector HID headlight system?
    By WyrreJ in forum VX Modifications...
    Replies: 26
    Last Post: 10/03/2003, 01:09 PM

Posting Permissions

  • You may not post new threads
  • You may not post replies
  • You may not post attachments
  • You may not edit your posts
  •  
$lv_vb_eventforums_eventdetails