Wow, this got my attention...
I have 4 bottles and some thirsty, faded cladding just waiting for good weather to align with a day off.
JAMAS, I hope it works out for you, bud. I'm planning to pad it on, NOT use a sprayer now. Keep us posted!

 Super VXer
Wow, this got my attention...
I have 4 bottles and some thirsty, faded cladding just waiting for good weather to align with a day off.
JAMAS, I hope it works out for you, bud. I'm planning to pad it on, NOT use a sprayer now. Keep us posted!
Super VXer
I realize you're saying the streak occurs when you overlap a tiny bit on the previous row (I think I interpreted that correctly)...but I think...Originally Posted by JAMAS

?You may be pushing your fingers just a little too hard on the terry sponge, and more product is coming out that you want. When "gergmon" came up to do his in my garage, he kept having that problem, his fingers were pushing too hard on the sponge thing and it made 4 streaks horizontally...so I mentioned to keep your fingers vertical when going horizontally with the applicator.
I think the term is "feathering"...I generously applied the product horizontally and completed a pass on the entire SECTION I was doing, then immediately took the sponge thing and went back over it using lighter and lighter pressure until it looked really uniform......but also DON'T go over so much that it dries it out (I made that mistake on my front driver's bumper).
VX KAT
....the adventure BEGINS ANEW! ...2015......
Remember that life is not measured in the breaths you take, but rather in the moments that take your breath away.
Super VXer
Another thought....how far in are you dunking your sponge cloth thing?
I used a rectangular one, and only dipped mostly the corner, maybe 1/2" -3/4" into the dye. Could it be you have too much product on the sponge and that's why there's streaks being left??
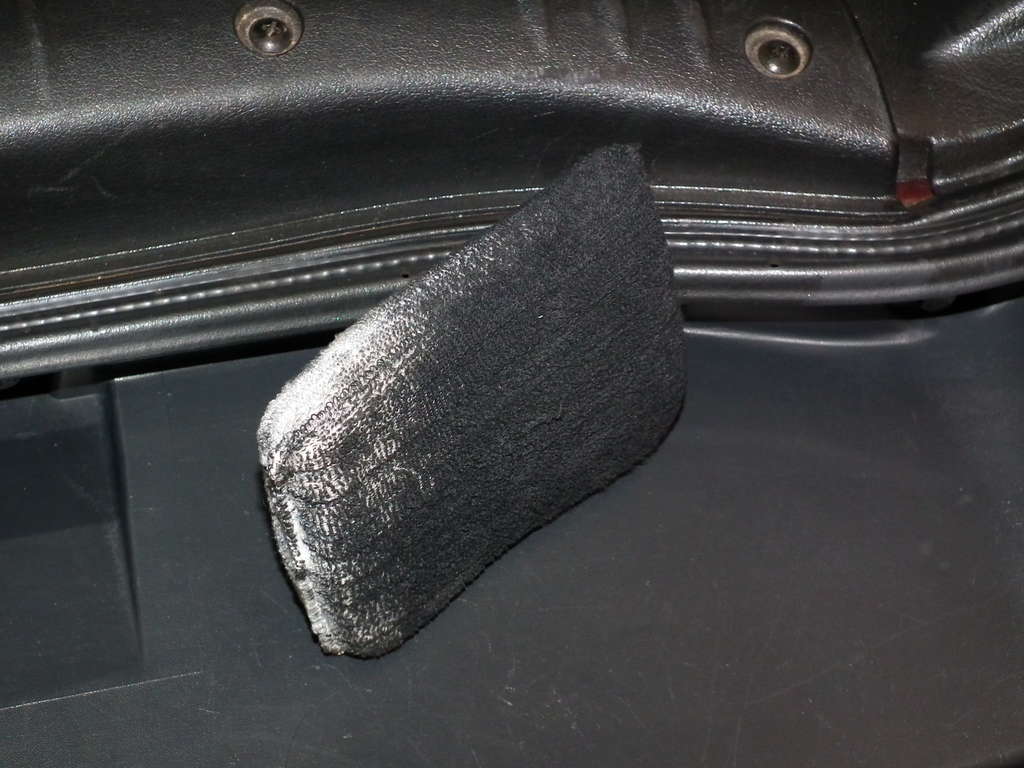
I feathered and feathered with this thing, mostly with out re-dipping.
You can tell which "corner" I used mainly and can tell I laid it a little flatter when I did the feathering..that's how the rest of the cloth got black. It was this technique that smoothed out/blended/evened out the streaks.
 Super VXer
Yes, dry time is important IMHO. I let sit an hour tween coats in warm but not humid weather. Also did mine in the shade.
Dunno what happened with your Preval sprayer, DO NOT SHAKE it, the cap has a vent hole, it you shake it, it will leak, i found that out the hard way too. Also dont overfill, and always keep the sprayer upright for the same reason. I ended up with dye on my shirt and shoes, and I was trying to be really carefull.
Since the dye is diluted for the spray, the pigment goes on lighter but wetter and requires more dry time. I suck at spray painting so I had a few runs which eventually blended in OK, but resist the temptation to spray more to fix somthing without letting it dry first, thats a sure fire recipe for runs. So spray lightly and let dry fully before going back to fix things. Yes "LEAVE IT ALONE JON!" is exactly what you should do, hehe, at least until it dries fully. Adding more while its still wet is just going to make things worse.
Maybe your sprayer was defective, I dunno. Used carefully I thought it was fairly impressive, tho I did get a bit messy too.
 Super VXer
I had similar results as Jamas, using first the roller, then a foam brush, and then the Preval sprayer. What a mess. What worked for me finally, getting a nice even coat and getting rid of the streaks, was to take the remaining dye, diluted at about 2 parts dye to 1 part spirits on a plain old shop rag (i.e. well worn and many times washed t-shirt) and just lightly wiped it over the whole shebang after it had had two days in the sun to dry. This filled in the streaks (and they were really ugly) pretty much flawlessly. It just took time. I did the pure black dye myself, and I think it looks like new.
Super VXer
I took back the "broken" sprayer to my local Rockler shop and they switched it out for a new one. The guy is pretty sure it got clogged...sputtered....then the back pressure filled the glass jar causing it to blow the seal. Apparently if the sprayer starts to sputter, you have to do some crazy hold down the red button and spray while standing on one foot...or somthing like that.
So nervous and anxious to try it.....might try it tonight....maybe...
Super VXer
This sounds promising. Perhaps I will try this first in a small section. Especially since you seem to have had the exact experience I have had and ended your "saga" with success. Although the only thing I have right now is the mixture of 2 parts mineral spirits to 1 part dye that was prepared in the preval sprayer.
At this juncture...my biggest recommendation is to find a wrecked piece of cladding and use it as "practice". Perhaps someone can sawzall up some 1 foot sections and sell them cheap cheap to those wishing to try this process out...just a thought.
Super VXer
Alright....I'm back.....with...
SUCCESS!!!!
The preval sprayer worked like a charm. my HORRIBLE streaks are all but a distant memory. I havent seen all of it in the sun yet (did it in the evening when it was cool and shady) but I did see the one side before the sunset too much and it was ...dare I say it....PERFECT!
When spraying, you must....must must must "LEAVE IT ALONE JON!"
I retract this statement:The spray runs something fierce and scares the bajeebus out of you. But somehow, some way....it all fades in and looks terrific. Keep in mind, its a dye not a paint. so it wont dry "raised" ...all those drops will fade away.
I am leaving everything masked off for tonight and might hit a few touch up spots tomorrow. Then I will take some "after" shots to go with my "before" shots and post them for all to see. My fingers are crossed that the sunrise doesn't bring any surprises.
So.....
what I believe to be the best way to apply this....
Step 1: liberrally apply with your choice of applicator pads. Coverage is more important than streaking.
Step 2: let dry for 24 hours
Step 3: Apply second coat in same manner
Step 4: let dry for 24 hours
Step 5: use Preval sprayer. (if preval sprayer starts to "sputter" STOP and read box on how to clear clog)
Last edited by JAMAS : 07/31/2011 at 11:20 AM
Super VXer

Super VXer
This morning brought a few surprises and a status change from Perfect to....almost perfect.
The streaking has gone, but a few runs have shown themselves. I did some touch up spray this morning it its almost all better....
I think I will give it a week, then hit the whole thing ONE LAST TIME. regardless of what this morning brought, I still recommend the sprayer.
Super VXer
You guys are cracking me up. In the Navy, we would say you are nuking it out, meaning you are making something WAY WAY harder than it needs to be. I am telling you, 29cent HF 2" paint brush, one bottle, buy 2 just in case, and away you go. No fancy technique, no sprayer and certainly no mess. The streaks clear out after a few days since it is a dye and not paint. I spent less than 2 hours doing the entire project. Just paint it on, wait a day or two, touch up any lighter spots, and voila, fancy black looking plastic
If it isn't 100% to your liking, go spend a bunch of money on a sprayer and whatnot, then go over it again. If it does work, you saved a bunch of money and time. I don't see how there is any risk in this concept?
I predict future happiness for Americans if they can prevent the government from wasting the labors of the people under the pretense of taking care of them.
Thomas Jefferson
Super VXer
I must have bought the difficult version then...I think my problem was not waiting long enough. I think the "wait a day or 2" part is the most important.
The sprayer cost all of $5-$7 (depending on where you buy it)
Super VXer
Pics? Interested to see the pure black on a Foxfire, I think it looks great on Ironman and Proton but curious to see the contrast against a dark color.
 Super VXer
Has anyone tried a product called "BlackWow"? Just curious as it was mentioned in another forum with good results...Some links to the product below
http://www.showcarsupplies.com/bw/
Last edited by VXD959 : 08/03/2011 at 01:01 PM
Daniel
Super VXer
I have not, but one thing that caught my eye is "provides a rich, long lasting look (measured in months)". This indicates its more of a temporary solution that you need to apply to your car on a schedule similar to wax. Showroom New provides a Permanent solution.
 Posting Permissions

 Reply With Quote