Page 5 of 14 FirstFirst 1 2 3 4 5 6 7 8 9 ... LastLast
Results 61 to 75 of 221

Thread: "Showroom New" Trim Restorer- info & experience

Hybrid View

Previous Post Previous Post   Next Post Next Post
  1. #1
    Member Since
    Jun 2009
    Location
    2000, Kaiser, #0016
    Posts
    645
    Thanked: 0
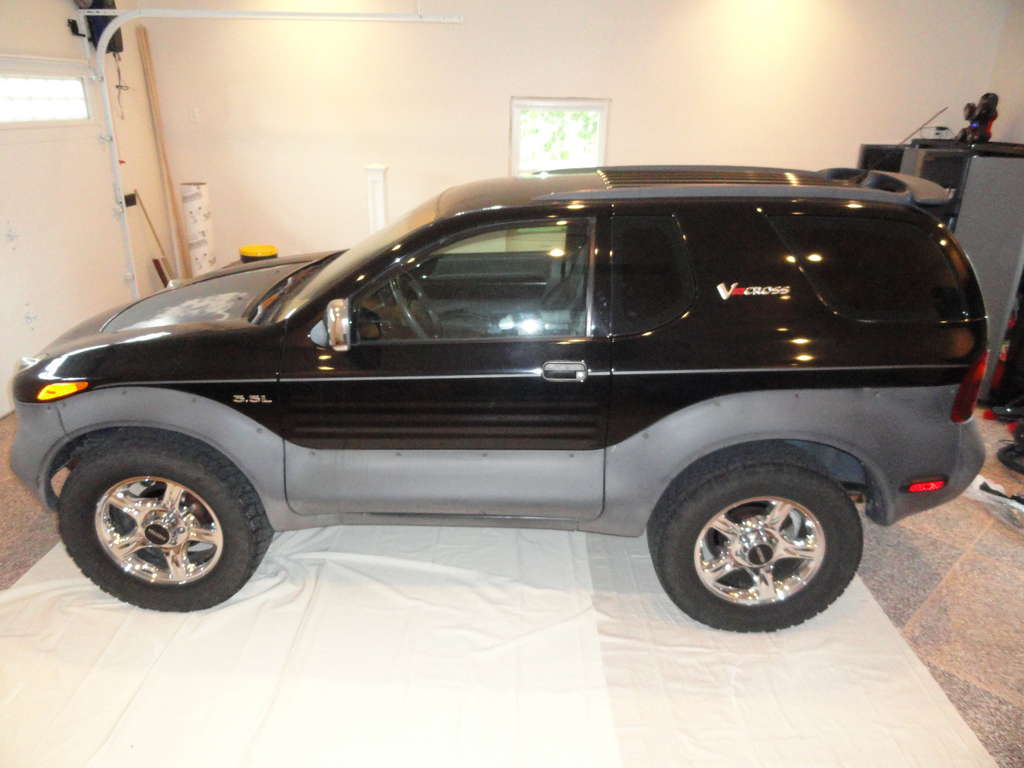
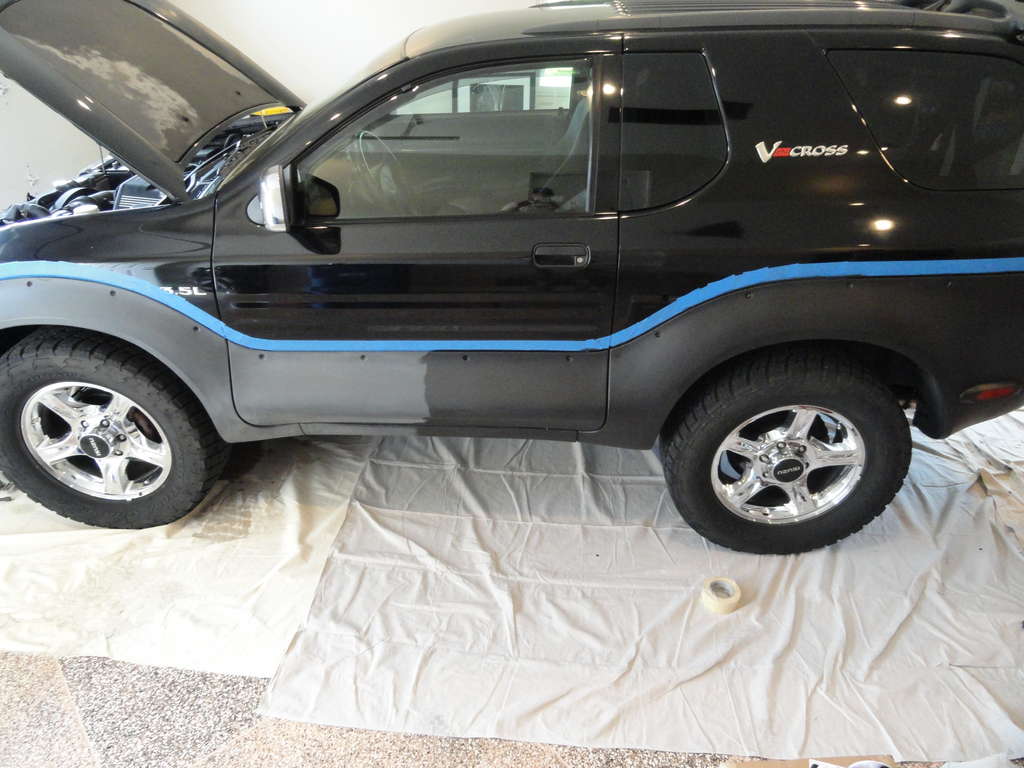
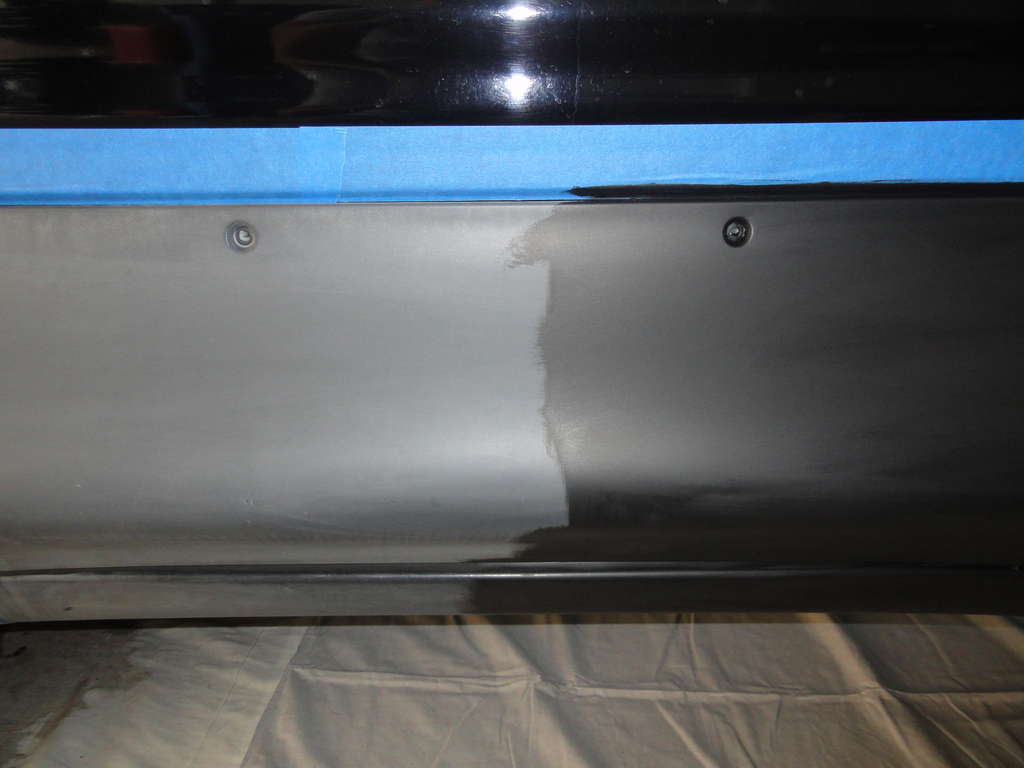
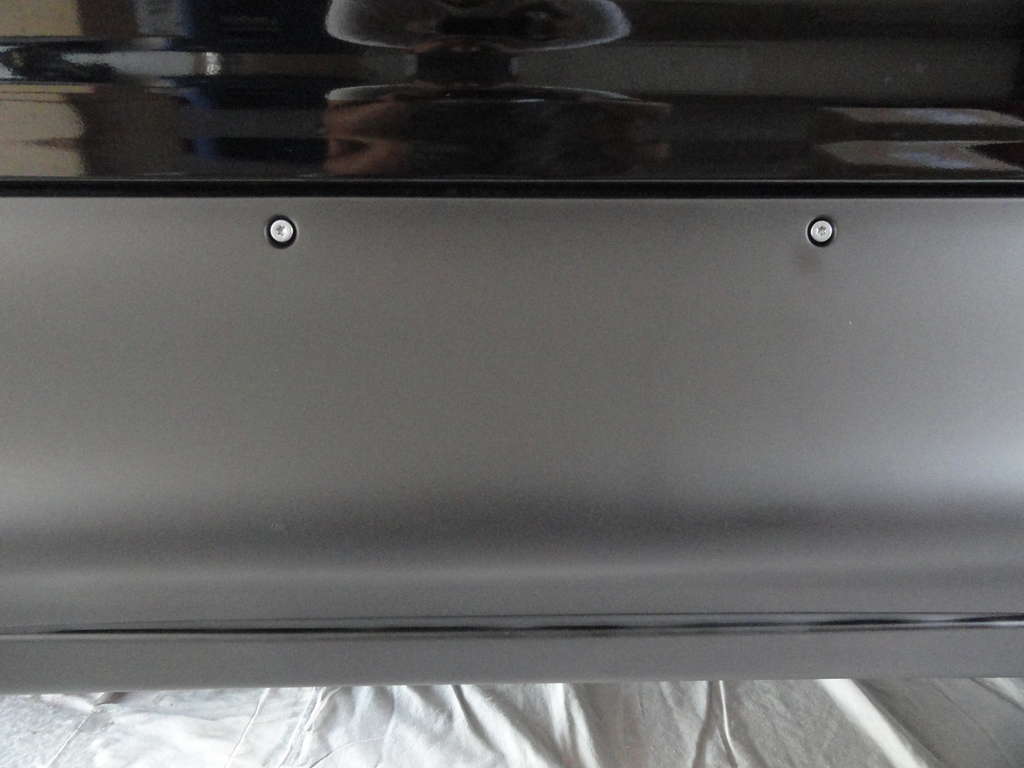
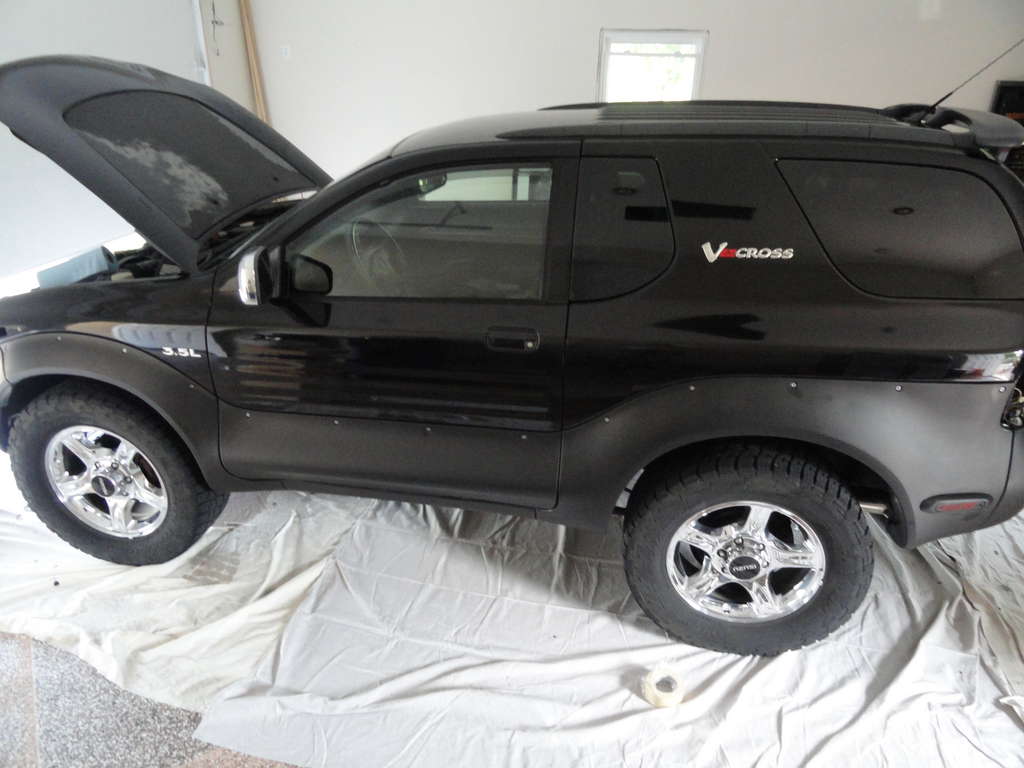
    I laid down two coats of "Showroom New" today, and it looks really good!! Used about 8/10ths of a bottle. Very minor blotchiness that does indeed appear to go away as the stuff dries. Its going to get another coat tomorrow I think. But man it sure made the trail rash disappear! I really couldn't be happier. It did exactly as I had expected.

    It does tend to stick to our plastic lighting lenses tho. A a wipe or bit of scrubbing will remove it if fresh, goo-gone removes it nicely even when dry. Stuff REALLY liked to stick to my fuel door for some strange reason.

    Its more work than R/R and the results are completely different so IMHO the products should not be expected to compare. They are intended to do two different things IMHO. This is definitely a colorizer, not a refinisher. I wonder if they will play well together?

  2. #2
    Member Since
    Dec 2008
    Location
    Former owner 2001, Foxfire Red, #0663
    Posts
    7,311
    Thanked: 33
    Great to hear Grif! What's you use to apply it? And wow, how'd you get 2 coats out of 8/10 of a bottle?

    Since the same company sells some type of topcoat product, I just get the feeling R/R would work on top of this, just my hunch though.
    VX KAT
    ....the adventure BEGINS ANEW! ...2015......
    Remember that life is not measured in the breaths you take, but rather in the moments that take your breath away.

  3. #3
    Member Since
    Jun 2009
    Location
    2000, Kaiser, #0016
    Posts
    645
    Thanked: 0
    Quote Originally Posted by VX KAT View Post
    Great to hear Grif! What's you use to apply it? And wow, how'd you get 2 coats out of 8/10 of a bottle?

    Since the same company sells some type of topcoat product, I just get the feeling R/R would work on top of this, just my hunch though.
    I used terrycloth covered foam applicators. Round ones from walmart. They came in a pack of 6. Actually 2 terrycloth ones and the rest microfiber covered ones. The microfiber one I tested worked just as well.

    As to why I used so little of the product? Well you obviously have more cladding than I do. haha...

    Sue I can only surmise that you needed more product due to the fact that your cladding was in worse shape. After all, your cladding was more grey for whatever reason and thus needed more colorant. Overall my cladding wasn't badly faded at all, my intent was to mask the superficial (and some not too superficial) scratches from trail rash and it was a task this product handled with aplomb.

  4. #4
    Member Since
    Jun 2009
    Location
    2000, Kaiser, #0016
    Posts
    645
    Thanked: 0
    Ok final coat was layed on today.

    This time I used a sprayer. I just happened to have one of the Preval® aerosol spray cans that Showroom New recommends and sells. Didn't buy it from them, just knew I had one here in the batcave somewhere.

    Diluted the dye per their instructions with 2 parts mineral spirits to one part dye. I had doubts that that little spray can had enough propellant, but it really worked fairly well.

    My intent this time was to even out some minor blotchiness and hope the spray could penetrate some of the crevices that no other applicator could such as the wells around lights, between cladding panels, and deep into the cladding screw wells.

    Let me tell you right off the bat that I suck at spray painting. I always cause drips and runs and my fix for either is to spray more which always drips and runs worse.

    I knew overspray was going to be an issue, but was confident that with spray can in one hand, a rag damp with mineral spirits in the other, and a dry rag at my belt to mop up any errant problems all should be ok. My plan worked well. Got the dye really into the problem areas without too much drip and was able to quickly remove any overspray on the body and lenses.

    I hit the problem hard to get areas, then did a general light coat to even out. I did get some drips of course, but really, it all works out ok. Once you dilute the stuff, its really mostly solvent at that point. There are only miniscule amounts of solids in the dye. The rest is solvent which is going to evaporate away eventually. So when you get drips and runs, just let them dry fully, you wont see 99% of it a few hours later. If you do, a clean applicator dampened with mineral spirits and VERY light pressure will even it out. I think the same process will work if you have streaks after hand application as well.

    All told over the weekend project I ended up using 1.5 bottles of dye, about 10 ounces of mineral spirits, three terry/micofiber coated applicators, four terrycloth rags, a few blue shop papertowels and one Preval sprayer can which is prolly 1/4 full still. Oh, and about 6 rubber gloves.

    YMMV

  5. #5
    Member Since
    Dec 2008
    Location
    Former owner 2001, Foxfire Red, #0663
    Posts
    7,311
    Thanked: 33
    Wow, great details. Glad somebody tried the spray method.
    The solvent issue must be why the streaks disappeared so dramatically for me over several hrs.

    Pictures!!!????

  6. #6
    Member Since
    Jan 2011
    Location
    2001,proton yellow,0631
    Posts
    974
    Thanked: 0
    so....an airbrush will achieve the same results?

  7. #7
    Member Since
    Jun 2009
    Location
    2000, Kaiser, #0016
    Posts
    645
    Thanked: 0
    Quote Originally Posted by VXjunky View Post
    so....an airbrush will achieve the same results?
    Airbrush would be ideal.

    If i had one, i would have used it. Just be sure to dilute.

  8. #8
    Member Since
    Dec 2008
    Location
    01, LineX tan/black, 1055
    Posts
    3,380
    Thanked: 0
    Just got back from URE. I dragged the whole drivers side down a mud wall, enough that it was all that kept me from tipping. The cladding was scratched, but still black!! The mud washed off, and it still looks good. I am sold on this stuff now!

    I predict future happiness for Americans if they can prevent the government from wasting the labors of the people under the pretense of taking care of them.
    Thomas Jefferson

  9. #9
    Member Since
    Dec 2008
    Location
    Former owner 2001, Foxfire Red, #0663
    Posts
    7,311
    Thanked: 33
    Quote Originally Posted by Marlin View Post
    Just got back from URE. I dragged the whole drivers side down a mud wall, enough that it was all that kept me from tipping. The cladding was scratched, but still black!! The mud washed off, and it still looks good. I am sold on this stuff now!
    Probably a good example of where GatorBack would NOT be the product of choice. But hey, if you don't plan on dragging the entire side of your truck on the ground like Marlin (), GB would be perfect.

    GB gives that perfect smooth finish too, looks so good...but folks like Marlin would just chew it up and destroy it...what's that program called "Destroyed in Seconds"?....I'll bet that's what Marlin's parents said alot when he was growing up...

  10. #10
    Member Since
    May 2004
    Location
    2001, Ebony Black, VehiCross, 0432
    Posts
    155
    Thanked: 0

    I don't always restore cladding........

    but when I do, I use SHOWROOM NEW TRIM RESTORER!!!! This stuff did an unbelievable job on my completely faded cladding on my new VX. I used straight black, applying two coats; one by hand and the second using a Preval Sprayer. Anyone can do this with some patience. Here's some pics. for the people still on the fence.

    A big shout out to Sue (VX Kat) for being the first to try this!!!!!!


    Last edited by Child's Play : 07/07/2011 at 07:03 AM Reason: Align Pictures

  11. #11
    Member Since
    Jun 2009
    Location
    2000, Kaiser, #0016
    Posts
    645
    Thanked: 0
    Yes Sue, when you look at how the stuff really works its 98% solvent from the getgo already. When you dilute it even more for spraying it still covers very well.

    Pretty sure I know whats in this stuff, and could prolly make my own at this point.

  12. #12
    Member Since
    Jun 2009
    Location
    2000, Kaiser, #0016
    Posts
    645
    Thanked: 0
    Yarp, looks great! Thats quite an improvement.

  13. #13
    Member Since
    Feb 2009
    Location
    1999,silver, 1516
    Posts
    905
    Thanked: 0
    You need to edit your post and press enter after each picture. That way they stack vertically vs horizontally.

  14. #14
    Member Since
    May 2004
    Location
    2001, Ebony Black, VehiCross, 0432
    Posts
    155
    Thanked: 0
    Quote Originally Posted by samneil2000 View Post
    You need to edit your post and press enter after each picture. That way they stack vertically vs horizontally.
    Done..... Thanks for the info... The looked vertical to me so I don't know why they were horizontal for you.

    CP

  15. #15
    Member Since
    Dec 2008
    Location
    Former owner 2001, Foxfire Red, #0663
    Posts
    7,311
    Thanked: 33
    Quote Originally Posted by Child's Play View Post
    Done..... Thanks for the info... The looked vertical to me so I don't know why they were horizontal for you.

    CP
    Are you using a Mac? I have a Mac, and the gang taught me to hit return after each pic.

Similar Threads

  1. what removes tw trim restorer
    By sopo in forum VX Talk...
    Replies: 3
    Last Post: 09/14/2013, 08:44 PM
  2. Replies: 35
    Last Post: 10/04/2010, 02:37 PM
  3. Pin Up Calendar...""site Donation"".
    By JoFotoz in forum VX Talk...
    Replies: 14
    Last Post: 01/01/2009, 12:06 PM
  4. Replies: 36
    Last Post: 10/12/2008, 06:59 PM
  5. VX "Rattles" & "Squeaks" over time
    By tysamigo in forum VX Talk...
    Replies: 6
    Last Post: 03/15/2007, 08:36 AM

Posting Permissions

  • You may not post new threads
  • You may not post replies
  • You may not post attachments
  • You may not edit your posts
  •  
$lv_vb_eventforums_eventdetails