Page 1 of 2 1 2 LastLast
Results 1 to 15 of 26

Thread: Cleaning/Restoring process for OEM roof racks

Hybrid View

Previous Post Previous Post   Next Post Next Post
  1. #1
    Member Since
    Dec 2008
    Location
    Former owner 2001, Foxfire Red, #0663
    Posts
    7,311
    Thanked: 33

    Cleaning/Restoring process for OEM roof racks

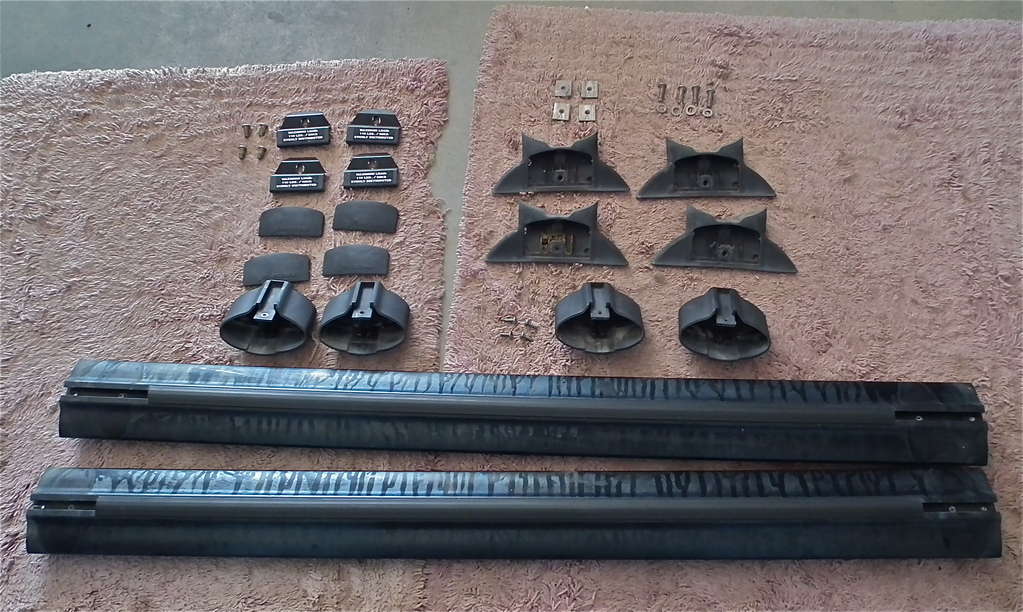
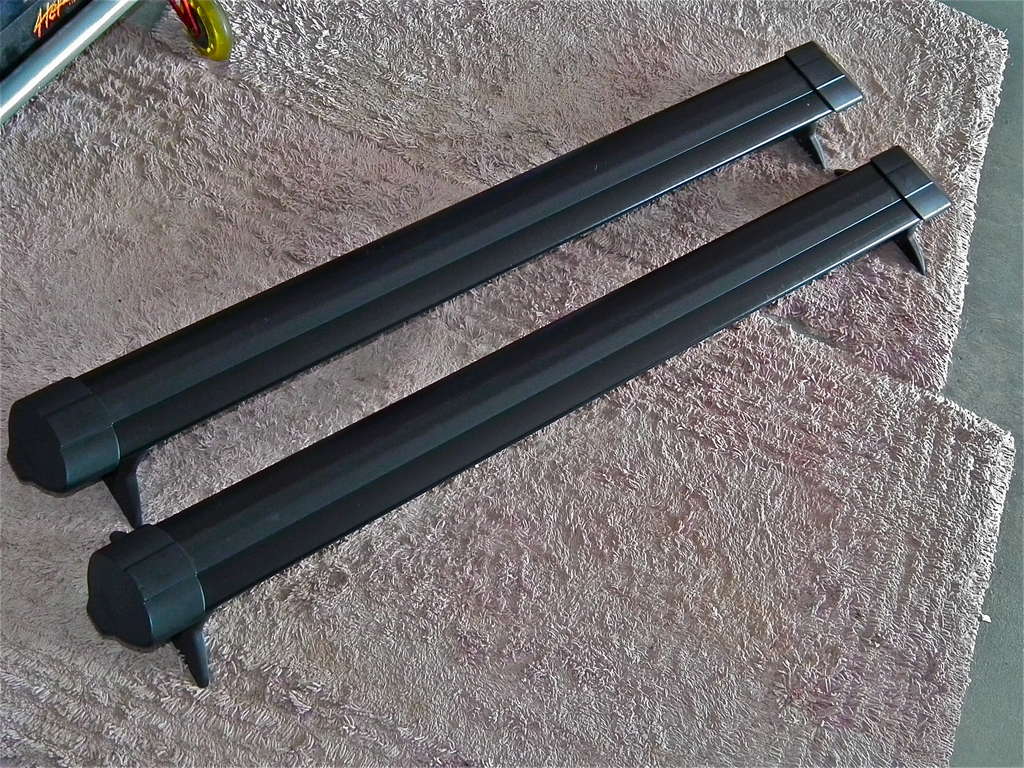
    Thought I'd share some pics of the cleaning/restoring process I've done on most of the OEM roof racks I've obtained and sold here over the last 8 months or so. This condition was fairly typical of what I've encountered. Some worse, some better. But it's really expected since they're anywhere from 9-11 yrs old....that's a lot of crud and sun and such!

    I know I've sung the praises of Aerospace Protectant 303 on here until you're all probably sick of hearing about it....but these pics really tell the story.

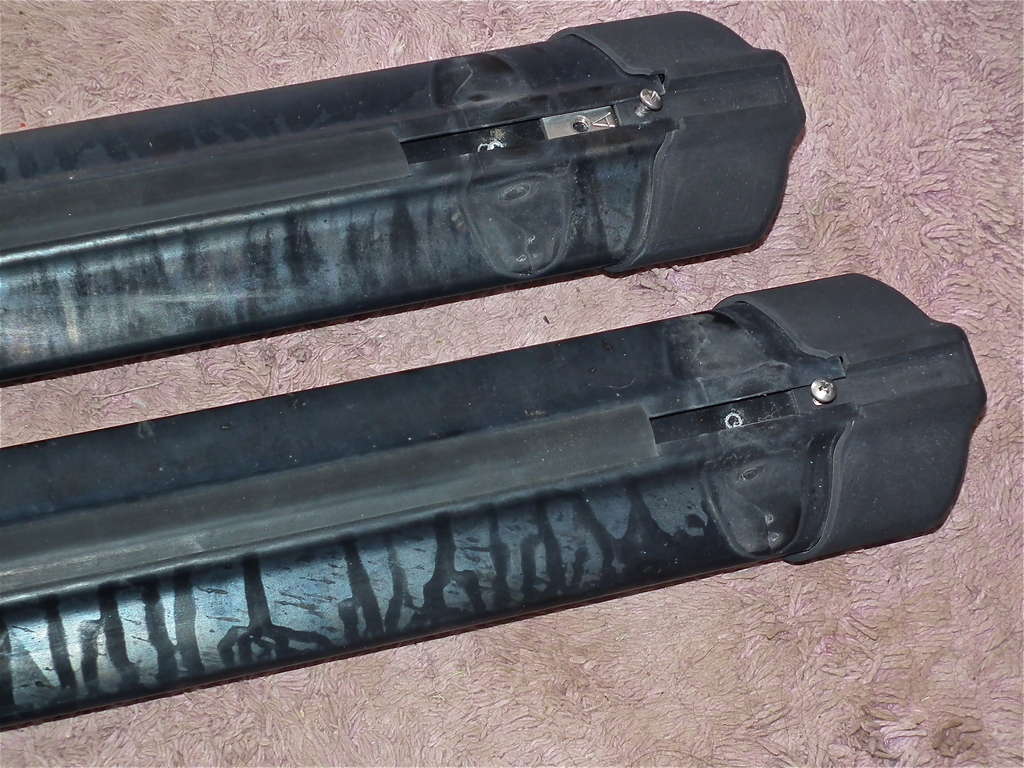
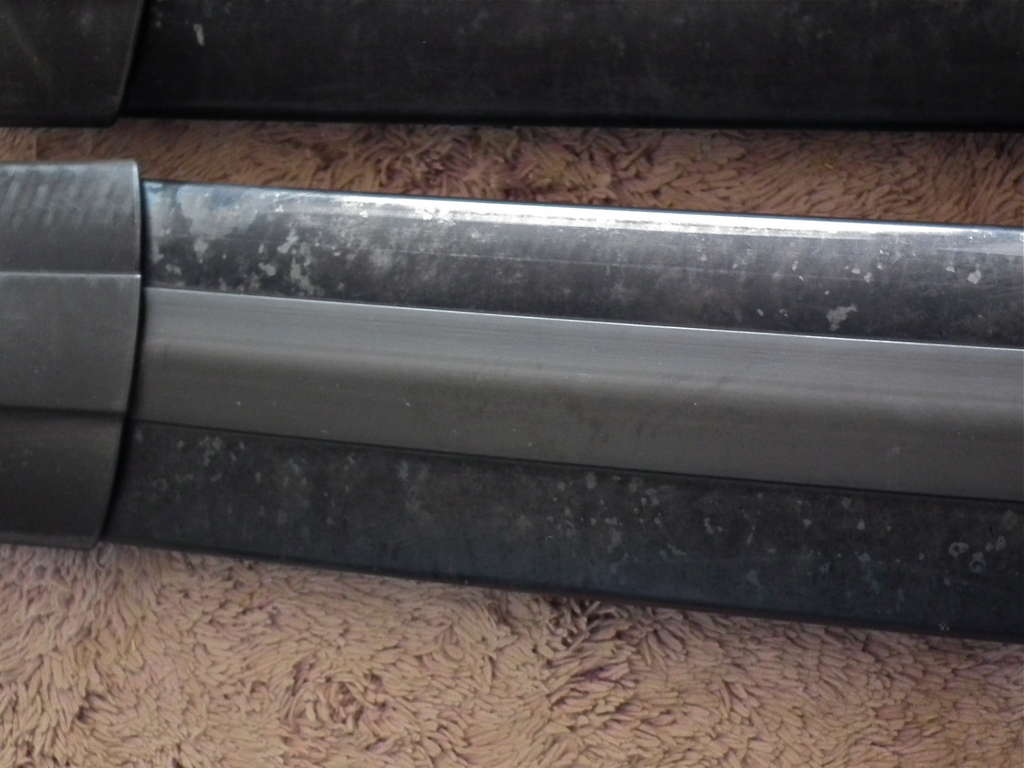
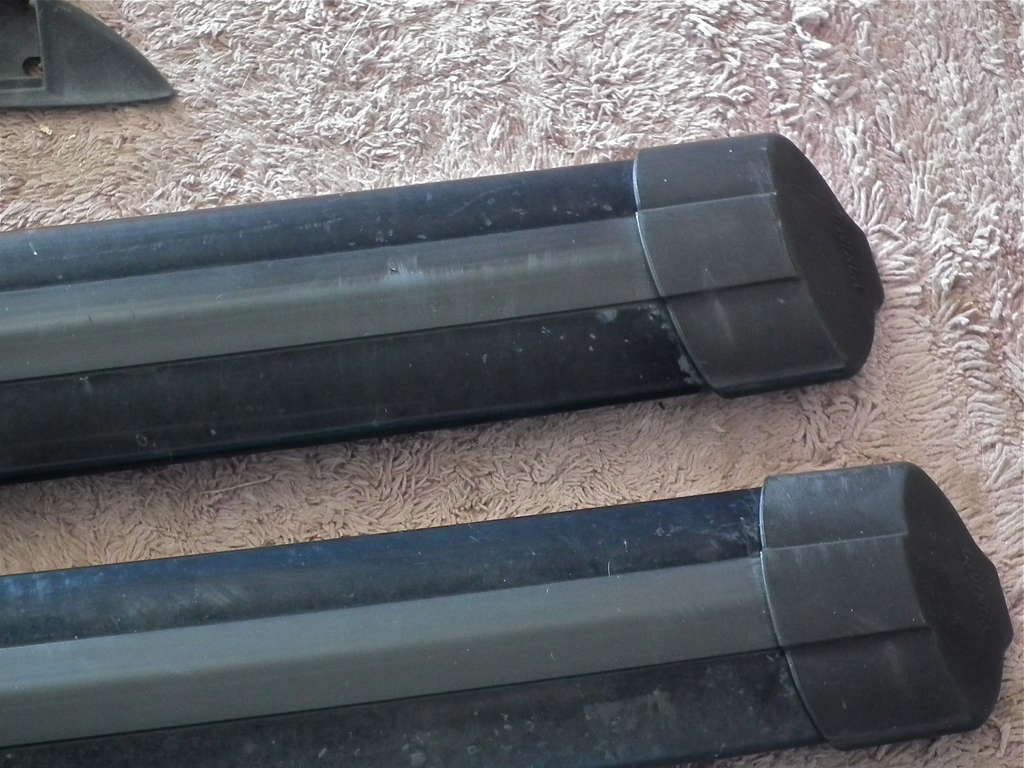
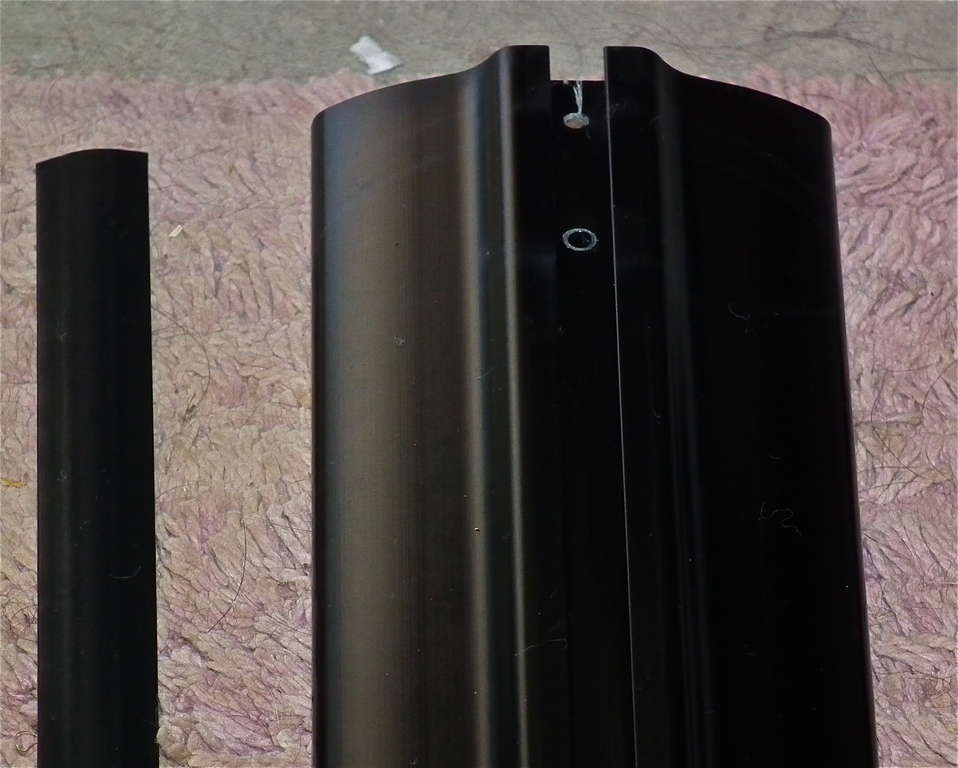
    Here's one as received from a 2001. The rubber strips on this one are in a bit better than average condition.
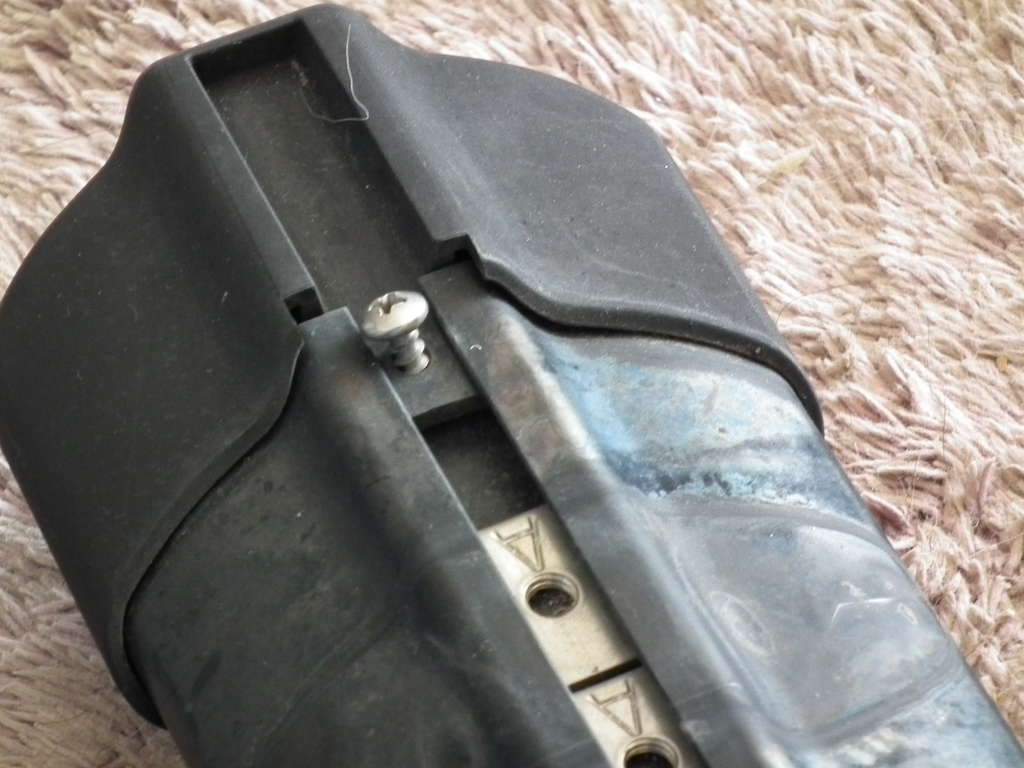
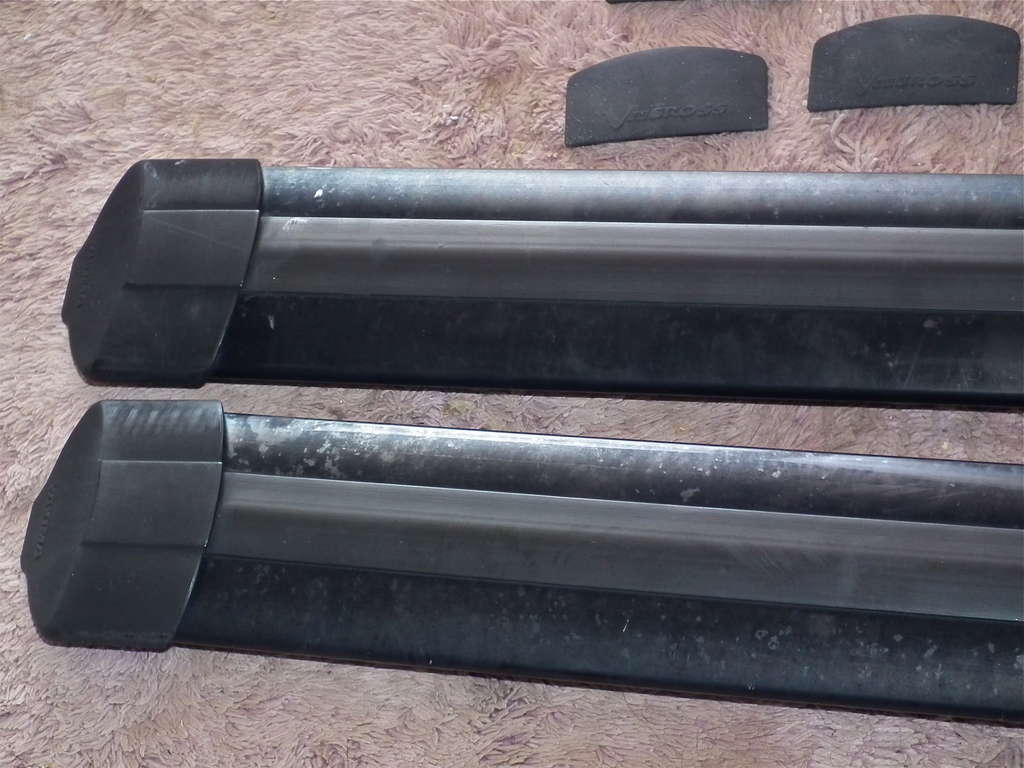
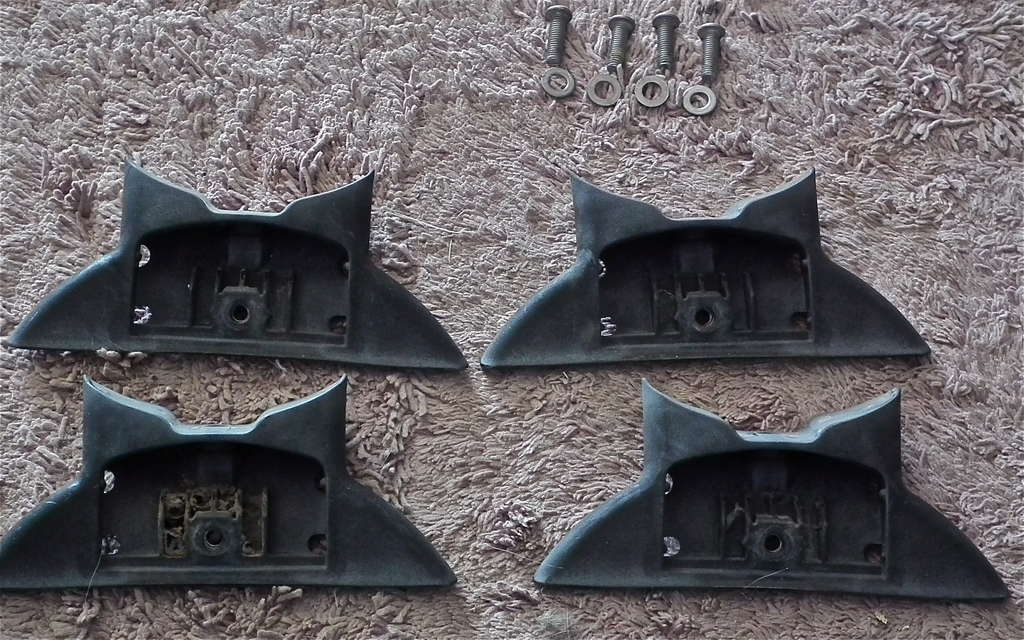
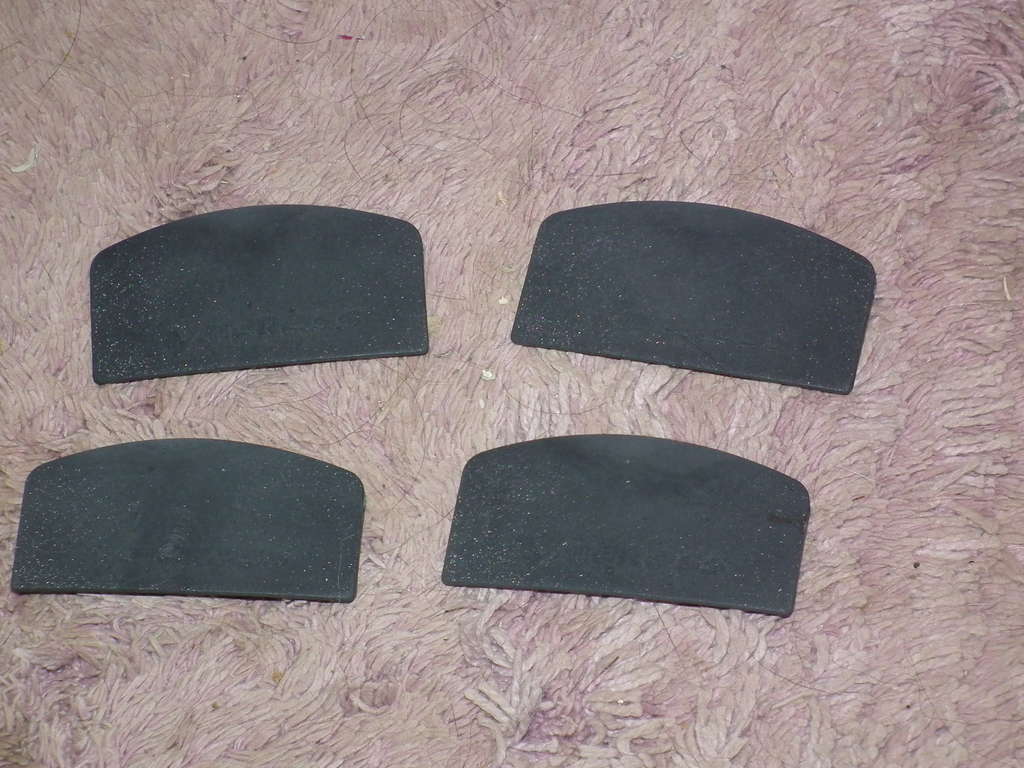
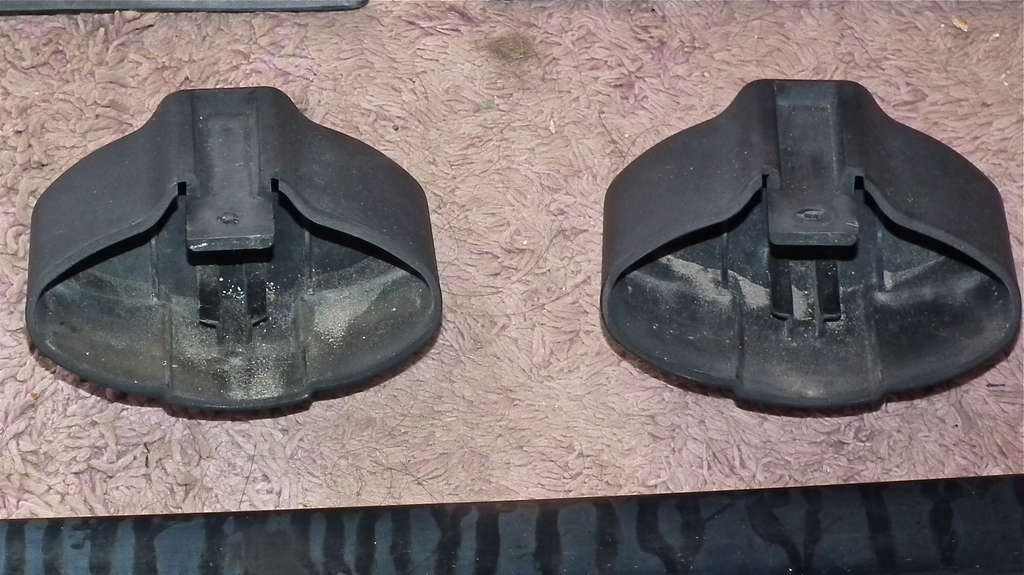
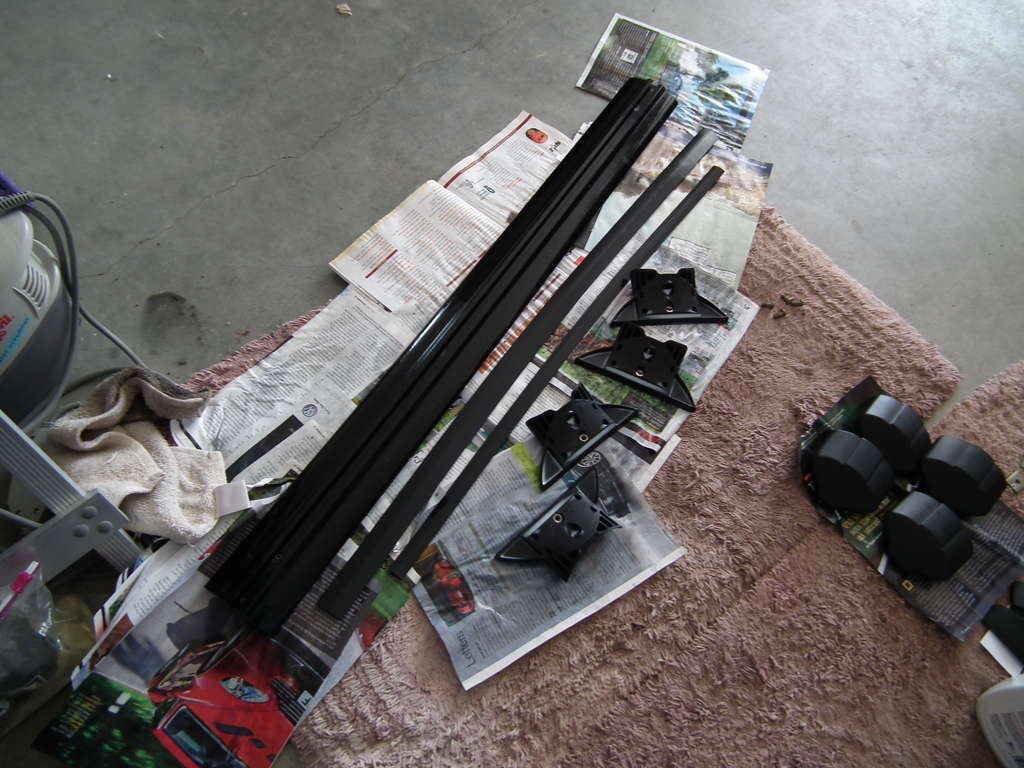
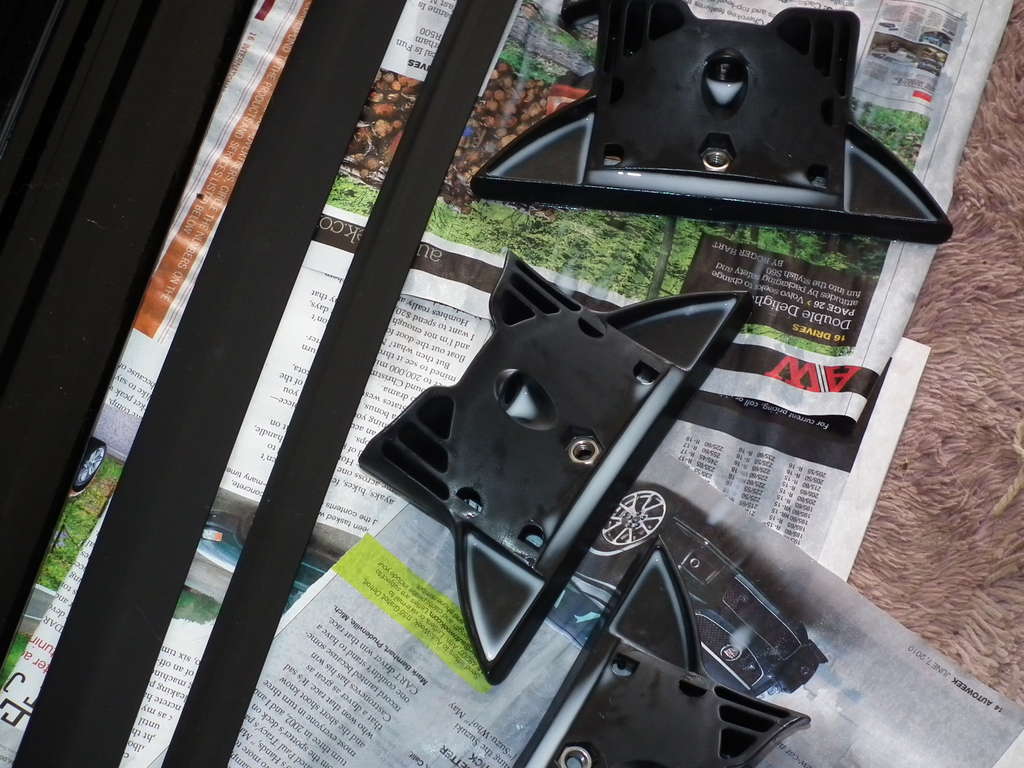
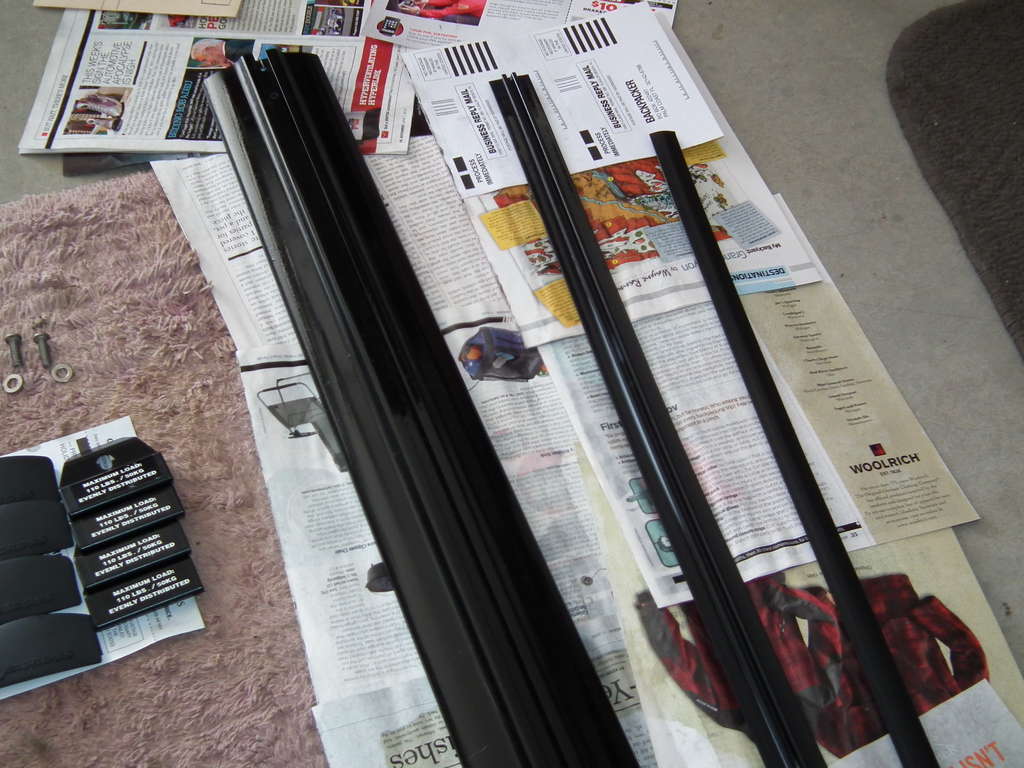
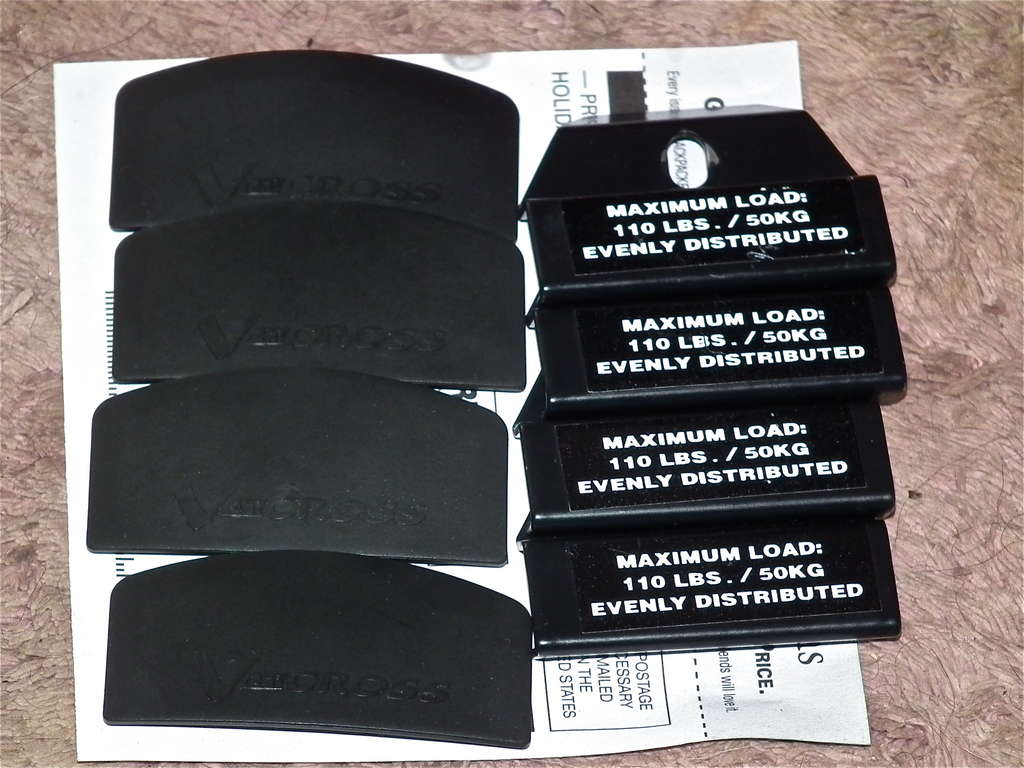
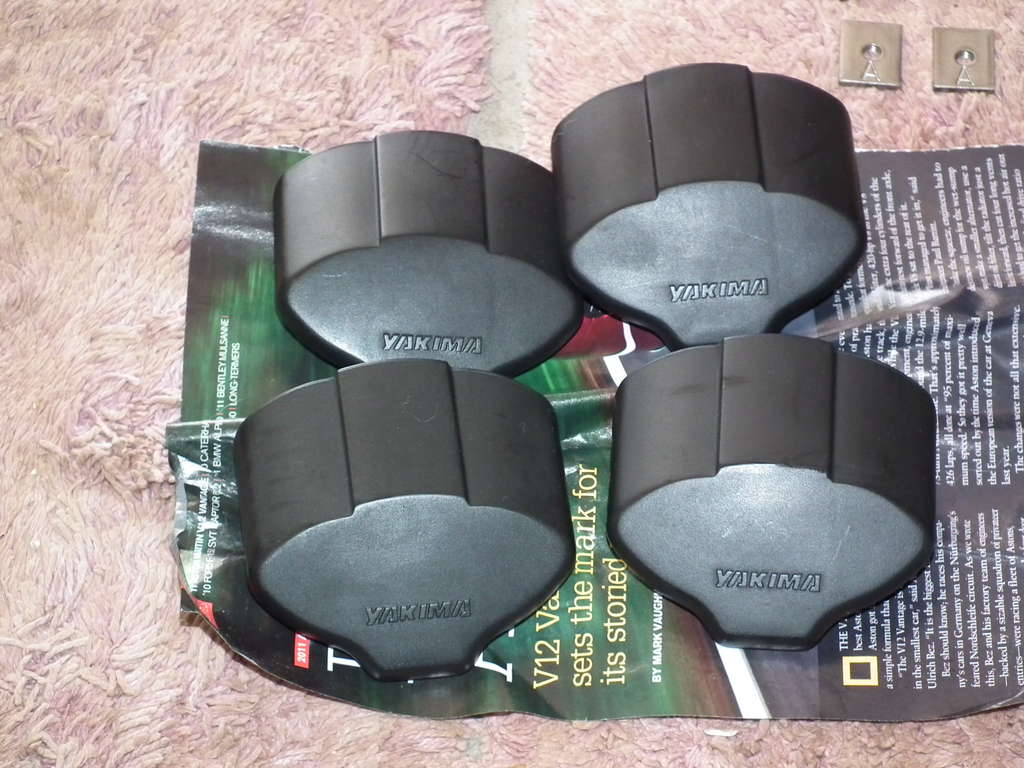
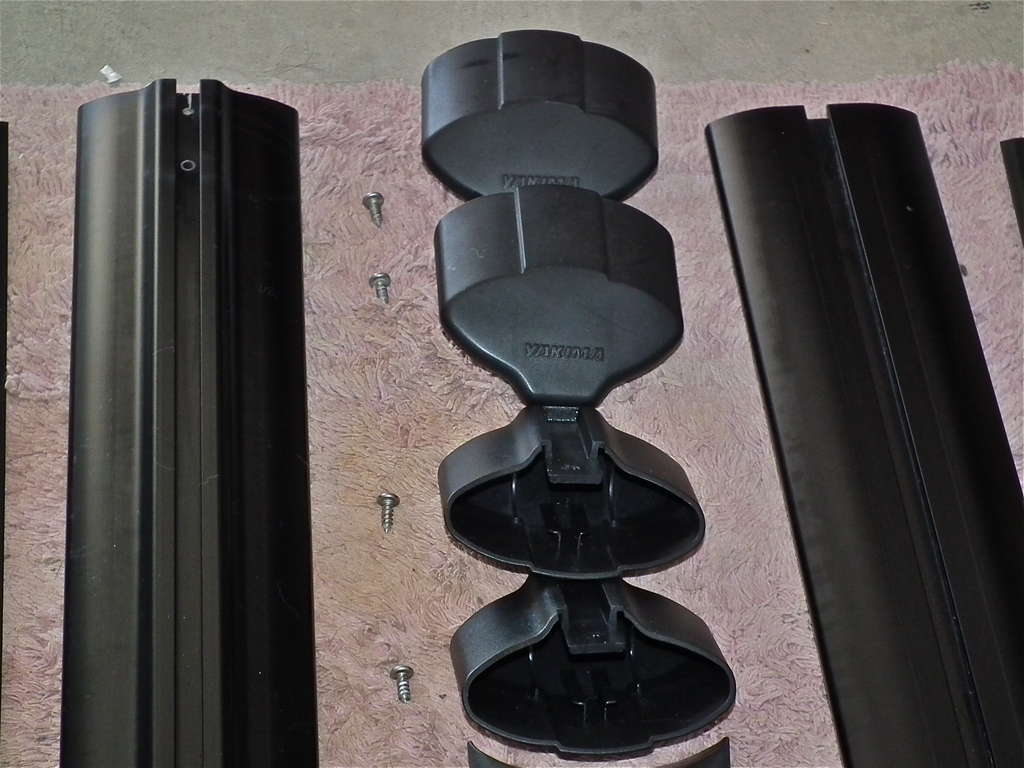
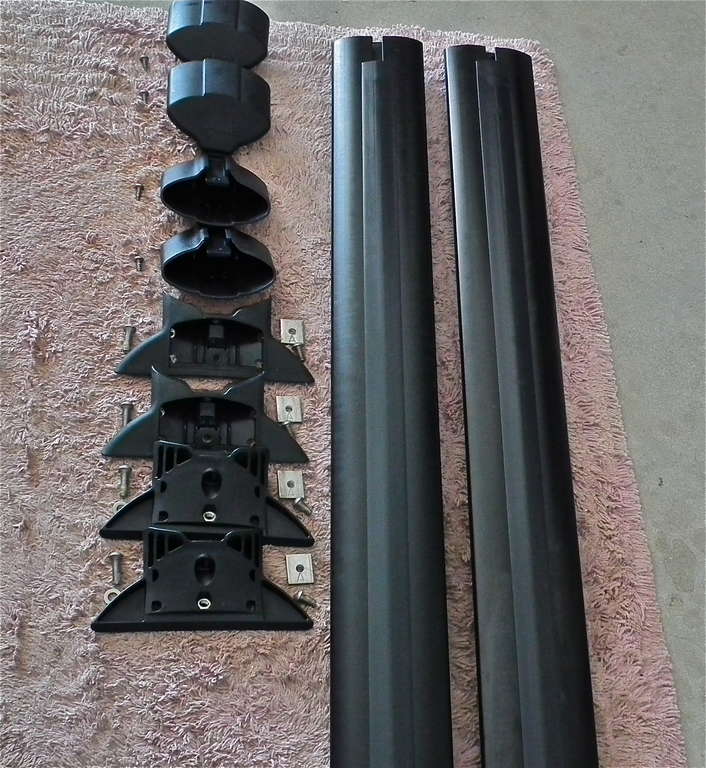
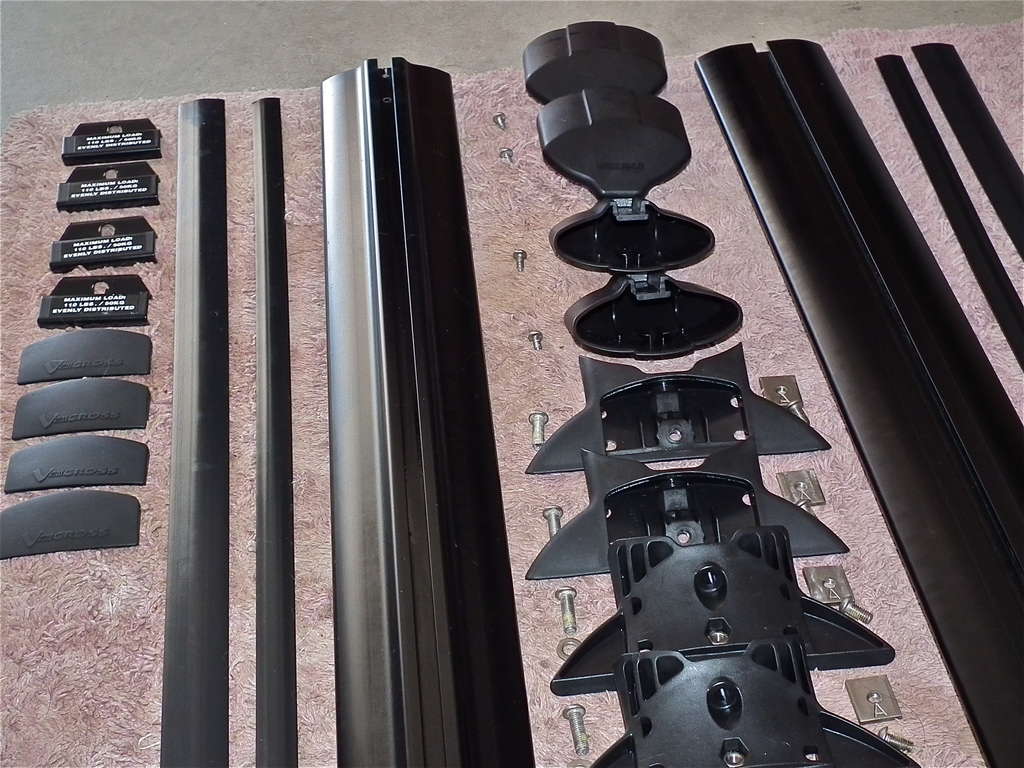
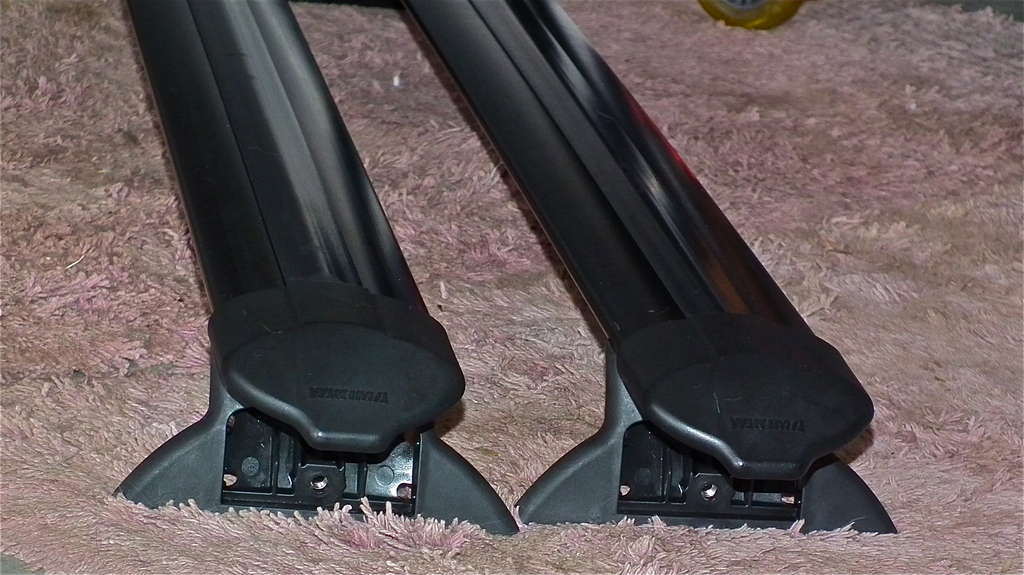
    I disassembled all parts:


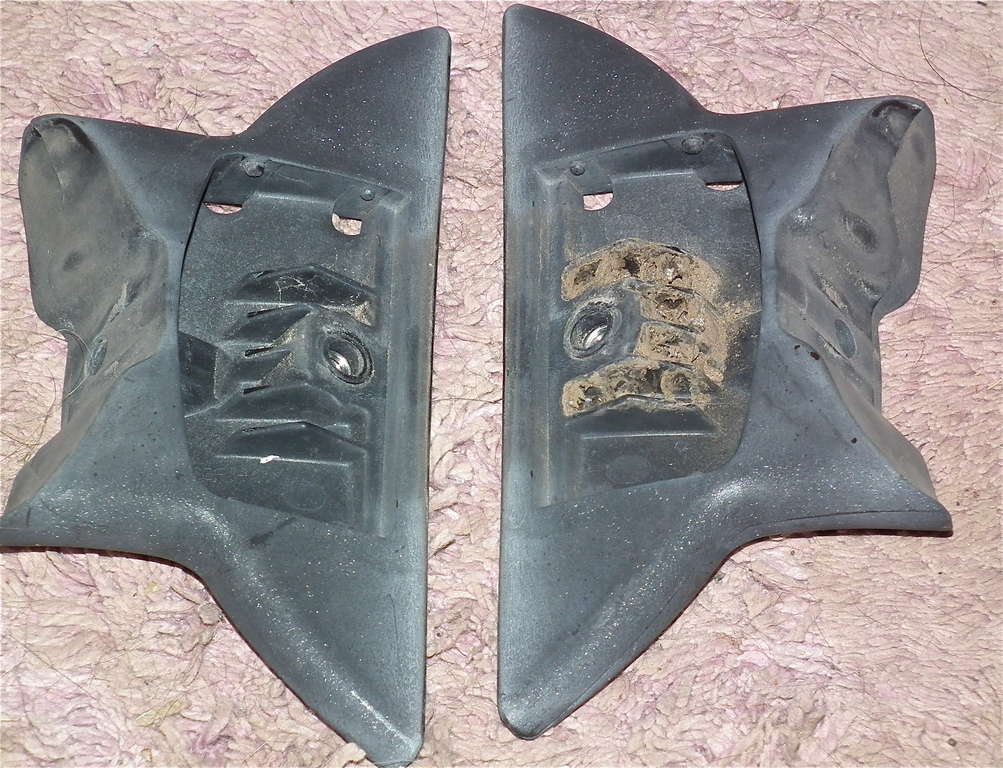
    SURPRISE! This was a first....think it's a hornet or wasp's nest..luckily it was empty.


    Last edited by VX KAT : 07/12/2010 at 03:01 PM
    VX KAT
    ....the adventure BEGINS ANEW! ...2015......
    Remember that life is not measured in the breaths you take, but rather in the moments that take your breath away.

  2. #2
    Member Since
    Feb 2010
    Location
    2001,Kaiser,1130
    Posts
    346
    Thanked: 0
    I always wondered why aren't our roof racks more stylish? I think they disappoint, like our dashboards...

    Great work Kat!

  3. #3
    Member Since
    Dec 2008
    Location
    Former owner 2001, Foxfire Red, #0663
    Posts
    7,311
    Thanked: 33
    Cleaning & restoration process begins! I let the hard plastic pieces soak with the 303 on for a few hours, and spray & wipe down the black metal cross members.


    Bottom of cross member and both rubber strips soaking with 303:


    After soaking for a while, I rub down and hand buff all parts with a very damp rag with 303. Then wipe dry.


    Close up of bottom of cross member and end caps, particulary amazing, I thought.


    Close up of BOTTOM of cross member: Note the streaking marks are almost entirely gone.


    Close up of TOP of cross member:


    With rubber strips reinserted.


    All parts disassembled, cleaned & restored:


    And now, all reassembled (except for the flaps & brackets):


  4. #4
    Member Since
    Jun 2007
    Location
    2001, Proton
    Posts
    3,298
    Thanked: 0

    Kat

    You got way too much time on your hands

  5. #5
    Member Since
    Sep 2009
    Location
    2000, Foxfire Red Mica
    Posts
    200
    Thanked: 0
    That looks brilliant Kat, thanks for sharing! I'm going to pick sone of that stuff up and see if it dresses up my mirrors.

  6. #6
    Member Since
    Apr 2008
    Location
    2000 Foxfire Red Mica, 0555 (RIP) & 0717
    Posts
    6,229
    Thanked: 3
    Looks great Sue! Hope you were getting some sort of pass through fee for all that hard work!

  7. #7
    Member Since
    Mar 2010
    Location
    '01 Kaiser Gray VX#0867
    Posts
    354
    Thanked: 0
    So now that you found all who are in need of a rack, will you start a reconditioning service for the rest of us? Looks awesome Sue.
    '01 Kaiser SC'ed VX #0867

  8. #8
    Member Since
    Dec 2008
    Location
    Former owner 2001, Foxfire Red, #0663
    Posts
    7,311
    Thanked: 33
    Quote Originally Posted by RallyDude View Post
    So now that you found all who are in need of a rack, will you start a reconditioning service for the rest of us? Looks awesome Sue.
    Hey, that's a GREAT IDEA! Bring 'em on!
    Ship 'em to me, I'll do my magic, takes about 4-5 hrs, ship 'em back! Shipping is $17 each way....whatcha think $100 total?

    p.s....I'm serious!

  9. #9
    Member Since
    May 2006
    Location
    SOLD!
    Posts
    7,257
    Thanked: 2

    Thumbs up

    Those are good results, Sue. And I take it these results are lasting? I mean, obviously, when you wash you reapply, but it looks like it did a stellar job!

    Bart

  10. #10
    Member Since
    Dec 2008
    Location
    Former owner 2001, Foxfire Red, #0663
    Posts
    7,311
    Thanked: 33
    Quote Originally Posted by nfpgasmask View Post
    Those are good results, Sue. And I take it these results are lasting? I mean, obviously, when you wash you reapply, but it looks like it did a stellar job!

    Bart
    It's pretty long lasting, but not permanent.... bottle says reapply "every 6 weeks for best UV protection". I really wasn't after the UV protection as much as the rejuvenation of the metal, rubber and plastic.
    For example,
    ~my roof rack plastic end caps are only slightly lighter than when I treated them over 3 months ago...been through numerous monsoon downpours...no streaking or blotching...just slightly lighter.
    ~Metal cross members are still very dark.
    ~Yakima LoadWarrior cargo basket still nice dark black
    ~VX interior panels are almost like just applied...been over 3 months
    ~Dash still looks almost freshly treated, just getting dusty from my environment, but it's not sticky.

    I sure wish I could've tried it on the cladding before I did the R/R....
    Somebody was goin' try that....who was it? Anybody??? Results?

  11. #11
    Member Since
    May 2006
    Location
    SOLD!
    Posts
    7,257
    Thanked: 2
    Quote Originally Posted by VX KAT View Post
    I sure wish I could've tried it on the cladding before I did the R/R.... Somebody was goin' try that....who was it? Anybody??? Results?
    I wonder how it would work on the hood insert? I'll give it a try on both the hood insert and my cladding and let you know. I picked up the small bottle today from Cabellas for $10. I'll let you know how it works.

    Bart

  12. #12
    Member Since
    Feb 2007
    Location
    2000 Proton VX - 0776
    Posts
    9,258
    Thanked: 0
    Quote Originally Posted by VX KAT View Post
    Hey, that's a GREAT IDEA! Bring 'em on!
    Ship 'em to me, I'll do my magic, takes about 4-5 hrs, ship 'em back! Shipping is $17 each way....whatcha think $100 total?

    p.s....I'm serious!
    I'll ship you my whole VX. Just call me when it's fully detailed
    [SIGPIC][/SIGPIC]

    Put a smiley after you say that Bub.

  13. #13
    Member Since
    Jun 2007
    Location
    2001, Proton
    Posts
    3,298
    Thanked: 0

    Talking Its easier and cheaper

    just to buy the roof rack (and basket) from VXKat, she does all the work and delivers it to you all nice and pretty.

  14. #14
    Member Since
    Dec 2008
    Location
    Former owner 2001, Foxfire Red, #0663
    Posts
    7,311
    Thanked: 33
    Quote Originally Posted by circmand View Post
    just to buy the roof rack (and basket) from VXKat, she does all the work and delivers it to you all nice and pretty.
    Thanks Dave
    I did your entire Coleman roof basket in the 303, but even that SPF40 probably isn't a match for that hot oven called Lake Havasu City where you are...better getcha some 303 to redo it once in a while!

  15. #15
    Member Since
    Aug 2005
    Location
    1999, silver, 0887
    Posts
    1,408
    Thanked: 3
    Nice job! I'm sold. I'm gonna do my cladding and will let you all know.

Similar Threads

  1. Possible Find!!! OEM roof racks in BOX
    By grantCO in forum VX Talk...
    Replies: 26
    Last Post: 06/15/2009, 01:48 PM
  2. Thule Roof Racks
    By crotchrocket in forum VX Modifications...
    Replies: 24
    Last Post: 06/04/2009, 03:32 AM
  3. ? to those that have lights on their roof racks
    By VX-157 in forum VX Talk...
    Replies: 14
    Last Post: 04/01/2009, 10:11 PM
  4. Restoring/Cleaning Wheel Wells
    By workmeistr in forum General Tips...
    Replies: 7
    Last Post: 07/14/2008, 08:43 PM
  5. Roof Racks
    By MSHardeman in forum VX Talk...
    Replies: 2
    Last Post: 07/12/2005, 10:28 AM

Posting Permissions

  • You may not post new threads
  • You may not post replies
  • You may not post attachments
  • You may not edit your posts
  •  
$lv_vb_eventforums_eventdetails