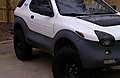
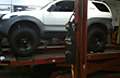
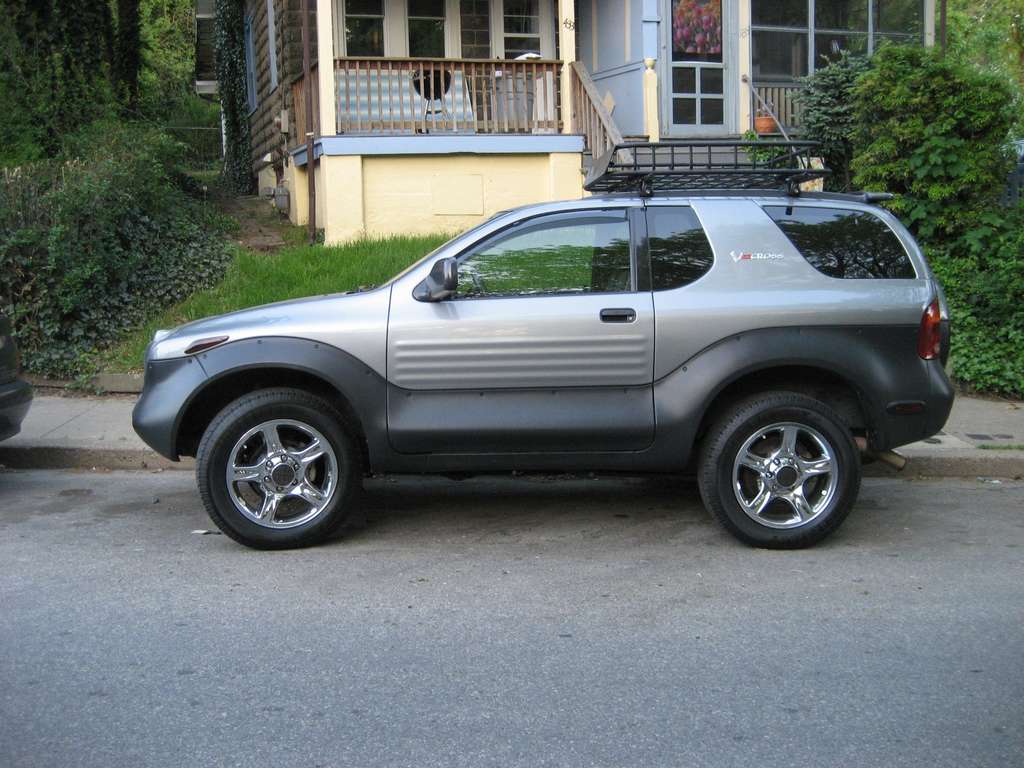
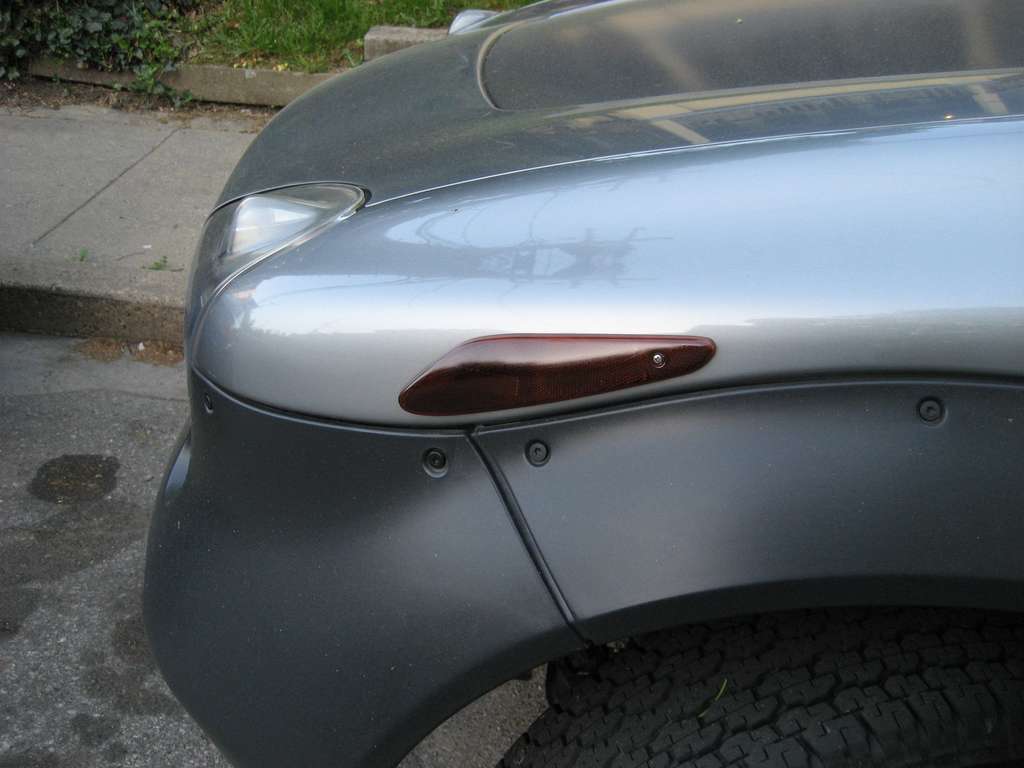
I finally found a way to darken my side markers to my satisfaction, the front turn signals were easy, window tint film worked fine with for those since they are flat, however the rear side markers and the triangular side markers over the front wheels both have raised writing on them which produces nasty air bubbles under tint and wierd bulges when painted over... also the triangular marker was just about impossible to tint with film.. so i asked the guy who tinted my windows to give it a shot.. he recommended spray tinting the markers and gave me directions for it.. i finally did it today.... its purdy! heres how i did it....
Still very visible at night!
I bought a backup set of rear markers off of a '93 miata when i wasnt sure it was going to work, i paid less than 10 bucks for them.. probably good insurance/practice
step 1: remove lenses
rears, just 2 phillips head screws then use your fingernail to pull the center of the top towards you, roll down towards you, twist bulb socket counter-clockwise to release bulb
front triangulars, remove 1 phillips head screw, slide entire assembly towards rear of VX to release clip, pull out, twist bulb socket counter-clockwise to release bulb
using an x-acto knife, carefully shave the raised lettering down as far as you can without cutting into the lens, it doesnt have to be flush.. watch your fingers!
using 120 grit sandpaper sand the entire lens lightly, concentrating in the areas that had raised lettering until smooth, once the lettering is smooth be sure that the lens is more or less even
rinse dust off with water, wipe with a paper towel, repeat until lens is clean
using a spray bottle, spray lens and sandpaper, sand lens with 800 grit sandpaper until 120 grit lines are gone, it will look like a thin white paste coming off, you will feel the sanding getting easier as your lens smooths out, once smooth rinse with water and wipe dry until lens is clean
prop lenses horizontal to the ground, to prevent runs they should not be pitched in any direction! (be sure there are no falling debris around, should be around 70 deg with average humidity) starting about 6 inches off to the side of markers, spray in a steady sweeping motion across all lenses, dont stop halfway! be sure to keep can about 10 inches away from the lenses, a light misting is all you want on the lenses to prevent globbing/running let dry for about 15 minutes, spray another light coat over the lenses (be sure you are getting around the edges of the triangular markers) remember not to stop in the middle of a lens! spray all lenses in one steady sweep to keep darkness consistent
repeat coats until the lenses are your desired darkness, remember the darker you go the less light that shines through if paint is still wet give a few more minutes between coats
after final coat allow 30+ minutes for the paint to fully dry, reinstall lenses
when installing rear lenses, be sure the L of the bulb socket is pointed down, put the bottom of the lens in and roll the top into place
for the front lenses, put the lenses in place, slide towards the front of the VX, look through screw hole to make sure hole is lined up correctly before you put the screw in to avoid scratching your paint... enjoy!
here is the product i used, purchased at hobbytown usa, the color is Transparent Black Window Tint, 1 can did 2 sets of markers + 1 screwup
http://www.ehobbies.com/tes2949.html


 Reply With Quote

 but now i see yours and their awesome could you send me a link or something so that i can buy them thanks so much.